luvmy40
-
Posts
1,728 -
Joined
-
Last visited
-
Days Won
40
Content Type
Profiles
Forums
Gallery
Events
Store
Everything posted by luvmy40
-
The rear tire on The Beast blew out on my way home from the day job tonight! I knew the tires were older than I like but the tread was still good and they showed no signs of dry rot or cracking. Last month when I had the bags all off I checked the rear for tread wear and it was fine. 3 years, and about 2500 miles ago they looked brand new. The one thing I don't like about the Venture is not being able to see the rear tire at all. It was pitch black and I din't even try to see what happened. I'll dive into it tomorrow. I hope I can find a tire locally in time to get her back on the road for MD. Dennis Kirk says I can have one delivered on Friday, but what time?
-

brake light, rear brakes
luvmy40 replied to dna9656's topic in Venture and Venture Royale Tech Talk ('83 - '93)
Does the '88 still have linked brakes? If so that is probably the problem. You'll need to bleed the front caliper linked to the rear MC. On the '83 it's the left front caliper and there is a metering valve located on the steering neck. I know some of the later models had a bleeder on the metering valve but the '83 doesn't. If yuo don't have a bleeder, look for Puc's video on bleeding that sucker. Also take a good look at the short hose going from the rear MC to the steel line that runs up front. Mine was seeping brake fluid the entire length. -
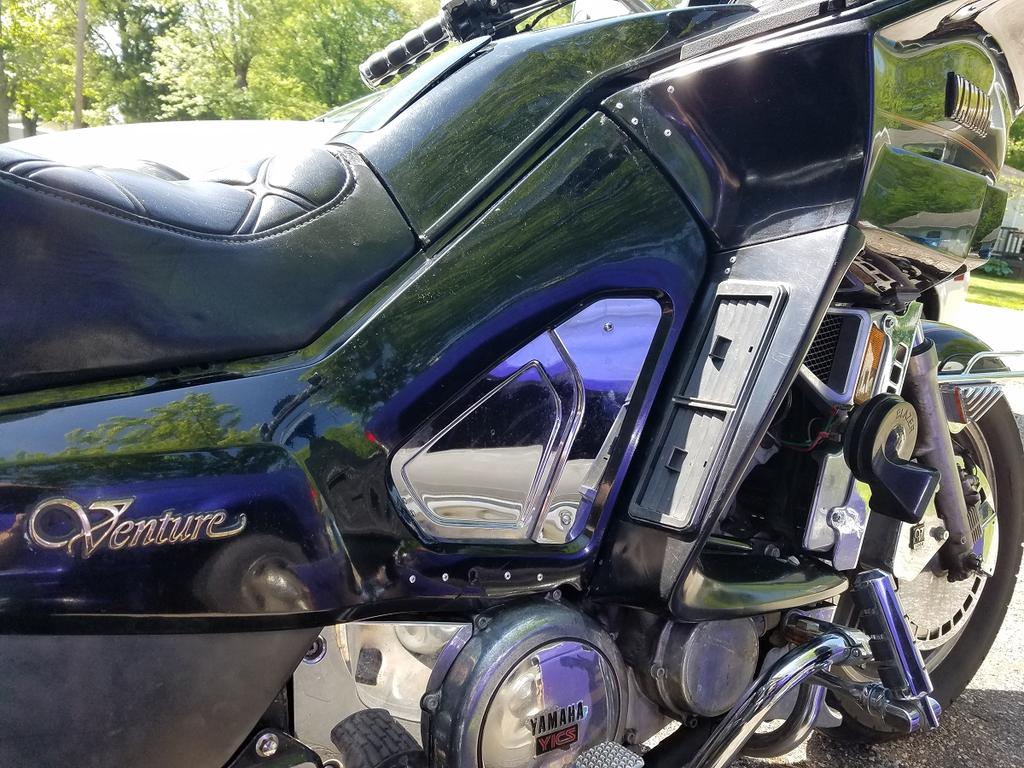
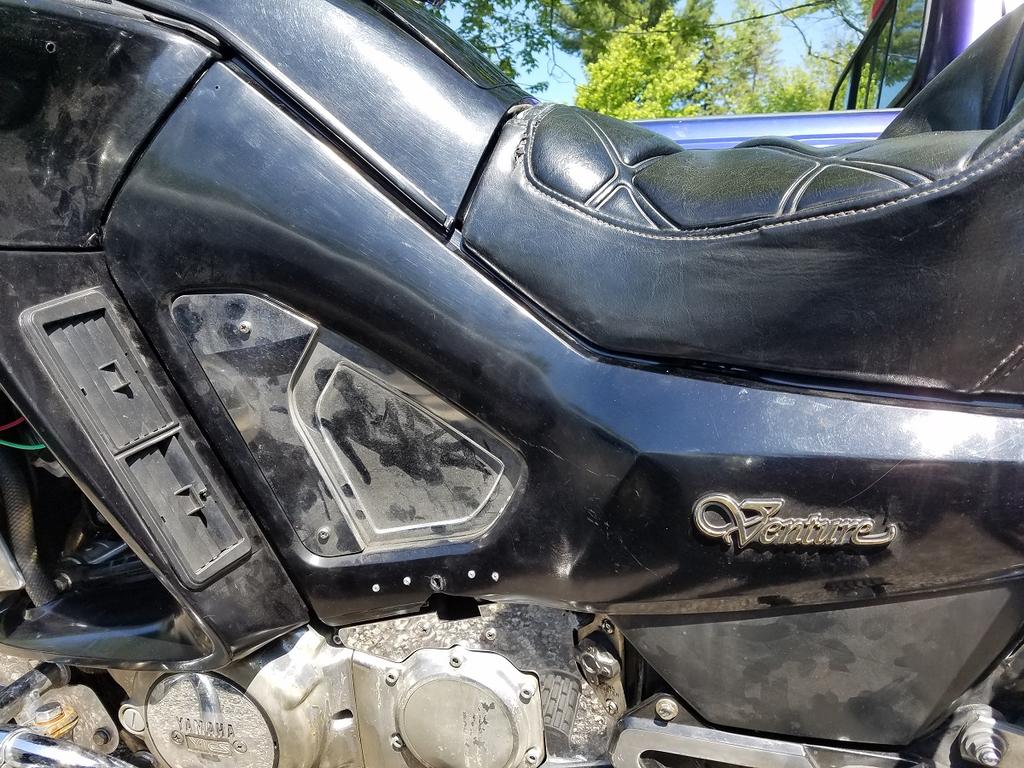
My '83 XVZ12TK (base model) has "Venture" in script on the luggage.
-
selling my venture stuff
luvmy40 replied to cruiserlover's topic in Venture and Venture Royale Tech Talk ('83 - '93)
Yeah, Len(chacal) is a miracle man. He's saved more Yamaha XJ bikes from the scrap heap than I can imagine. I suspect, but have no proof that he owns the forum. It may not even be any kind of secret, I've just never bothered asking. -
Specter Air filter MOD
luvmy40 replied to Ipleedthe5th's topic in Venture and Venture Royale Tech Talk ('83 - '93)
In my experience with K&N filters on Yamaha motorcycles you can usually get away with a K&N if you have not made any exhaust modifications. Remember that part or the air flow restriction is in the design of the air filter box. If you have not removed/modified the box, it might lean things up a bit but not drastically. Now if you've modded the air box and/or gone to an after market exhaust and then go to a high flow air filter you will definitely need to re jet your carbs. I ran a K&N air filter in the stock air box and Vance & Hines 4/1 header on my '81 Seca 750 with out re jetting by adding a couple layers of oiled shop vac filter paper to the filter. This restricted to flow enough to keep it from being way too lean. It also had the added side benefit of letting me just replace the filter paper rather than having to clean the pleated filter. I have not tried a K&N filter in my Venture. BTW, if anyone has gone to the pod filters, do you have tuning problems? On the inline engines(XJ) it's nearly impossible to get them to run well at all throttle positions due to turbulence at road speed. Even if you get the flow regulated at idle they stumble at WOT at speed or if you tune the flow to account for the turbulence they will not idle well and you have no power off idle. I'd think that may not be as big a problem on the Gen 1 Venture if you keep all the plastics in place. -
selling my venture stuff
luvmy40 replied to cruiserlover's topic in Venture and Venture Royale Tech Talk ('83 - '93)
cruiserlover, Are you a member at xjbikes.com? It's another great forum dedicated to the Yammaha XJ series. I've been a member there for many years as my first Yamaha was the '81 Seca 750, XJ750 RH that has now been relegated to parts status. I also currently have the '82 Maxim 750 which was my daily commuter till I found the XVZ12. Any way as Chaharly said, stick around, there's more going on here than Ventures. -
Since this was brought back to life I'll add my $0.02 Auto Zone has Rotella oils on sale right now. $14.95/gal on the white jug dino oil, in store. This may be local but check your area. Full disclosure, I work for Auto Zone but do not get any kind of commission.
-
There ain't enough Mother's in Ohio to make this engine shine!
-
I was able to order 2" flexible aluminum duct from the interwebz. I was just hoping to get it that day as I had an itch to start tuning things and don't really care for CO poisoning.
-
I finally got a round to fixing some of the broken plastics. She doesn't look all that different but there's significantly less rattling now and no danger of the side panels flying off on the highway.

-
I pretty much finished up the plastic repairs on The Beast today. There's still a couple places that are so bad I'm not sure if I can do anything with them but they aren't in critical areas so they may be left as is. I did have to use quite a few rivets so there will be a paint job in the future but I've never been one to worry about the bling. It may be a long time before it gets painted. For now at least there will be no more rattling or bits flying off as I go down the highway and the side covers don't need screws to hold them on anymore. After the epoxy sets over night, I'll put her back together and snap a pic or two.
-
emphasis added I checked with Yamaha for new emulsion tubes and was told they are discontinued.
-
cimmer, That carburettorshop . com parts kit is quite a bargain? I paid close to 3 times that per carb for OEM parts and didn't even get new bowl valve pistons.
-
Aftermarket TCI available!
luvmy40 replied to tvking63's topic in Venture and Venture Royale Tech Talk ('83 - '93)
Ipleedthe5th, Thanks! I recently opted to pick up a refurbished TCI for my '83(Thanks Mralex!) and it is working great but I wanted to go with the Ignitech just so I could go with the COP conversion when My 35 year old coils finally kick the bucket. I n the past, if my memory serves, The Ignitech could be programed to work with an after market vac sensor in place of the boost but it did come with the sensor. I'm also relieved to hear that the cost is significantly lower than I was expecting. -
I'd highly recommend replacing as many of the JIS screws with SS socket head screws as you can. I got mine through Fastenall and have some spares. I think I have enough of the larger mounting bracket screws to do another bank if you want to pay for shipping they are yours.
-
Ordered new grommets for the side panels and started work on repairing the plastics. I had 2 broken(one completely missing) bullet points and both sides have the bottom fingers busted off. The right side main fairing is broken at the rear where it bolts up to the frame and the lowers are really messed up. A little epoxy(devcon 10010 plastic steel) and some Kydex fabrication should do the trick. I just hope I can get good bonding to the ABS parts. It may take some rivets as well.
-
I haven't participated in a Bike Rodeo in a long time but I've worn out several clutch sets in slow races and my '84 stroker was king of the dirt drags in White Oaks, NM at the Hun's Run annual Memorial Day shindig a couple years running way back when!
-
You said you cleaned the carbs, but did you synchronize them? Also when you checked the coils, did you check the caps and wires? The resistors in the plug caps can go bad and the spikes get corroded. Trim back a half inch or so of wire at each end or just replace them. Bulk spark plug wire is cheap. I fought ignition problems when I got my '83. I had 2 bad coils, bad wires and a bad TCI.
-
In Ohio all private sales are off the books. Federal law states private sales can only happen between residents of the state in which the sale occurs. That goes for hand guns and long guns. All commercial sales must go through an FFL and a form 4473 must be filled out and either called into NICS or the NICS check can be waived if the buyer has an Ohio CCW issued after a specific date(don't remember what date). No waiting period unless NICS delays the transfer. If NICS delays, they have 48 hrs to approve or deny. If NICS does not approve or deny the transfer withing 48 hrs the FFL has the option to go through with the transfer or cancel the transfer. The whole thing about only being able to buy long guns form contiguous states is done. It was part of the 1968 Gun Control Act(GCA) but was amended in 1986 to remove the contiguous state limitations AS LONG AS NEITHER STATE INVOLVED IN THE SALE HAS ANY RESTRICTIONS ON SAID SALE. Your state may still limit long gun transfers to contiguous states or even deny transfers from any other state, but federal law does not.
-
The dealerships charge the same regardless of whether you ask for V Max or Venture parts. Not sure about Partzilla and the like.
-
Found it. Damon Ferraiuolo has a DVD that goes over rebuilding these carbs in great detail. He also has a dvd on rebuilding the V Max engine which would be of great value to anyone diving deep into the XVZ engines as well since they are for all intents and purposes the same engine. here's a link to some short clips from the carb video. You have to email Damon at Damon_Ferraiuolo@msn.com to get the dvds. I got both for $20.00 delivered about a year ago.
-
I am the exact opposite. I logged many,many thousands of miles on HD V Twins before I found my true love in the 80's Yamaha inline and V4, XJ and XVZ bikes. I might be persuaded to try the new Venture V Twin, when I can buy it used and at 1/4 the new MSRP. But that will likely depend on whether or not I have running Gen 1 under my butt or not.
-
The bowl drains are easily accessible from the side under and behind the diaphragm hat. Mine has never had the vent lines or drain lines installed but I think the drain lines should be sticking out of the two small holes in the side rail between the carbs on both sides. If there are hoses there, they should be your drain lines. the Pucster likes to use the drain lines and a syringe to fill the bowls with Sea Foam or Berrymans B12 and let them soak. Be careful if you go with Berrymans, it's much more aggressive than the Sea Foam. Personally, I'd pull them and do a thorough cleaning and inspection. Make sure to take some pics so putting everything back together is easier. There is a very good set of rebuild videos available. I can't seem to find the link to the guy selling them but someone else will show up that knows shortly I'm sure.
-
Rafterd, I get ya. I do. I'm an acceleration junkie. I don't really care what the top end is as long as twisting her tail sets me on the back seat and makes me hold my breath. I also like to cruise in comfort. My gen1 Mk1 is as close as I've come so far to getting the best of both of those worlds. It's not quite as responsive as my GSXR was but it is far more comfortable than any other bike I've owned and it jumps quite respectably.
-
I seem to forget about the "Classifieds" the way you have it set up. Most other forums I am active with have a "Buy Sell or Trade" forum and that is what I tend to look for. I do like that the classified section is separated into specific categories and I like the fact that there is a predetermined time limit to the postings. Is there any way to keep the classified section the way it is but have new postings show in the "what's new" or 'New Posts" lists for subscribers?