saddlebum
-
Posts
6,866 -
Joined
-
Last visited
-
Days Won
169
Content Type
Profiles
Forums
Gallery
Events
Store
Everything posted by saddlebum
-
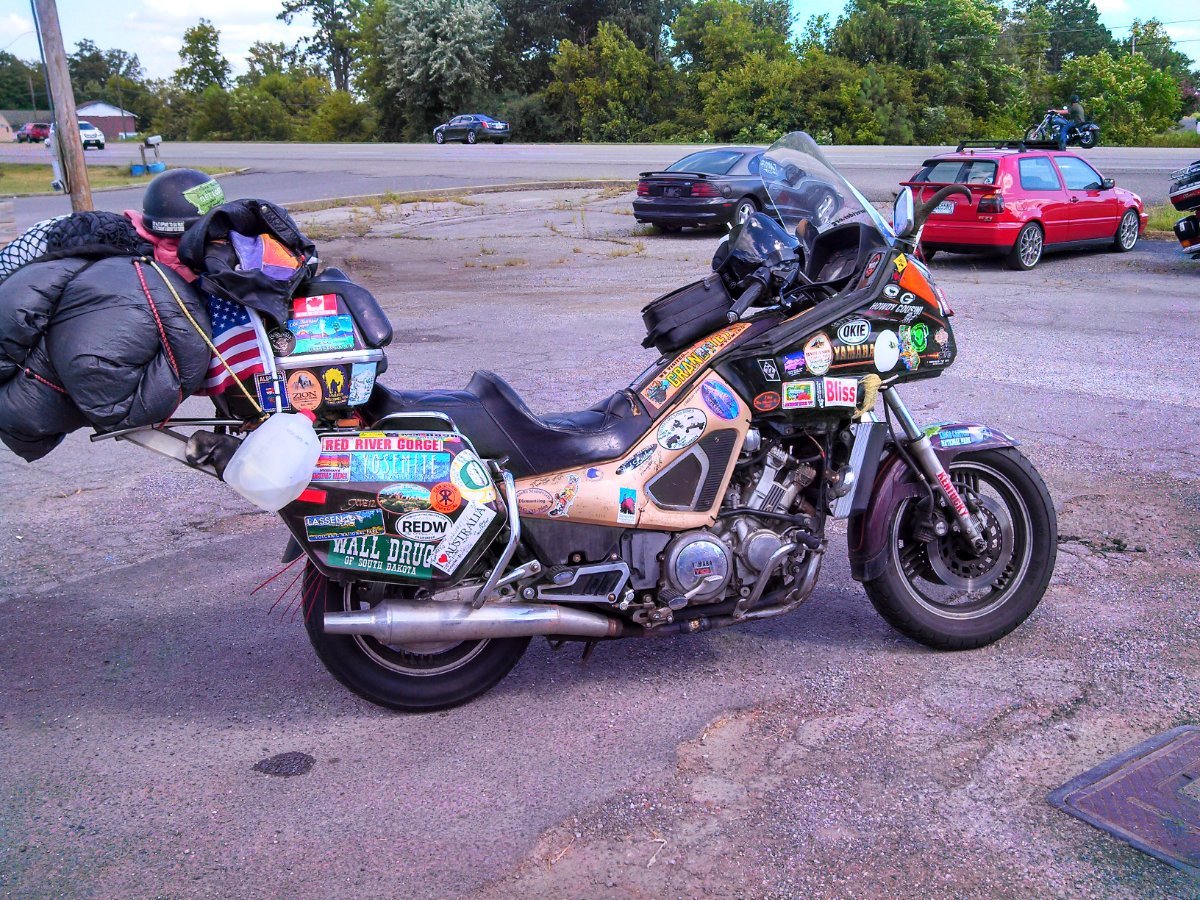
 and most of his riding was two up plus gear
-
It depends on the location of the bolt and how it is situated, sometimes there just is no way for a wire to work. In the trucking industry lock tabs are used a lot because of this. One thing to be aware of although lock tabs can be reused there is a limit as to how often the tab can be bent before it fatigues and breaks or becomes too weak to be reliable. In that case you either try to make use of the other tab or replace it completely
-
And I do believe most of them had the second gear issue (which is why he got them so cheap) but he just rode skipping over 2nd gear going from 1 directly to 3.
-
Marcarl is correct. these are lock tabs which prevent the bolt from backing off after they are tightened. Bend the tab away from the bolt head and flatten it out so you can get a wrench or socket on the bolt head. After you tighten the bolt up again bend which ever tab will go up against the flat of the bolt (It does not need to be the same tab either one is fine). If neither line up with a flat tight the bolt until at least one does. DO NOT back off the bolt to get a tab lined up, always tighten the bolt to the next possible flat.
-
Yes welcome to the site - Good to see another Ontarian checking in.
-
Passenger Foot rest Rubber
saddlebum replied to Rightlever's topic in Links to Classifieds, Craigslist, Ebay, Sales, Etc.
I have purchased just the rubber alone for my 89 from Yamaha. -
06 RSTD. Need to rebuild calipers.
saddlebum replied to Kinglicious's topic in Royal Star Venture Tech Talk ('99 - '13)
Also check out https://www.manualslib.com https://www.manualslib.com/manual/1362718/Yamaha-Royal-Star-Tour-Deluxe-Xvz13cttc.html?page=396#manual -
I have actually used that web site a few times over the years and it is not perfect but still not bad. It depends a lot on updates from those who use it as well as those who maintain the site
-
Doing things differently Is true. In my case I dump in stabilizer or seafoam, fill the tank with fresh gas from an ethanol free pump, go for a short ride to get it well into the carbs then top the tank to remove any air space that can contribute to condensation. (I'm Lazy what can I say) Plus I will take the odd ride on a nice winter day.
-
My Unicorn find and what I am looking at an for please advise
saddlebum replied to 84VentureMatt's topic in Watering Hole
I am not surprised I found many of the brake splitter balance valves full of yellow/whitish crap which not only clogs ports but builds up around the internal spring. This is why when I delink the brakes I do not just cap the one port but remove the valve completely and go direct to the master. -
My Unicorn find and what I am looking at an for please advise
saddlebum replied to 84VentureMatt's topic in Watering Hole
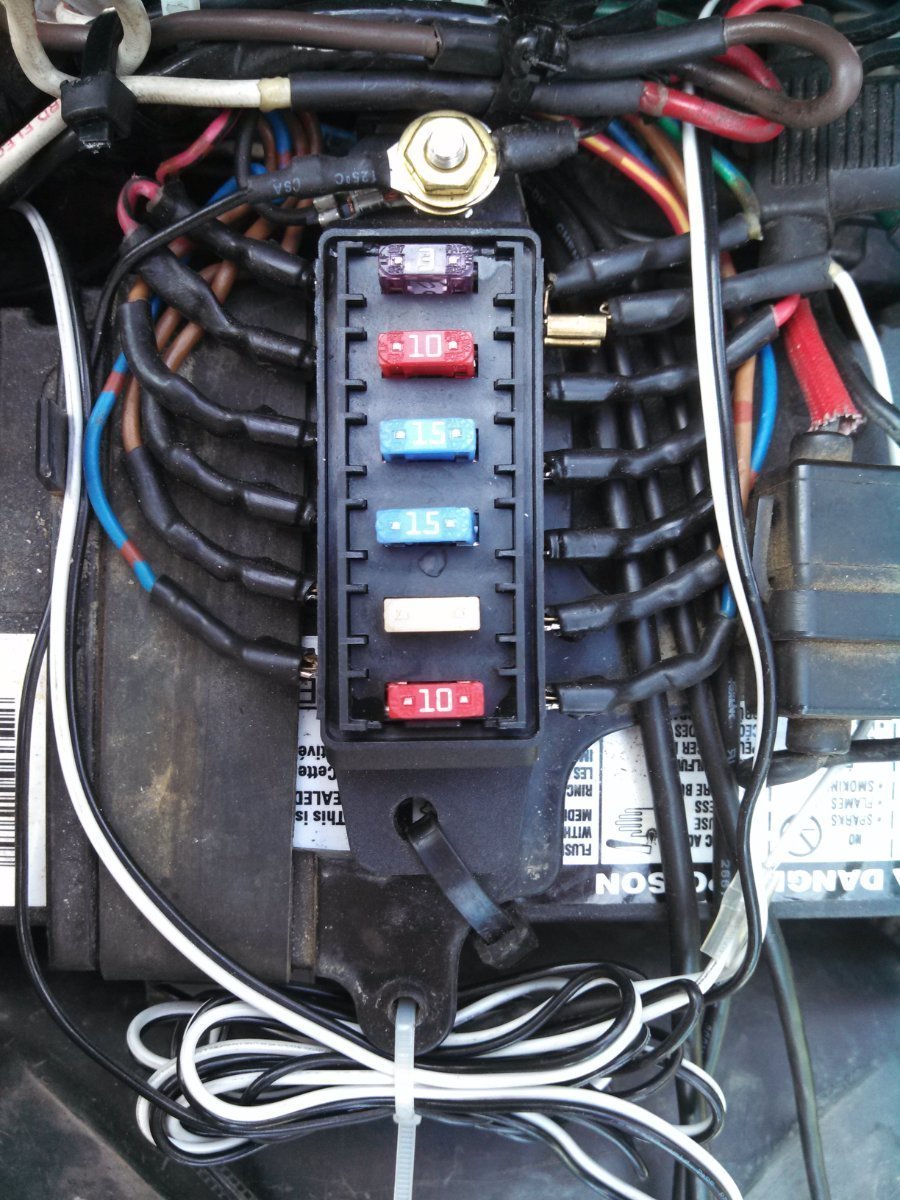
Skydoc is definitly a good source and I have had great dealings with him. The problem for me with dealing with Skydoc is not with skydoc but the darn customs and duty taxes related to shipping parts into Canada. The fuse blocks are also available through most auto parts and marine parts dealers. The mini atm fuse holder such as what I used seems to be a tad difficult to source but not impossible. In most cases they may have to check with their suppliers such as Littlefuse or Bussman or blue sea and order it in. Amazon is another source. https://www.amazon.com/Position-Mini-Compact-Fuse-Panel/dp/B06VWC31L7. Having said all that if your in the US Skydoc is the way to go. I also replaced the OEM main fuse located close to the starter solenoid with an inline MAXI fuse like the one in this link https://www.littelfuse.com/products/fuse-blocks-fuseholders-and-fuse-accessories/automotive-and-commercial-vehicle-fuse-holders/maxi-mah https://www.amazon.com/Bussmann-HHX-Line-Holder-Cover/dp/B000CZ2Z92/ref=sr_1_4?crid=26EPA12QCUJOQ&keywords=maxi+fuse+holder&qid=1644850765&s=automotive&sprefix=Maxi+fuse%2Cautomotive%2C138&sr=1-4
-
My Unicorn find and what I am looking at an for please advise
saddlebum replied to 84VentureMatt's topic in Watering Hole
Congrats on your find. As stated these guys are blast to ride and comfort wise I don't think they can be beat. I actually found long hours on this bike more comfortable than riding in a car and have done day trips well in access of 10 hours. The main upgrades you really need to do IMHO is replace/upgrade the fuse holders, (including the main fuse, ( upgrade it to a blade type Maxi-fuse). Replace the clutch slave with a new one, upgrade the clutch to either a Barnett or one of Skydoc_17's upgrade kits. Replace the brake and clutch lines with quality brake certified stainless lines and While your at it I definitely recommend de-linking ** the brakes. I have not done the caliper upgrade because I found that after de-linking the brakes, the front brakes were fully capable of locking up the front wheel and causing the bike to do a nose stand lifting the back wheel clean off the ground ( I would say any more brake power than that is just wasting money ). Ignition switch issues common to the second gens are not an issue with the first gen so I would not bother messing with the ignition, If your adding lights etc go through an add on relay switch. There are various ways to wire it up depending on how you want the add on's to function. I would add a manual over ride switch for the cooling fan (Handy to have in stop and go traffic in hot weather or in case the fans thermal switch should fail not that it ever really happens much). Additional upgrades such as progressive springs are a nice touch (and many like the upgrade, (myself included) but depend largely on what type of ride characteristics you want from the bike. ** de-linking the brakes - the left front and the rear caliper are linked together. This great on hard dry road surfaces but can be an issue in loose surface material were you would not normally use the front brake and has cause front wheel related wipe outs. By de-linking your are removing the left front caliper from the rear master and pairing it up with the right front caliper this not only gives you independent front and and rear wheel braking control but increase front wheel braking. -
Don't know what your worried about..... You Hide the beer anyway...
-
Thats for sure and lets hope this covid goes away so we can all cross paths a bunch more.
-
Barnett Clutch Plate
saddlebum replied to Miamick's topic in Royal Star Venture Tech Talk ('99 - '13)
I put a barnett in so long ago I cannot even remember how far back it was but Its still working great and I love how it works. I put in the carbon fiber pack and would definitely use it again if ever I had to replace another clutch. The carbon fiber is real good for slip clutching when your in a situation were you want to keep going at an extremely slow pace without stalling the bike like in stop and go traffic. -
Those pictures bring back memory's of rebuilding my bike in 2007 after it was written off when I was run off the road. I went through all the same steps. The sanding part was the worst. Just when you think your done sanding you spot a piece that looks better than the rest and you realize your not done sanding just yet. Grab more paper more water and another case of beer (YEH.. BEER ....BEER is very important when sanding ) and saddle I mean settle right back into sanding. But once it is done you and the final paint job looks great. You feel real good about what you did which by the way calls for another case of beer to celebrate a job well done.
-
I would imagine the Pros would be the same as with the Hot Rods. More positive valve action. Because in most of these setups heaver springs are used to eliminate valve float at high RPM's. The Cons would be that the valves would have to be adjusted to a proper valve clearance at periodic intervals. Because the mechanical valve setup requires a given clearance versus no clearance required for hydraulic lifters the engine will run a little noisier until warmed up. So the only advantage to hydraulic lifers is a quieter running engine and the elimination of periodic valve adjustments. The advantage of Roller rockers is reduced wear and operating friction. Elimination or reduction of valve float and improved performance.
-
Like it or not I am still here. ........
-
How about something like this
-
Sometimes you will find a case were a spark will jump the plug gap in the open air but it is not strong enough to spark under compression. Get yourself one of those adjustable spark testers they are cheap (not the enclosed ones). but similar to one of these. Widen the gap to I believe about 5/8 of an inch a strong spark should jump that you can open the gap more to see how wide you can go before it will no longer jump the gap. If you do use an inline spark tester I believe the spark should be able to jump a 1/4 inch gap. If all four pass this test than your CDI unit should be in good shape. Also try cranking the bike or (even running) in the dark and look for stray sparks (in the trade we call them Christmas lights) You can even mist water over the plug wires to enhance the effect. If you see any stray arcing along the plug wires or plugs than they need to be replaced. Don't forget to check the coils as well in the same manner to determine if it is carbon tracking or cracked.
-
I believe at least 95% of the parts are the same.
-
Could have been some debris between needle and seat which dislodged during the trailer ride. I would dump a whole can of sea foam into a full tank of fuel let it run for 15 to 20 minutes until the engine is hot then shut it down and let it sit until the next day then take it for a good run. If that does not work You could also drain the carbs remove the fuel inlet lines at each carb shoot a good dose of carb cleaner into each carb inlet, reconnect the fuel hoses and after about forty minutes fire up the bike and take for a good run.
-
Good thing you did. You were starting to look like @Marcarland I am not sure there world could handle a second one.
-
-
As mentioned a lot of variables go into tire wear as do certain trade offs. The pressure stated on the tire is the max load the tire can take at its max pressure. The bike manufactures tire pressure is the recommended tire pressure for that specific bike based on what the manufacture considers would be an average load or weight place upon the tire. One can vary on the pressure based on what he is carrying. Constant highway driving and at what speeds or constant twisty's also effect how a tire wears. Measuring the tread depth across the face of the tire is the best way to judge if the pressure in your tire is right for your style of riding. For example if you do mostly highway riding and the tire shows more wear on the sides than in the middle you need to raise your tire pressure (NOTE too low pressure also causes more side wall flex creating more internal friction in the tire casing raising tire temperature and premature tire failure ). If the tire shows more wear in the middle than your pressure is too high for your situation. This also creates less contact area between tire and road surface. adding to excessive tie wear mostly down the middle of the tread. Another thing to consider is the fact that in most cases (and there are exceptions ) that tires that wear faster generally have better road grip due to softer compound versus tires that produce higher wear miles. I have run dunlop E3 and E4's through my last several tire changes and got amazing millage out of them. BUT I always ended up changing them before the tread were down to the wear indicators, because once they reached a certain point they became slippery in the corners. So if your doing a lot of twisty roads I would probably stick to the 777's But if your primarily doing straight highway driving specially two up and/or with extra payload I would recomend giving the E4's a try.