Leaderboard


Popular Content
Showing content with the highest reputation on 10/02/2021 in all areas
-
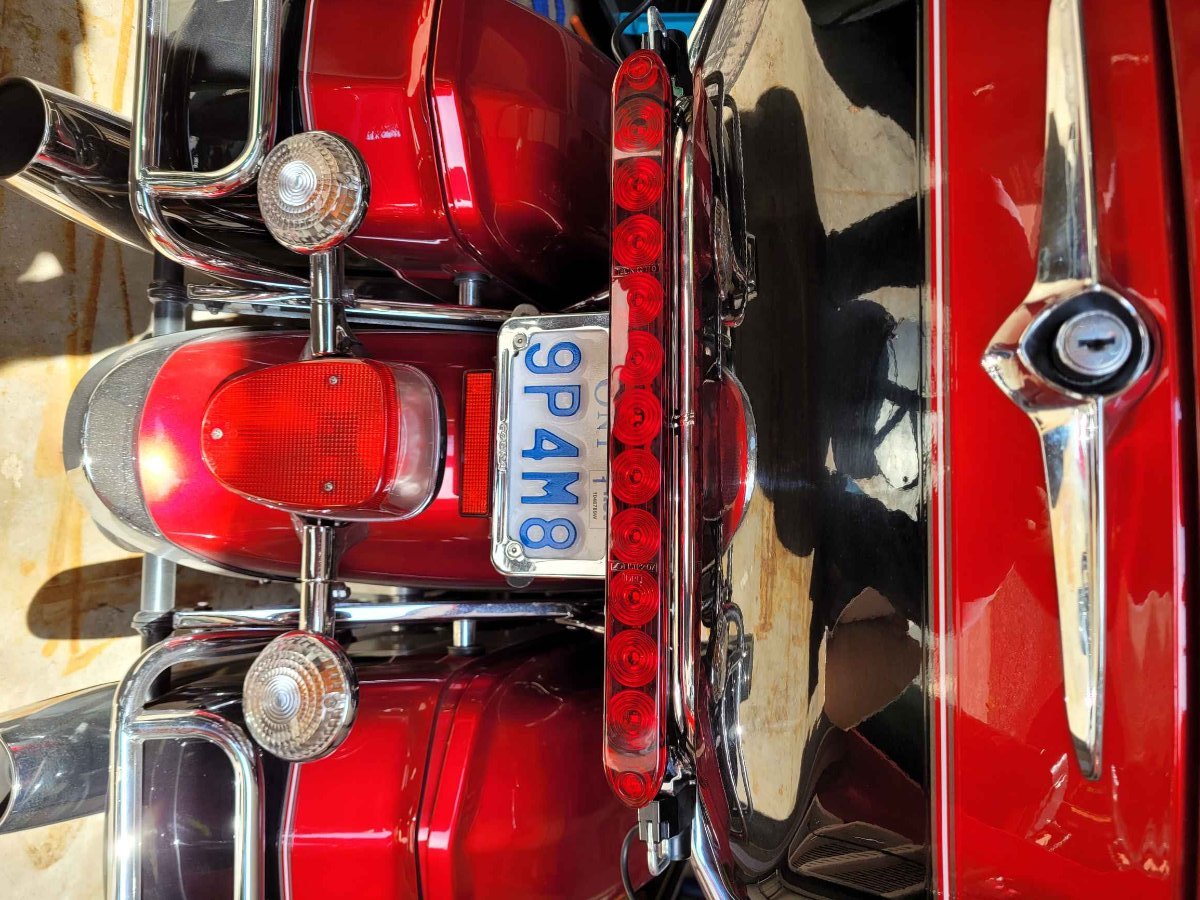
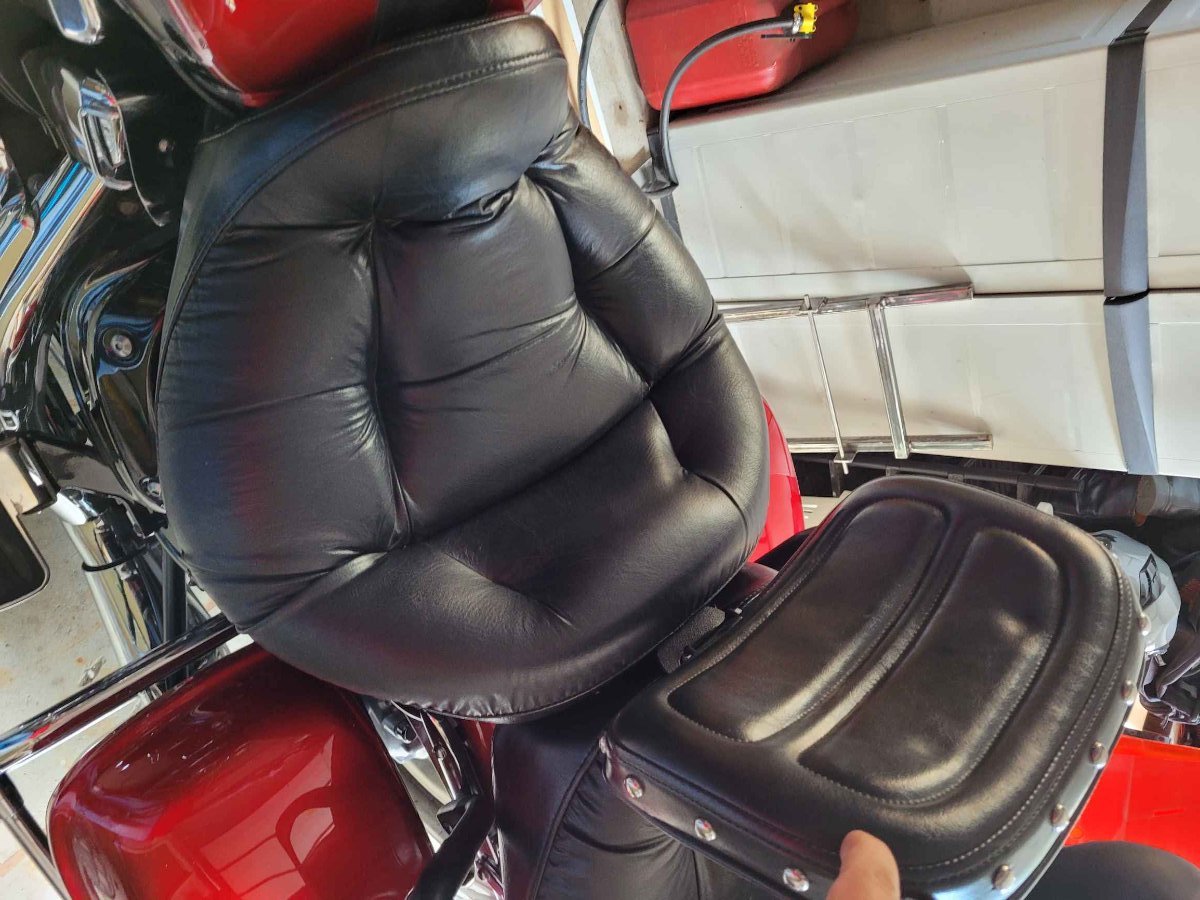
As we all know, this group of misfits has some amazing members and I need to take a few minutes to thank 2 of them. Big thanks to Videoarizona - David for paying it forward with a Utopia backrest. I installed it today and can't wait to go riding. I will be paying it forward in another thread with the backrest that I took off the bike. Big thanks to M61A1Mech - Steve for the rear light bar. I installed it today, and the quality of the work and all the plug and play connections made it simple enough that even an electrically challenged dummy like me installed it.....and it works! Thank you very much gentleman. Attached Sorry for the pics...they appeared the right way when I loaded them.
 3 points
 -
The hop n skip don’t bother me, it’s the 168hrs in the last 13 days getting to me. I can’t even make it he 8 miles to Ky Lake.2 points
-
That’s no excuse. Just a hop, skip, and jump.2 points
-
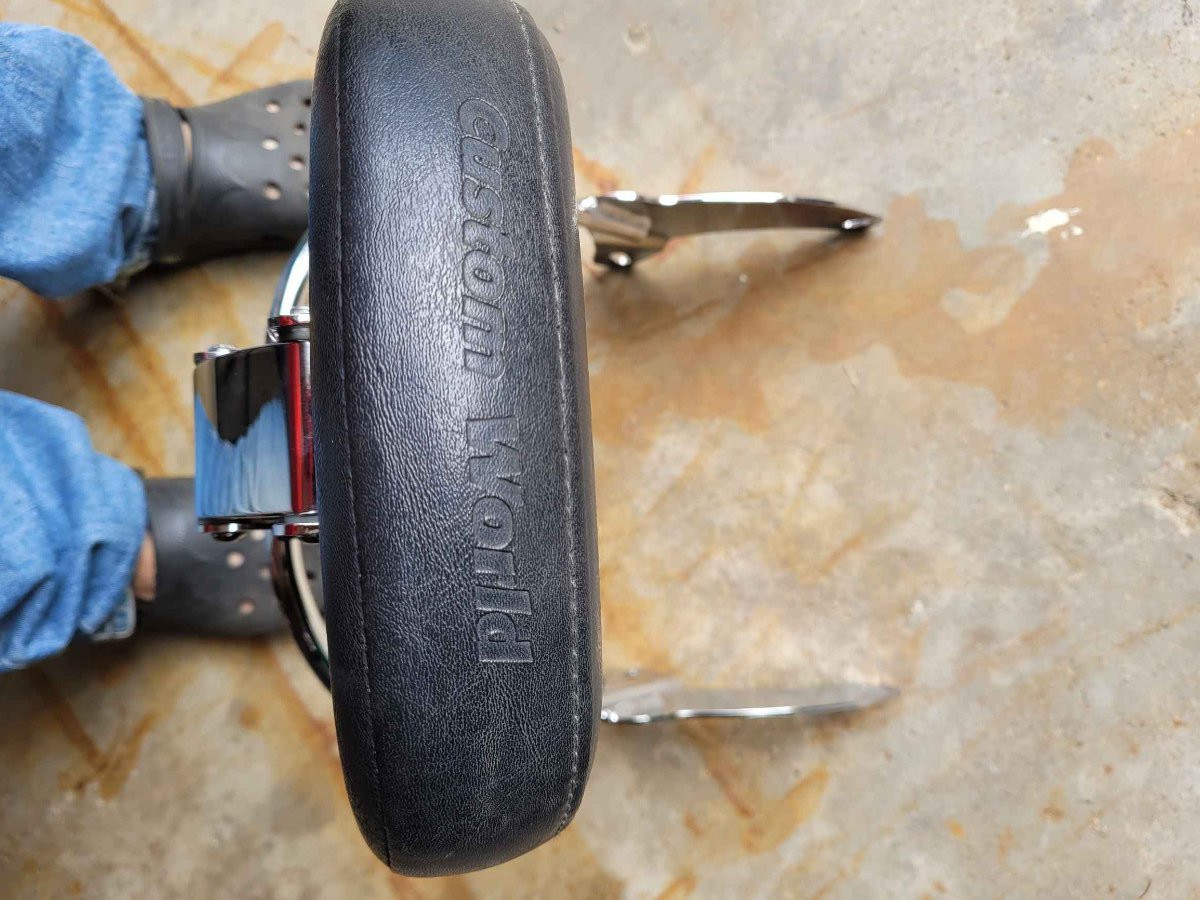
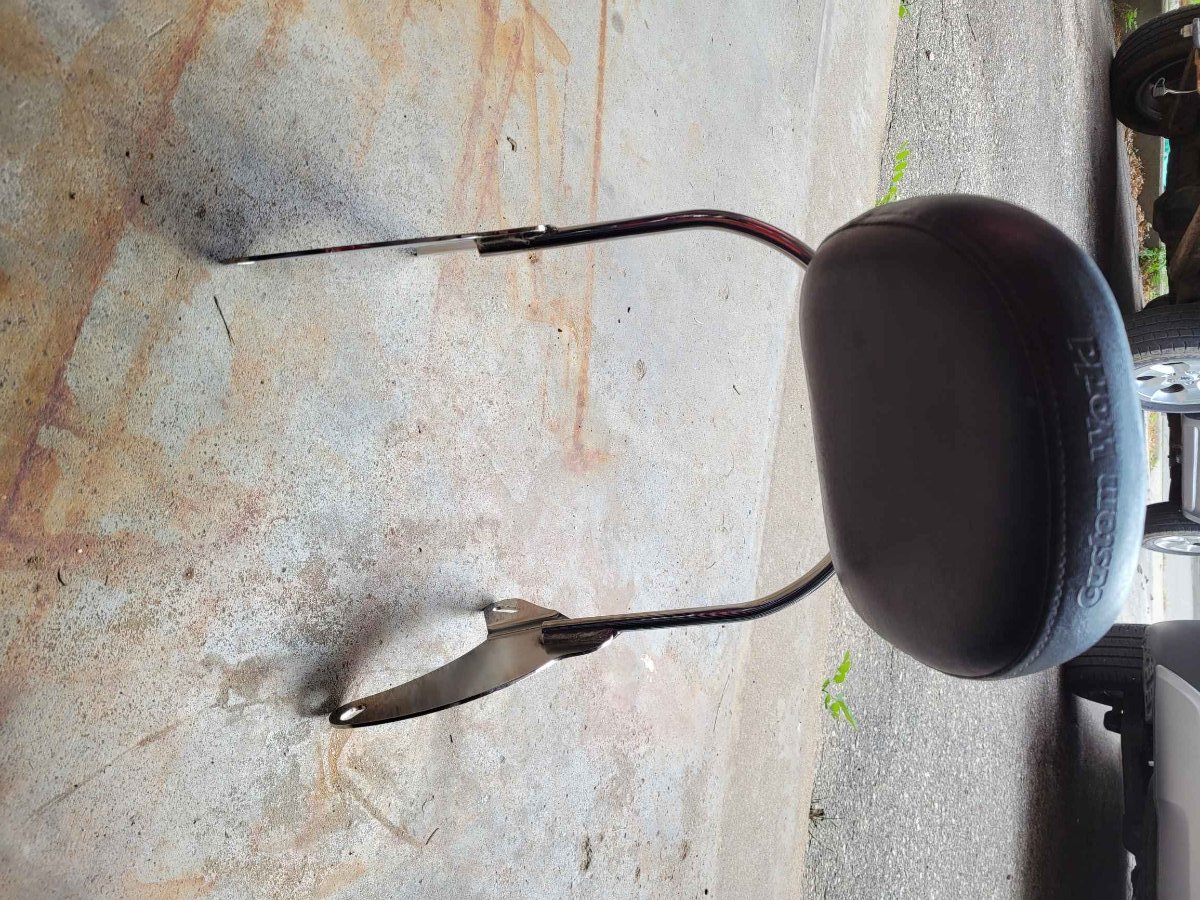
Time to pay it forward. I took this backrest off my bike and replaced it with a Utopia rest, which was GIVEN to me so I am returning the gesture with this backrest. It is FREE to a good home, you just cover the shipping. The backrest is in great shape.
1 point
-
Great for bug and tar remover too 👍1 point
-
Did the WD40 cause it was close at hand. Took it all off in about three swipes. Thanx!1 point
-
X2 on WD401 point
-
Right state, wrong lake. Wish I could make it over to drown a worm with you but it’s 225 miles and they’re trying to work us to death. Make it down to the rally in May and we can scare up some cats in Ky Lake. It’s a good bass n crappie lake too.1 point
-
Try WD-401 point
-
Try some non-chlorinated brake cleaner on a rag.1 point
-
I lowered my forks about 1 inch on the triple tree. Made a big difference in low speed handling. I'm running stock front tire. I like the added width for stability at 75mph on windy days. Make sure you turn the Schrader valve pointing out to make it easier to get to... to air the shocks. When she starts getting hard to find neutral, time to change oil. I've hit the rear brake to hard and locked up. Scary. Went to organic pads. R1 brakes in front are very good change! Or any of the other Yamaha big bike front brakes that fit. The only think I can add, is don't short shift this motor. It's a high revving V4. You will get the best performance and fuel mileage by staying in upper rpms. I use 4th most of the time on State roads between 40 and 65mph. In high winds, I'll shift down to 4th and cruise all day at 65/70. Won't hurt a thing. Don't need a tach, just listen to the motor. I've hit the limiter so many times, we are friends at this point! Seriously, it's a really nice motor...for many reasons. To me, the only downside is the crap gas with the carbs. I counter that with Seafoam or Techron once in a while. Especially if not riding for a month or so. Get a hand pump for shocks. I run 5lbs in front and 25 in rear. Oh....browse through the tech sections. Lots of good stuffing hiding out there! Enjoy the scoot!!!
1 point
-
Check the floor of the trunk for cracks. The early 99's where lacking support washers and some of the trunks cracked.1 point
-
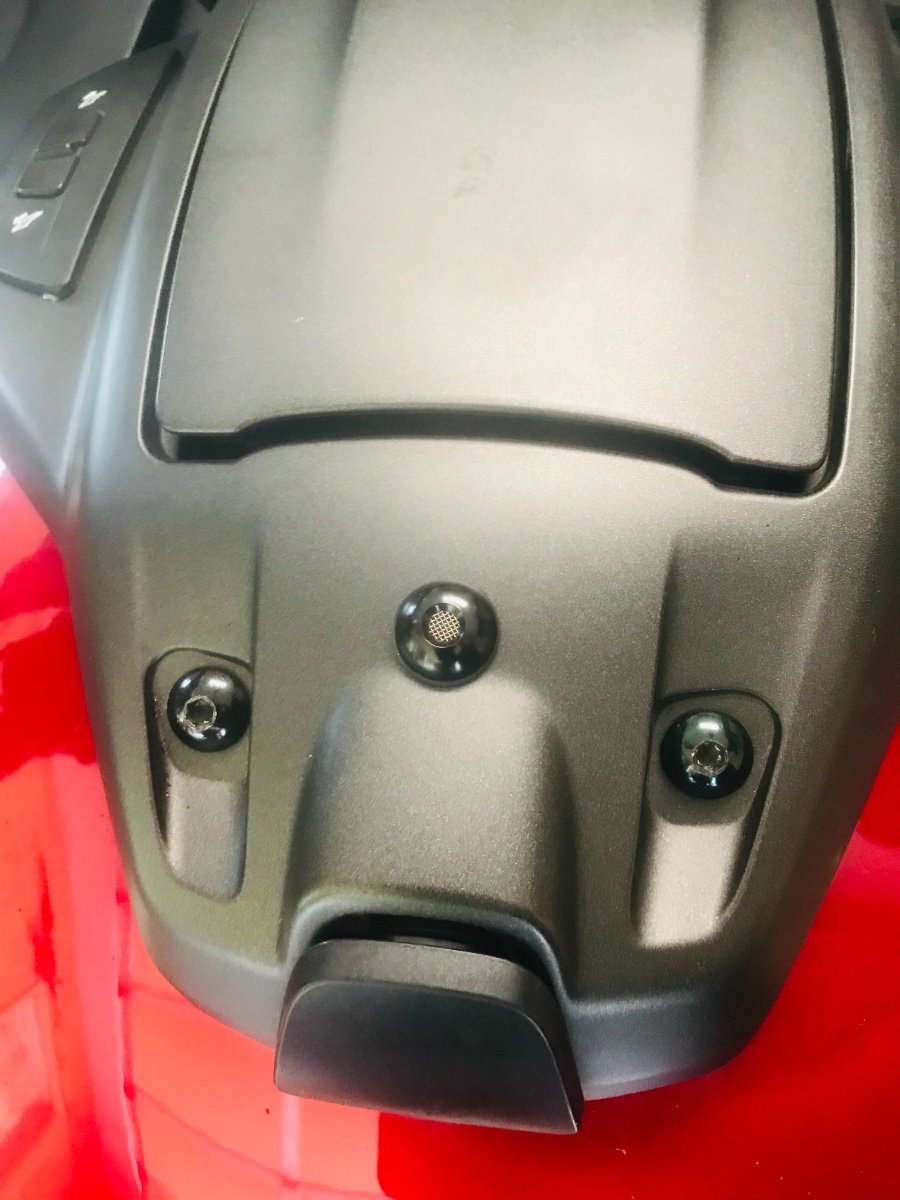
UPDATE: well the camera unit mounted in the trunk contains a “built in” mic, but that doesn’t help much. All I’d get is some engine sound and rear speaker music. Fortunately it had an AV jack for an external microphone. I did some research and found a small waterproof mic, mounted it in a perfect place “no wind noise” cockpit. The cockpit acts like a reflector to pick up voice comms, some engine sound and of course music. Perfect blend! Here’s the final results. It’s the black center dot. I think it looks factory and you’d never notice it unless it was pointed out. Of course now that everything is recorded, I have to watch my “road rage” verbiage! 🤣
1 point
-
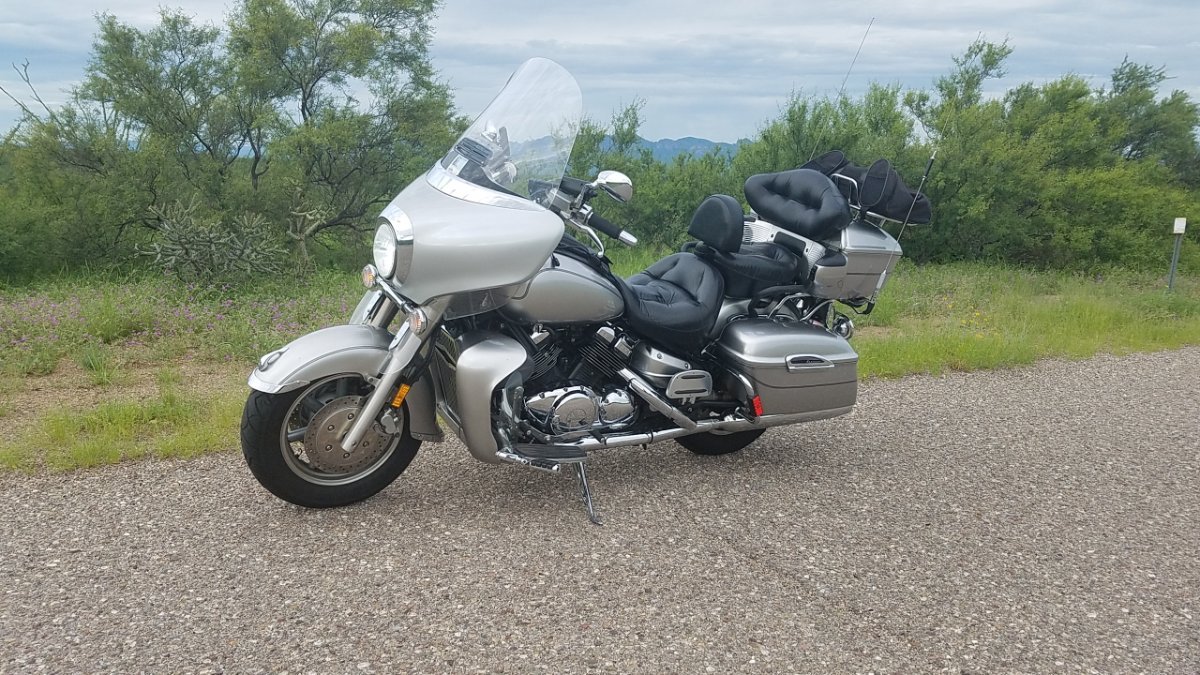
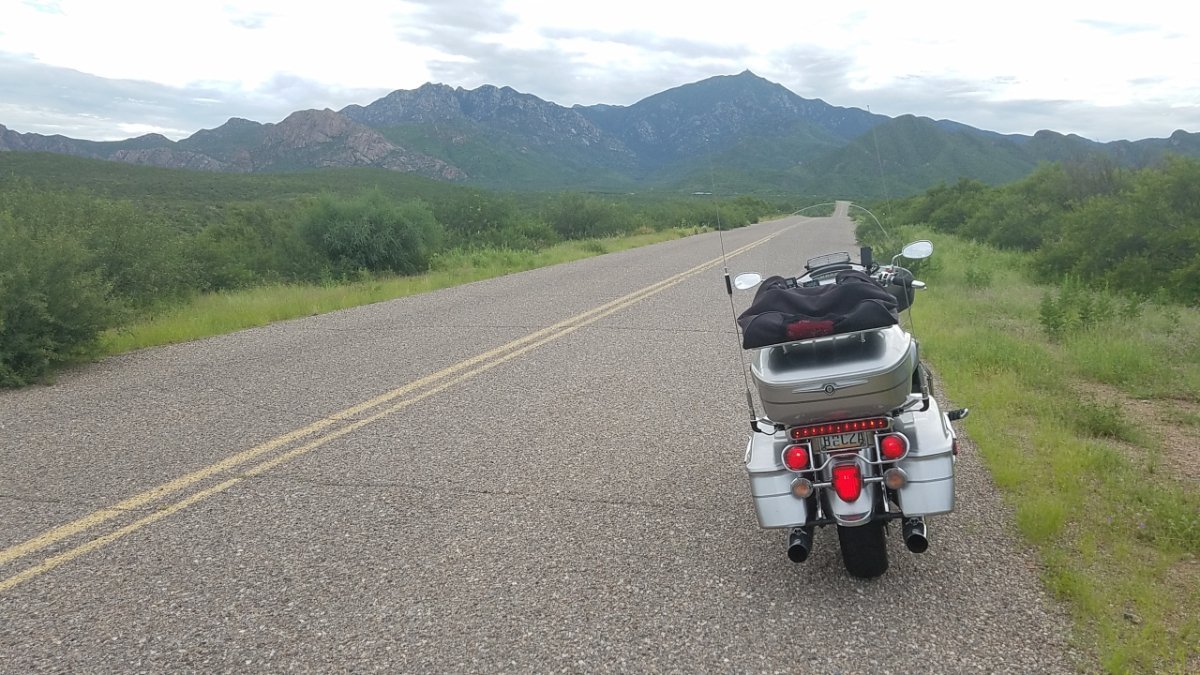
Rain finally let up here in Southern Arizona so have been riding the past few days! Lordy does it feel good to have the wind in my face! And... Southern Arizona is green again!!
1 point
-
Gave my '07 RSV an oil change and also changed the gear oil then went for a ride with no destination whatsoever. Along the way, picked up a dozen sweet corn from a farmer and couldn't wait to get home to eat it. Ride Safe All.1 point
-
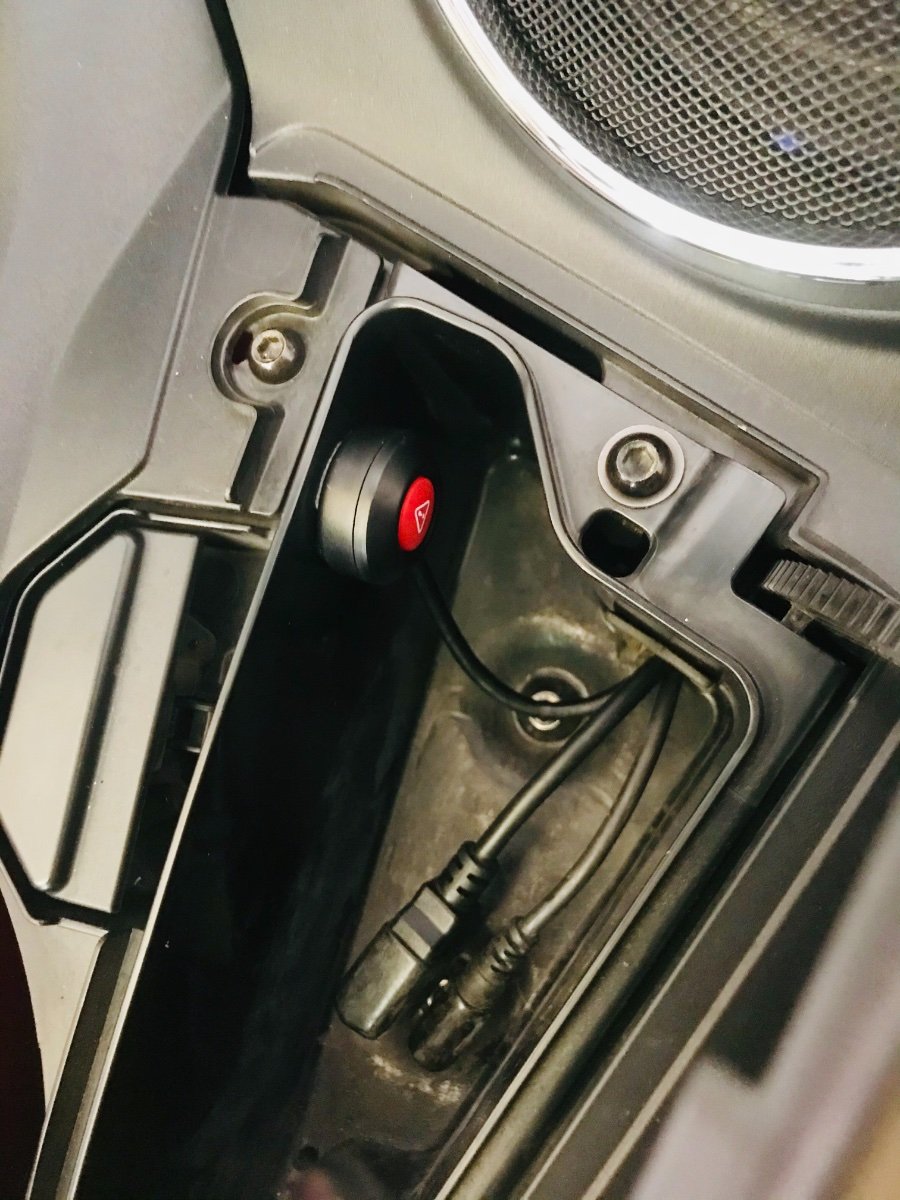
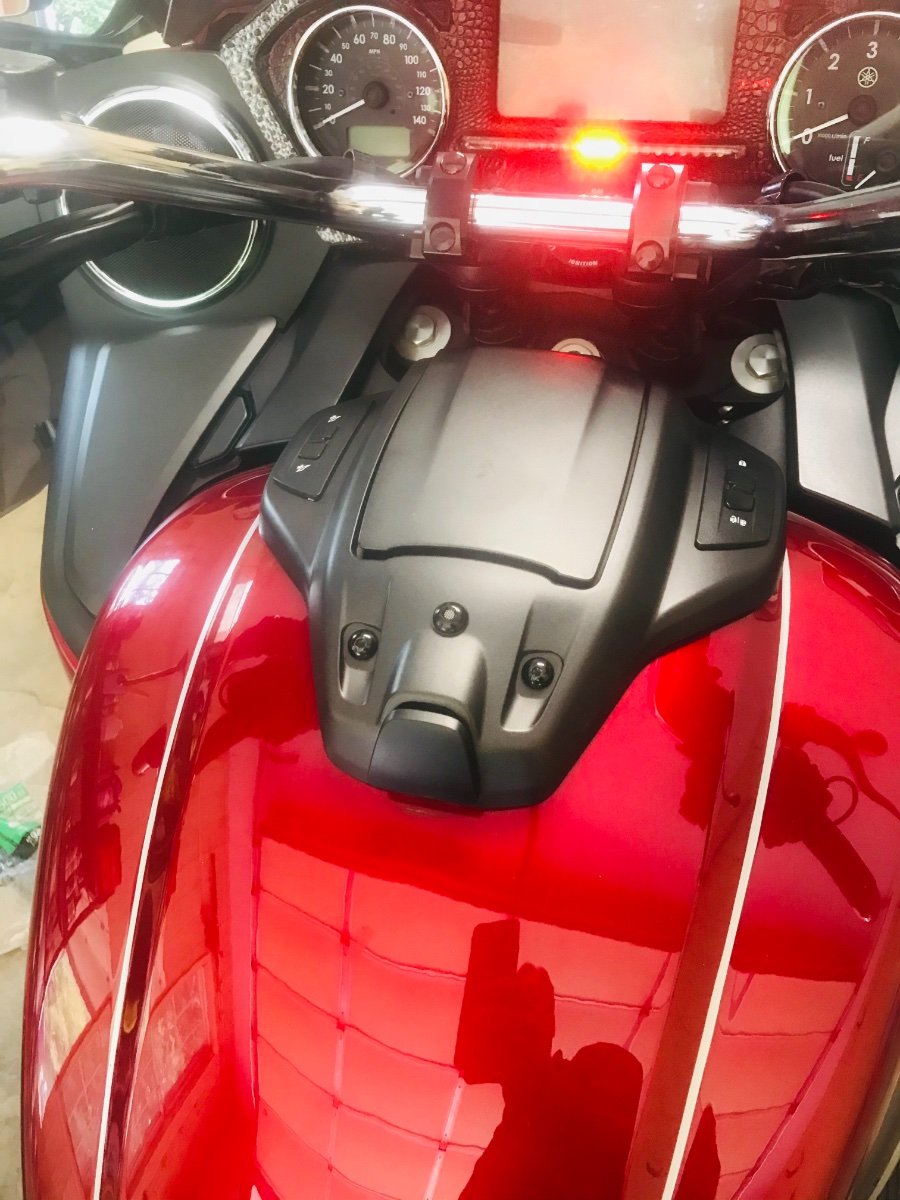
Well, finishing up putting in a dual camera system with night IR capabilities and wi-if for live streaming rides. The button for still shots was not waterproof so I put it in the right cubbie.
1 point
-
Had a beautiful 70 degree ride into work, and 15 miles of pouring rain coming home. Life is good God's still sovereign and let me make it home in 1 piece.. thanks Jesus 😁1 point
-
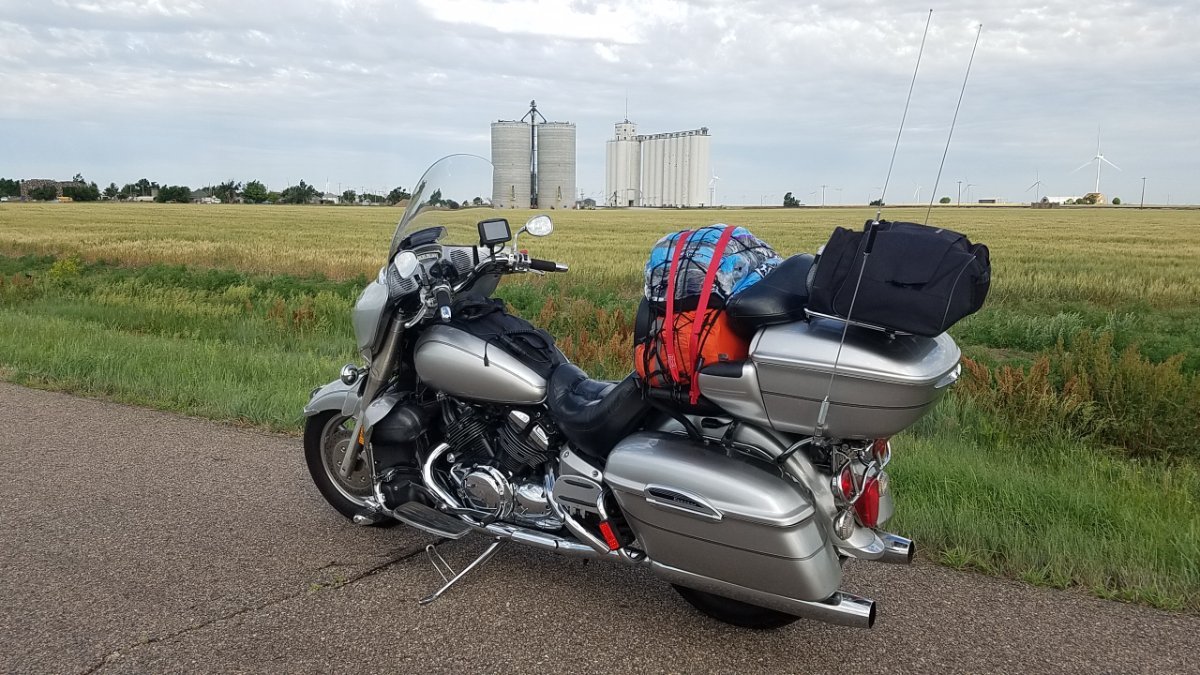
Brought the RSV home from Phoenix. Yes, I put it on a trailer! Shame on me...right? Nah...when it's 110 degrees, I'm not riding without air conditioning. And no, 130 degree air blasting back at me at 75mph is not AC! Now that she's in the garage, which is insulated, I can work on her at my leisure. Right now, though, trying to make room for youngest kidlet and boyfriend...coming back into town to get her Master's. Bringing cat and boyfriend. Will stay here until they find a place in Tucson. So won't get much done while I visit with them. But nice to have RSV home!
1 point
-
Hey Guys, I am humbled by your kind words about the line sets I provide for the VR.ORG Members! Now, Frank I have the ability to make up Aircraft quality, Kevlar lined S.S. brake lines for any motorcycle. I keep the fittings for the metric bikes in stock, but can order fittings for HD, Victory, etc. that use inch fittings. I am certified by the state of Pennsylvania to construct Hydraulic lines for automotive use. (This means motorcycles as well) I do offer The De-Link Kit for the MKII and MKII First Gen. Ventures, as an upgrade, but can make up stock lines as well. Special fittings and custom lengths of the line material control the cost of each line. A package of lines would be cheaper than a single line, per line. To be honest, it cost me more than $30.00 to construct a single line for the Venture. As Saddlebum mentioned, The words "Cheap" and "Brake Line" should NEVER be in the same sentence, in my opinion. I am sure I can beat the price of your standard Gaffler line sold on Ebay, plus the lines would be constructed to your exact specs with install support after the sale. I regularly construct custom lines for extended handle bars, Caliper Swaps, and Master Cylinder Relocations. If I can help you with custom brake lines Frank, please feel free to PM me. Thanks again guys, for the kind words! Earl1 point
-
I "got the opportunity" so decided I would share... Do you have the carbs off? There's an easy way and a tough way to get the throttle and choke cables off. I finally found the easy way... The carb assembly also needs some "proper" persuasion to get up off their mount boots! Remove the air cleaner... there's a small hose at the front bottom... disconnect it at the air box. There's a large hose at the bottom, rear, center... disconnect it at the ENGINE... this lets you use the hose as a guide when you put it back (plus you can't get to the rear bottom of the air box when it's going back together. Loosen the four rubber boot clamps below the carbs and now it's time to work these up. They don't want to because it's a tight fit but work one side up a bit and then do the other until you have them up. I used two pieces of hardwood to pry the carbs up... one side a bit at a time. Then you pull the carbs a bit out the left side. Run the throttle adjust nut at the handlebar in to get some free cable. Loosen the adjustment coupler right at the carb all the way. Pull THAT cable housing up from the carb cable holder and slide the cable through the slot in the carb mounted holder... there's just enough slack to get it out of the holder! Then you can tip the carbs to see how to disconnect it. Now you can roll the carbs OPEN and get the takeup cable off. The choke is easy, loosen the clamp and slide the cable free. I had three mixture adjust screws set at about 2.5 turns out from bottom and a forth was frozen. I sprayed penetrant spray and over a day worked it in and out a bit at a time... I think the magic setting is 2 to 2.5 turns out from a CAREFULLY bottomed position. More on this later. Before you break the 4 carb assembly apart, make a little drawing of the choke linkage layout and note the spacers and washers on the choke coupling arms. The throttle couplers are straight forward, front and back halves are coupled by a plate and spring on the "balance adjusters", left and right halves are held by a clip-ringed coupling plate. The 4 carb assembly is held together by 16 large (5mm, I think) phillips head screws. These are going to be impossible to almost welded and will round off and make you invent dirty words unless you have the magic thing... the absolute right tool!!! Don't waste time, get one! I used a VERY large phillips bit (from an impact wrench set) that fits "PERFECT" and mounts into a regular socket... mounted on a regular ratchet. This gives you the leverage of the ratchet but you HAVE to have a large bit that fits TIGHT... Take the assembly to the parts shop if in doubt... you'll love me if you do... you'll have lots of new words if you don't. I threw these screws away when I got them out and replaced them with allen bolts from True Value ($4.00, but you'll never mess them up again!!!) Don't even think of using an impact to get these out... you'll break the fragile carb body and be back to inventing dirty words. It's real handy to have a friend hold the carbs on the bench while you break the bolts free. (Did I mention they were tight???) Any good carb cleaner should work fine. It's a question of aggressiveness and preference. Seafoam is good stuff, not terribly aggressive but safe and does a good job with time... you would probably want to soak overnight and follow with a really good scrubbing of parts. B-12 is MUCH more aggressive and (as such) needs more care and attention. I don't think Seafoam eats rubber... I KNOW B-12 WILL. I chose Berrymans so I wasn't waiting so long. It's a toss up to what you like. I didn't want to by 5 gallons of something to allow dipping all 4 carbs and I don't like to have too many "parts" floating around so I planned on doing each carb, one at a time. I used a cut down, lower 2/3s of an anti-freeze bottle as a "dip tank"... it JUST fits one carb body and two pints of cleaner just about cover the carb. You might want to buy three pints so that when you pull one carb, you can drain back most of the cleaner and trash the last bit that has all the dirty junk. I threw in the 5 jets for THAT carb at the same time... if in doubt, make a little diagram of each jet's size and it's location. I cleaned one carb at a time so nothing got mixed up and I could inspect each one on their own. Plus my work area is rather small. Now we have a new, big screw driver bit and four carbs laying on the bench... that bit is going to come in handy for breaking apart the covers! If you still have one "pinned, internal star" screw in each diaphragm cover... buy that tool at the parts store (common tool) and those screws throw them away... it's not worth the hassle... replace all 16 (four per carb) with allen bolts or buy four replacement screws. I used small vice grip pliers rather than buy the tool! It really buggers up the head but... who cares? I WAS a bit worried about buggering one up and still not able to get it out... I later found the right tool was cheap and readily available... I was first "told" it was a "special dealer tool"... grrrrr! Each choke slide can be "overhauled" in-place. Now is a good time as the carb body gives you leverage to get the big nut off. The slide cover nut just unscrews and out comes a spring and brass plunger, check the large brass plunger and spring, grease and reassemble. Then pull the screws holding the choke body to the carb and set aside. The deceleration pump (other side of the carb body) has a spring and diaphragm like a small version of the main diaphragms. These need to be pulled and inspected. The diaphragm can have small tears around the outside rim or maybe a pinhole that would need repaired. They don't "bounce" like the intake slides, they are vacuum driven to smooth sudden deceleration so they are basically set to "trip" open on activation. Clean and set these aside. On top, just inside the intake barrel, is a fixed, small orifice brass jet that comes out to be dipped and scrubbed carefully. I found a small, pointed art brush was perfect. Inside the carb diaphragm cover is a large spring and diaphragm assembly, pull and set aside. Inside that carb cavity is a large orifice brass jet that comes out to be dipped and scrubbed... There's also a small O-ring at the bottom edge that the diaphragm cover seals ... pull and set aside. Inside the float chamber area, pull the float and float valve. Unscrew the large brass screw (and washer) running through the main jet body... this holds the diaphragm needle housing. Pull the main jet body and pull it's three jets... the long, metering jet inside the middle tube (a large pierced tube looking thing), main jet on side and a small orifice jet in the left tube... this one needs care in cleaning. Be careful with the rubber plugs... they bounce real well if dropped and important that they fit tight when you reassemble!!! The diaphragm needle housing (large brass shaft) can now slide out through the center of the carb body... note that there's an O-ring under the main jet body block that slides over this shaft. Set everything aside with the jets and needle housing to end up in the soaker with the carb body. Ease the rubber drain hoses off the plastic barb very carefully and set aside. The carbs come with a brass sleeve in the carb body that keeps the idle mixture screws "captive" Carefully use a progressively larger drill and drill these out. Use air or ANYTHING to get all those brass filings out. NOW pull the idle mixture jets, spring, washer and O-ring. Use a small wire with a hook on the tip to pull the washer and o-ring if needed. Now go back and get the REST of the metal filings you missed! The carb bodies and jets are now ready to dip. B-12 liquid and spray are good cleaners for disassembly... do NOT use them on assemblies or on a running bike. It's too aggressive and can mess up rubber parts. For regular cleaning I use PJ carb cleaner... it's safer and also it's flammable so it actually HELPS a running engine (it surges like you sprayed ether!) where B-12 isn't and will want to kill the engine! Did I mention it kills rubber parts? "The factory-set needle-valve screw..."??? These are very fragile, tapered metering jets. I spray B-12 on a clean rag and buff these tapers and the main jets. They should be smooth and clean. Any nicks or scrapes and they are trash. The idle mixture screws on ANY carb are set by, very carefully, running them IN so they gently seat and then count the turns OUT from there. I think factory is right around 2 turns out. If you get heavy handed and screw them in hard, you damage the needle seat and get to replace that carb!!! It's a spring loaded screw... use a tight fitting flat blade screwdriver and ease then in. If in doubt... run them in and out a bit to clean the threads and get a better 'FEEL" for them bottoming. For repairing the pinholes in the main diaphragms, I was told to buy some Yamabond 4 It's put on very thin with a toothpick on the "worn spots".... I've only recently put the carbs back on and have run a few tanks through but when I repulled the diaphragms the stuff was exactly like when I put them in. This yamabond stuff is fairly thin and is perfect for this apparently and is also a great gasket seal but just use a tiny bit... Even better is to buy new ones! Oh yeah... don't mess with "close" O-rings... if they don't measure perfect or just a hair big... walk away! There's lots of sources... Napa didn't carry small ones but Kragen did. Napa usually has those odd parts that you need.1 point
-
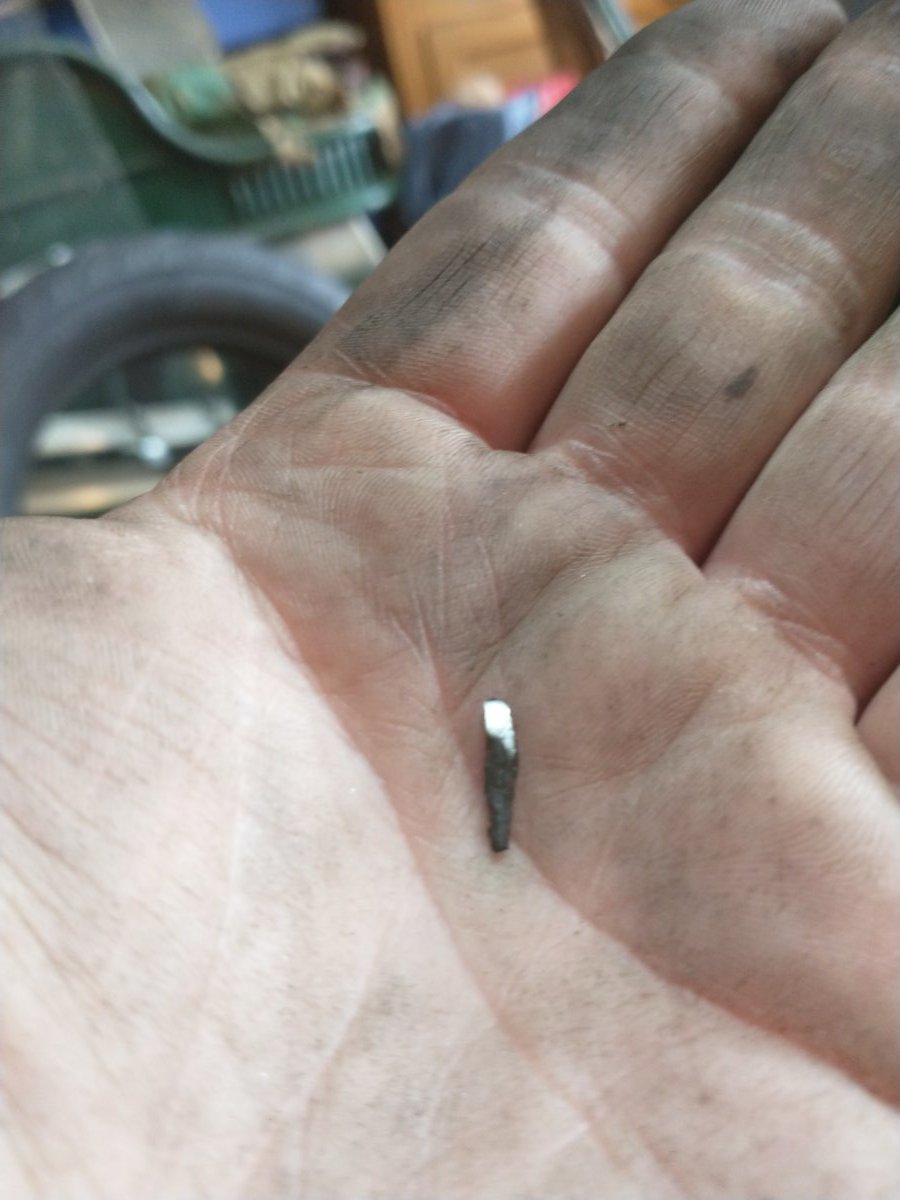
Picked this out of her front paw! No air loss, but I believe there's a weak spot so on with the new tires.
0 points