uncledj
-
Posts
1,751 -
Joined
-
Last visited
-
Days Won
32
Content Type
Profiles
Forums
Gallery
Events
Store
Everything posted by uncledj
-
-
Yeah, it may be time to put an end to the thread. Many points have been made on both sides and I doubt anyone's mind has been changed, nor will they. Very pleased to see that it was kept (pretty much) civil. Thanks to everyone for your input.
-
CORRECTION: Apologies to Saddlebum....the link that was posted actually WAS posted by Du-Ron. It was the link that I had a problem with, not comments by anyone. I apologize if you think any comments were against you. The points that were missed comment was intended for Saddlebum, who posted a link to an article that implied that no empathy should be given to those who chose not to get the vaccine. It told of people who refused that were on their deathbed begging their children to get the vaccine. THAT is an attempt to evoke an emotional response rather than a re-hash of what either side considers the dubious and challenged "facts". My point was that emotion and rebuke should not be used to make an argument, and that's exactly what was done by posting a link to that article. Tryin' to read through your response point by point....(Although I have dinner in the oven....I make a killer meatloaf.) I think it covers a few points to say that I'd never accused you of anything, but rather the MSM that pushes masks and vaccine... As far as review goes...I HAVE reviewed it quite a bit. I make decisions for myself as well as my ward...my Autistic Brother....and I take such decisions very seriously. I ask my brother Jeff if he wants the vaccine and he says I would know better than him. Since he doesn't get out into the world much I don't believe I'm going to push it on him. He basically lives in his own apartment here on my property in rural Ohio. You seem to rely heavily on your experience at San Angelo, ...but your experience has not been mine. I know several people who've had covid...I believe my wife and I have had it but haven't been tested. Mild flu with loss of taste / smell last Winter. The folks I know who've had it....or at least are aware that they've had it have mostly had very mild symptoms...one had severe flu symptoms and one landed in the hospital, but has recovered. (Was a heavy smoker) THAT is my experience with covid. That, combined with the info I've gleaned from several sources from both sides of the issue tell me that the whole covid thing has been WAAAAYYY overblown. We can speculate as to why, but that's probably a thread of it's own, and would undoubtedly turn political, so it's best left alone. I truly wish you well...and if it turns out I'm wrong about all this I'll truly be happy that so many were right and the world will go on. I'm just tryin' to think for myself, with what little ammo I have. Be well.
-
I apologize if you think any comments were against you. The points that were missed comment was intended for Saddlebum, who posted a link to an article that implied that no empathy should be given to those who chose not to get the vaccine. It told of people who refused that were on their deathbed begging their children to get the vaccine. THAT is an attempt to evoke an emotional response rather than a re-hash of what either side considers the dubious and challenged "facts". My point was that emotion and rebuke should not be used to make an argument, and that's exactly what was done by posting a link to that article. Tryin' to read through your response point by point....(Although I have dinner in the oven....I make a killer meatloaf.) I think it covers a few points to say that I'd never accused you of anything, but rather the MSM that pushes masks and vaccine... As far as review goes...I HAVE reviewed it quite a bit. I make decisions for myself as well as my ward...my Autistic Brother....and I take such decisions very seriously. I ask my brother Jeff if he wants the vaccine and he says I would know better than him. Since he doesn't get out into the world much I don't believe I'm going to push it on him. He basically lives in his own apartment here on my property in rural Ohio. You seem to rely heavily on your experience at San Angelo, ...but your experience has not been mine. I know several people who've had covid...I believe my wife and I have had it but haven't been tested. Mild flu with loss of taste / smell last Winter. The folks I know who've had it....or at least are aware that they've had it have mostly had very mild symptoms...one had severe flu symptoms and one landed in the hospital, but has recovered. (Was a heavy smoker) THAT is my experience with covid. That, combined with the info I've gleaned from several sources from both sides of the issue tell me that the whole covid thing has been WAAAAYYY overblown. We can speculate as to why, but that's probably a thread of it's own, and would undoubtedly turn political, so it's best left alone. I truly wish you well...and if it turns out I'm wrong about all this I'll truly be happy that so many were right and the world will go on. I'm just tryin' to think for myself, with what little ammo I have. Be well.
-
I applaud your decision to not whistle, but it makes me wonder if there shouldn't be a government mandate against whistling. Wouldn't it be worth it if it saves just one life?
-
I think you're thinking of the speed sensitive adjustment. Volume drops when speed drops. In my case it cuts out completely...generally cuts in / out / in / out...sometimes stays out for a few seconds...sometimes stays in for a few minutes. Might get a bit worse after a bit of play time. To be clear...it's only the sound that cuts out. The system seems to keep playing...display stays on... I've had this bike for nearly 10 years and have always had issues with the radio. Like I said,....I've pretty much given up on it, but was playing with it on a recent ride.
-
Haven't seen it discussed for a while, but radio on my 06 keeps cutting out. In the past I've replaced the head unit and the handlebar control, with no success....checked out all the wiring / plug connections....did the dielectric grease thing on the plugs. I believe it's the handlebar mount controller....seems like a rheostat for the volume knob is dirty or failing. Seems like if I can find the sweet spot, or hold inward pressure on the knob the stereo continues to play, but left to it's own devices, the volume cuts in and out. I've pretty much gotten used to it and don't use the on board radio anymore, but it bugs me that it's a problem.
-
The point(s) I was thinking of were that the mask Nazis use emotion, demonization to manipulate. They are prone to embellish, or misinform, while screaming that those they disagree with are putting out misinformation....They like to imply or directly accuse those who resist the mask or jab of being outright stupid,....which is absolutely not the case. We simply have reviewed the info and choose to decide for ourselves. We choose what to allow into our bodies and what risk level to accept, whether that risk is of contracting covid, or dealing with the spike protein effects of this non-vaccine vaccine. For what it's worth, just found out close friends (Considered family) have all contracted covid, and one of them is 83 with stage 3 lung cancer. The whole family has fully embraced the covid scare from the start....masks...vaccines....hand sanitizer....not getting out much...disinfect the house daily. Wife and I have been staying away out of respect for their concerns. (Edit) Wife just spoke with the 83 year old (considers herself our second mother) and she seems to be doing well...all considered. Says symptoms were cold like and she'll be out of quarantine in a few days.
-
Clicked on it and read through about 1/2 of it. I got the gist.... Your post makes me realize you've missed the point of several of the other posts.
-
I agree with your premise that both sides are open to being hoodwinked. The reason I posted that is so that BOTH sides of the argument look a bit deeper to try to figure if they've been fooled, or if they stand on solid ground. This makes me think that we must consider the motives of each side, certainly before allowing a non vaccine "vaccine" to be injected into their body. On one side there's the potential for a populace accustomed to government control, let's not forget $$$, and the further ability to institute authoritarian policies all in the name of public safety...."Isn't it all worth it if it saves just ONE life"...???....no....All being pushed to make people think they're bad people if they don't comply. What's on the other side?....A struggle to maintain individual liberties....the spirit of self reliance and rugged individualism that the country was founded on. Not much $$$ or opportunity for power / control in that. I believe that it's everyone's right to sit at home with however many masks on they want. They can order contactless delivery of groceries...stay endlessy distracted with Netflix....or Venturerider...or whatever. (Can't live without my Venturider fix) THAT indicates a struggle to hang onto life without worry about the joy of living.
-
I think it was Mark Twain (A very great man) who once said "It's easier to fool people than to make them realize they've been fooled".
-
Recently heard stats being discussed about hospitals being overwhelmed here in Columbus, OH. Ohio Health gave some stats for it's facilities having ICUs at 98% capacity, which sounds scary, but it turns out that in total, there were only 14 beds being used for covid related illness. I think they intentionally mislead when putting out this info.
-
See that....THAT'S why I posted. For some reason, I had trouble finding that specific model. Looks like it is the same cylinder as on some other Suzi's. I ended up ordering one from Partzilla. Shipping was quicker. Thanks to all my VR friends......So much more than "Venture" site.

-
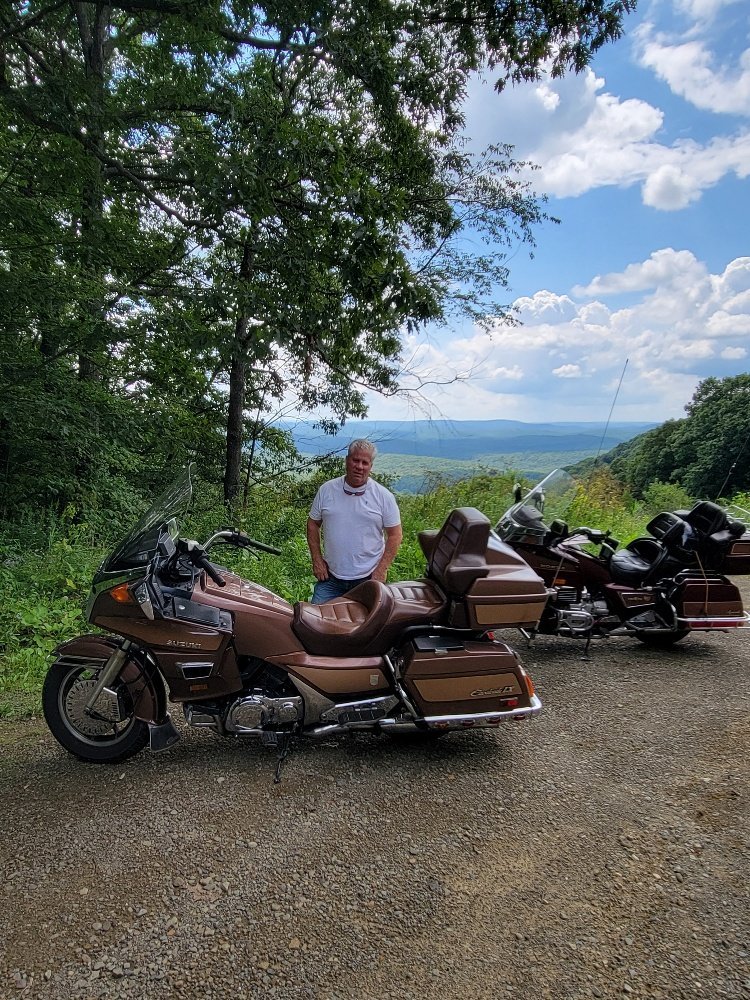
Rode with the guys up to the cabin last week, then spent some time riding the by-ways of North Central Pennsylvania. Had a great time. One of my friends has a 1986 Suzuki Cavalcade. GV1400GT He started losing clutch fluid and was leaking fluid down by where I'd expect the clutch slave cylinder to be. Ended up losing the clutch completely, and I figured he must have blown the seal on the slave cylinder. He rode it back to the cabin without a clutch. I told him that he may as well just replace the master and the slave. Master cylinder (aftermarket) was easy to find, but I cannot find a slave,...or release....cylinder anywhere. I'd be willing to replace the seal / rebuild the cylinder if necessary, but I'd trust a complete replacement much more. His mechanical skills limit him to pretty much changing oil, so I told him I'd help with the replacement, but can't find the parts. I'd imagine other years / models will have similar or even the same parts, but I can't find confirmation of this. I figured I'd put this out there for the most resourceful group I know to see if anyone can help track down a slave cylinder. The only one I found was on e-bay, and it's used, and it's in Canada. Any ideas?
-
There's two sides to that coin. If someone gets the jab and has complications...side effects...or possibly life changing results or even death....who pays for that? Especially if they've already had covid and have the anti bodies in their system that are statistically much more effective than the "vaccine"...
-
I'd be all over that like a fat kid on a cupcake.
-
Just a note on POR. I just lined the tank on my old Nighthawk with POR. Years back I lined the original tank with Kreme...or is it Cream...Dunno. Kreme lasted a couple of years then started leaking again. I never did like that it seemed kind of rubbery even when cured. Not soft...but not hard either. Anyhoo. The POR is a far easier option, and IMHO a much better one. Directions were a bit sketchy, with times conflicting insofar as how long to leave the degreaser and etching solution, but I used common sense and it worked great. This stuff is HARD, and adheres like you wouldn't believe. I'm very comfortable that this lining will last for the life of the bike. Important tip...don't get this stuff on your hands....It doesn't come off...lol.
-
- 1
-

-
Lost my shifter bolt once. Had to use another bolt off of a sidecover to hold it on.
-
I've been around a while myself....ya missed a lot over the years, but very pleased that you've come home.
-
Wasn't on either of my Ventures, but I DID coat the inside of the fuel tank on my 85 Honda CB700sc (Nighthawk S) with POR tank sealer, so I can finally get it back on the road...just in time to go for a quick ride or two before putting it away again. Non ethanol fuel and Seafoam.....I'll run the carbs dry.
-
Changed spark plugs, put new air filters in, changed the oil and repaired the two little bottom tabs that hold the bottom of the fairing halves in place. All that's left is a good cleanup to make her shine and I"m ready for the annual ride up to the cabin with friends.
-
My brawlin' days are long gone. Now, if confronted by someone who intends violence, I start crying and pee myself. They generally leave me alone after that.
-
I'd have to agree. Steering head is too loose. I've an 06 and it practically drives itself. You'll always have a lot of turbulence behind a semi, but I can't say it affects the ride much....I don't like hangin' out behind semis anyway...Don't want a tire coming apart and doing a number on me.
-
Got a new set I've never installed....still in the box. Might have to revisit the armrest install idea.
-
Understood and agreed, but my big ham hands have trouble getting into small spaces, and time to work on it is limited, so I figured if I could just get the float unstuck, then I could see if ethanol free gas and a heavy dose of Seafoam will do the trick. If it gets much more involved than that, it'll have to wait for mild weather (when I'm not so busy) or I'll take it to a local mechanic who I trust.