

Old Miner
-
Posts
73 -
Joined
-
Last visited
Content Type
Profiles
Forums
Gallery
Events
Store
Everything posted by Old Miner
-

Bolts are driving me nuts!
Old Miner replied to VentureT's topic in Royal Star Venture Tech Talk ('99 - '13)
I wholeheartedly agree with you but some of the fastners that are on non stressed items are so soft and corrode easily so they need changing if only for easier access. Old Miner. -
Bolts are driving me nuts!
Old Miner replied to VentureT's topic in Royal Star Venture Tech Talk ('99 - '13)
I have changed most of my bolts, where possible with stainless Allen studs purchased from Flee-Bay. They seem to have a deeper neck than the stock ones for the key to fit in. Changed most but not all of them. Lubed with copper slip when they go back. Some are specific to a particular job like the slide pins for the brakes I recently changed so you cant swap them out but as I remove an article from the bike I change the fasteners and haven't had any problems since with loss or seizure. Neil. (Oldminer). -
Front brake slide pin removal
Old Miner replied to Old Miner's topic in Royal Star Venture Tech Talk ('99 - '13)
Wished I had some spare parts like you all have. Drool. There aren't a lot of RSV's in the Uk as they only sold a few of the new 2nd gen in 1999-2000. Then the line was discontinued here. (Bad move in my opinion). Then a few were sold on the European mainland, just about the same bike but no CB, so second hand parts are hard to come by so I buy anything on e-bay that comes up. If the price is right. Fortunately Yamaha dealers can get new parts (at a price) for the model within three days if they aren't in stock, which I dont think is a bad set up. I get a lot of tips from all of you so keep up the good work on the site. Neil. (Old Miner). -
Just thought I would share this experience with you. Having stripped my machine down and doing a complete service on it before the Spring I tried to remove the slide pins from the front brake to strip the calipers down and clean them and change the pads whilst I was at it. At first I carefully tried to remove the offending pins. Needless to say they would not come loose and the allen key just stripped the head even after tapping it to try to loosen any corrosion. I soaked them for a few days in release oil on the caliper. I ordered four new ones but was amazed to find the part number had been changed from 4TT-25914-00-00 to 5JU-259141-00-00. (I'll explain later). The lower one on each side of the caliper came out no problem by inserting a torque bit no. CR-MV 45 into the rounded allen hole after a little bit of tapping with a hammer. I did have visions at one stage of having to drill them all the way out. The upper of the two pins were real pigs I ended up drilling through the center of the head with first a 4.5mm drill, followed by a 7mm drill and lastly a 9mm drill go as deep as the thread so you can get the other torque bit in comfortably, this was a CR-MV 10 has more splines on it and gets a good grip. They came out easily with a ratchet and attachment. Be aware that the caliper pistons retract as you work on the brake so I periodically operated the brake lever to put them back into position. I could find no signs of corrosion on any of the four pins, they were clean and looked almost new. The part has changed from an allen bolt to a 12mm socket head in line with all newer models, I did comment at the time I ordered the new parts that if I knew these newer type pins would fit I would have had some of them fitted. It turned out that they did fit and the reason for the part number change was obvious. I applied copious amounts of copper slip to the pins on re-assembly and torqued them to the recommended 25nm. Did Yamaha know something I did not, before I started this? Key to photographs. 1. Slide pins. 2. Left to right. Lower right caliper. Lower left caliper. Upper right caliper. Upper left caliper 3. Two torque bits. 4. Torque bit fully home in 9mm hole. 5. The new slide pin, with copious amounts of copper slip. 6. Nearly in one piece again. Neil. (Old Miner).
-
Just thought I would share this experience with you. Having stripped my machine down and doing a complete service on it before the Spring I tried to remove the slide pins from the front brake to strip the calipers down and clean them and change the pads whilst I was at it. At first I carefully tried to remove the offending pins. Needless to say they would not come loose and the allen key just stripped the head even after tapping it to try to loosen any corrosion. I soaked them for a few days in release oil on the caliper. I ordered four new ones but was amazed to find the part number had been changed from 4TT-25914-00-00 to 5JU-259141-00-00. (I'll explain later). The lower one on each side of the caliper came out no problem by inserting a torque bit no. CR-MV 45 into the rounded allen hole after a little bit of tapping with a hammer. I did have visions at one stage of having to drill them all the way out. The upper of the two pins were real pigs I ended up drilling through the center of the head with first a 4.5mm drill, followed by a 7mm drill and lastly a 9mm drill go as deep as the thread so you can get the other torque bit in comfortably, this was a CR-MV 10 has more splines on it and gets a good grip. They came out easily with a ratchet and attachment. Be aware that the caliper pistons retract as you work on the brake so I periodically operated the brake lever to put them back into position. I could find no signs of corrosion on any of the four pins, they were clean and looked almost new. The part has changed from an allen bolt to a 12mm socket head in line with all newer models, I did comment at the time I ordered the new parts that if I knew these newer type pins would fit I would have had some of them fitted. It turned out that they did fit and the reason for the part number change was obvious. I applied copious amounts of copper slip to the pins on re-assembly and torqued them to the recommended 25nm. Did Yamaha know something I did not, before I started this? Key to photographs. 1. Slide pins. 2. Left to right. Lower right caliper. Lower left caliper. Upper right caliper. Upper left caliper 3. Two torque bits. 4. Torque bit fully home in 9mm hole. 5. The new slide pin, with copious amounts of copper slip. Neil. (Old Miner).
-
Just one more thing. (And many thanks for your help). When you say 'Green' do you refer to the colour of the liquid or to its 'Friends of the Earth' less toxic to the environment credentials?
-
Looking at new tires. How are Dunlop D404's?
Old Miner replied to timgray's topic in General Tech Talk
A few years ago I ran dual compound radial tyres on a Honda CBR 1000 on the road, I can't remember who made them possibly Dunlop. The compound changed from the tyre middle to the side walls. They handled great, stuck to the road like the proverbial, BUT you only got 10K miles front and 5K miles per rear. No more no less. You never got the better mileage you came to expect from car radials. Neil. Old Miner. -
Many thanks to everyone for your input. Neil. (oldminer).
-
Thanks for that.
-
What I would like to know (before I change it) is Ethanediol antifreeze the same as Ethylene Glycol and would it therefore be suitable to use on my second gen 1999 Venture?
-
-
-
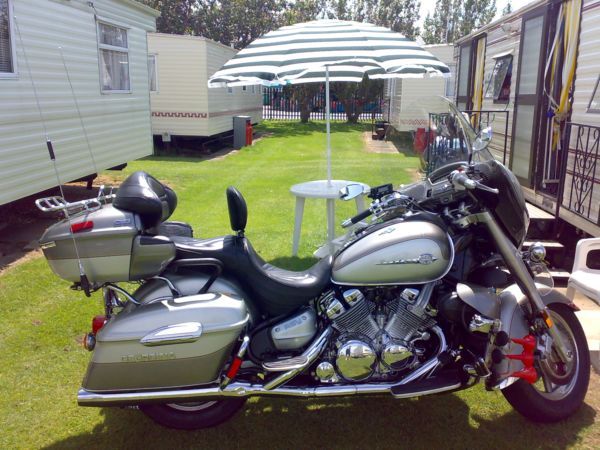
From the album: Anything
-
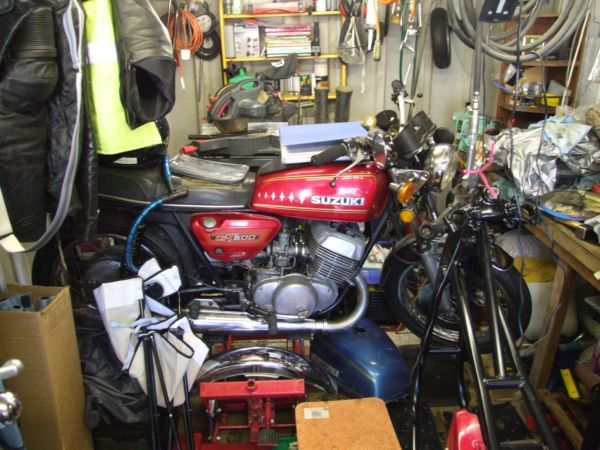
From the album: Anything
-
From the album: Anything
-
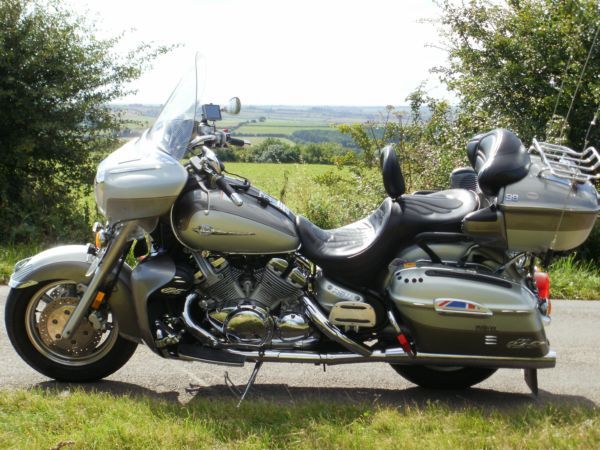
From the album: Anything
-
From the album: Anything
-
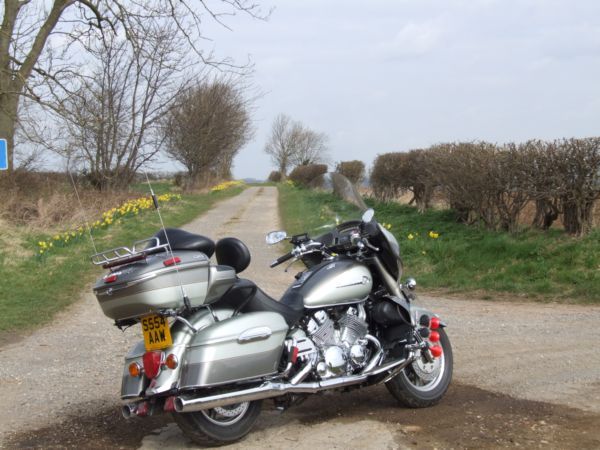
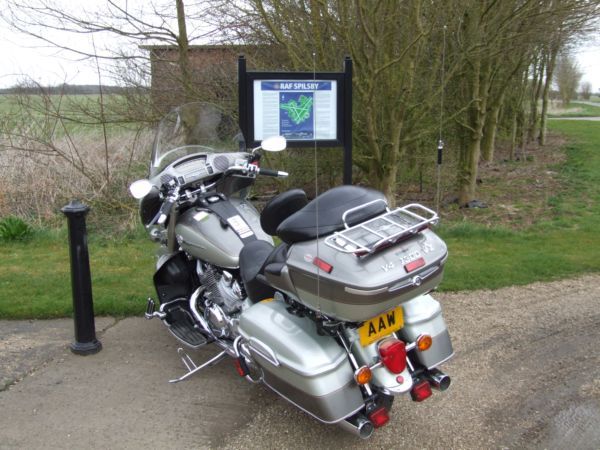
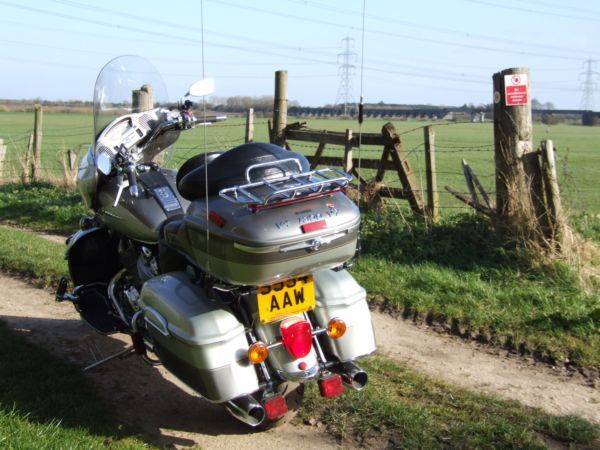
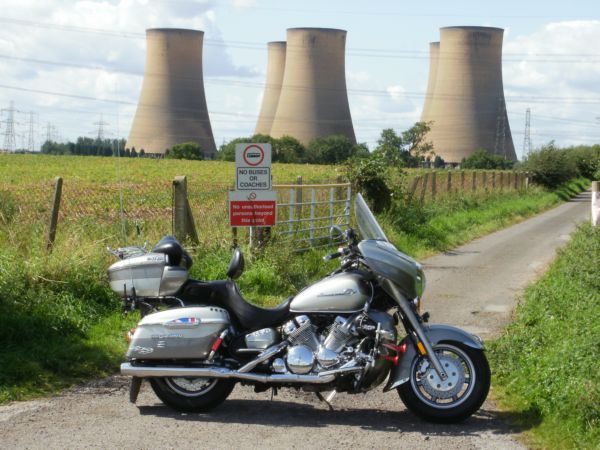
Disused High Marnham power station Nottinghamshire
Old Miner posted a gallery image in Member Albums
From the album: Anything
-
From the album: Anything
-
NHTSA Requests Feedback on Amber Turn Signals
Old Miner replied to Owen's topic in Safety and Education
Her is an opinion of an Englishman (for what its worth). In the Uk we have had as long as I can remember amber turn signals front and rear. I can also remember some older cars with two arms set in the door pillars left and right which swang upwards when operated showing amber. Well sometimes or refused to go up or even fell out. I grew up with amber you grew up with red, surely if you or I were to change to the other colour this would cause confusion, accidents and injury. Possibly only for a short time but at what price. However that said it doesn't matter what colour they are most car drivers chose to ignore them anyway. Best wishes. Great site. On it most days. Neil Bridgewater. 2nd Gen. 1999 RSV TF. US spec. -
Rear Shock Adjustment
Old Miner replied to vette8494's topic in Royal Star Venture Tech Talk ('99 - '13)
I ride mostly solo and have been used to 0psi front and rear as per the manual without any problems. Recently the wife and I did a few hundred miles around our picturesque county of Derbyshire whose roads have been in a poor state of repair for many years now and suffer from holes caused by neglect and mining subsidence. Point is the suspension bottomed out easily many times on the journey when two up. I added 35 psi by hand with a foot pump to the rear and this has cured the problem, the suspension works better and does not bottom out. I have used a foot pump operated by hand for many years on several bike air suspension units without any problems with the seals as you can be as gentle as you like with the compression of the pump. Best wishes. Old Miner. -
Hi everyone, in 2007 I asked if anyone could help me with a radio problem on my US spec RSV over here in the UK http://www.venturerider.org/forum/showthread.php?t=9716 I did post it on the wrong forum though. This is a reply to my question for the UK riders with US spec RSV's. Problem is UK and US radio frequencies are different, US radios go up in 0.2 MHz steps and UK radios go up in 0.1 MHz steps so many UK stations in between the US ones are unobtainable. You can get 102.3 but not 102.2 you get the idea. I spoke to Clarion and others but they could only suggest that I fit a frequency converter. Easier said than done. I have now managed to buy one on e-bay I could not find any anywhere until last week http://www.yaki.co.uk/mpuk/ (this is the Japanese converter though but it shows the connections etc) they are fairly easy to fit but you need to access the radio under the front fairing behind the headlight to couple the unit between the areal and the radio and power it up with a positive supply. Search for AMERICAN US BAND EXPANDER (FM 0.1 Mhz). They claim to be the only company that makes them in the UK. It works great, loads of UK stations. Only one downside it records 107.2 as 107.3 etc or something like that. But I can live with that. Hope this is some use to someone. Best Wishes. Old Miner.
-
Radio Gaga
Old Miner replied to Old Miner's topic in Royal Star and Royal Star Tour Deluxe Tech Talk
Thanks for the reply's. I have the manual I got it with the bike from CMC at Chesterfield. Pressing for the next strongest signal only gets an odd frequency. American spec has an FM frequency radio which has a frequency spacing of 2 (khz) or something. It goes up in 2 from an odd number start which means you cannot get an even number frequency. Accordingly the Euro spec has an FM radio which has a frequency spacing of 1 (khz). You cannot get an even number frequency on the American spec but you can on the euro spec. I am planning on fitting a digital radio if I can make it waterproof so this problem may not be the mountain it is at the present. Some radios including Pioneer have a key sequence which converts from American spacing to Euro spacing and back. Does this explanation make it any clearer? Hope so. Thanks for your patience. Neil. (Old Miner). -
Having an imported RSV 1300 in the UK is there any way to alter the frequency count on the radio controller to even and odd frequencies? My local radio station along with many others uses an even number. ie 107.2 and 102.2. Any ideas? Old Miner. (Having a 'senior moment'). Sorry for putting it in the wrong place, first time I have used the forum. DOH!!!!