Leaderboard

.thumb.jpg.bf82ce75721b193880368d3ccb1ca2d0.jpg)
Popular Content
Showing content with the highest reputation on 09/16/2021 in all areas
-
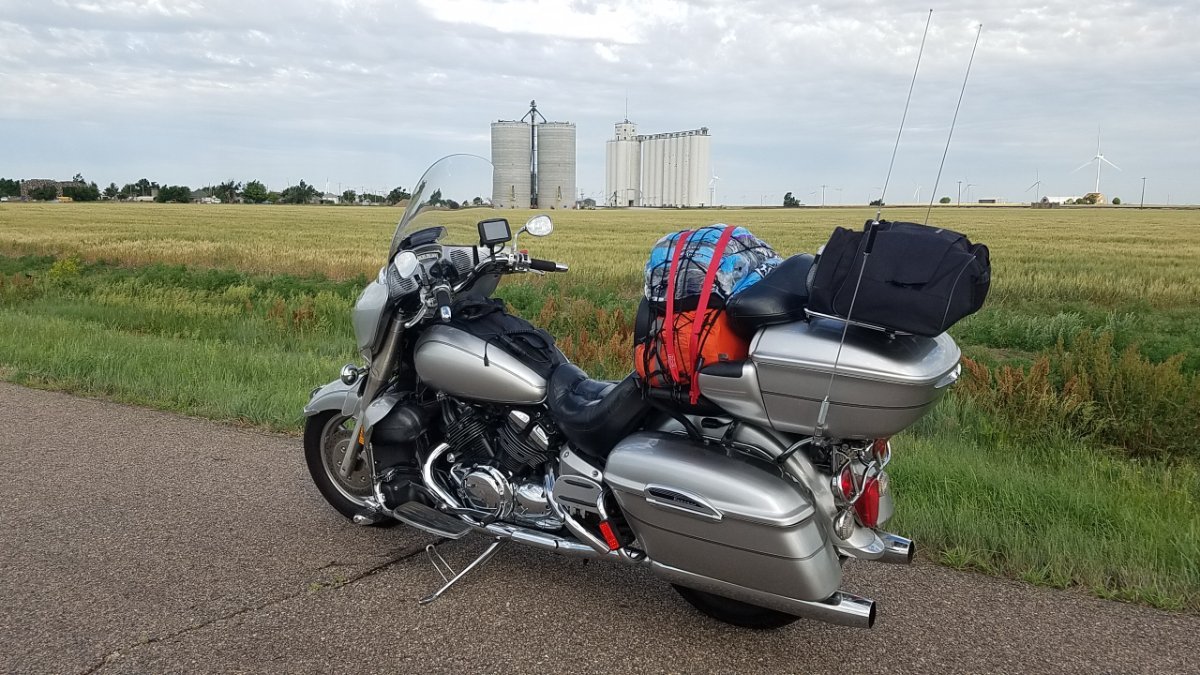
Tires, fluids, plugs and some Seafoam in gas. Regular gas is fine. Fuel filter(it's in a bad place... Move to right behind tank, under seat.) Fuel pump points. Or another pump. The points go bad with time and mileage. If yours look good then 👌. Pack for roadside repairs... Your know the stuff. Buy a hand air pump unless you already have one for your HD. Set air in shocks to about 5lbs up front and 25 in rear. Then ride it. Find the compromise between a nice ride with no shock bottoming out in rear. Yes, she's a heavy scoot.... But low end handling is good, high speed stability is solid.... You will just need to sort her out. On the road, I run 38lbs in front, 40 in rear. That seemed the best for my load.... BUT, remember you aren't on the Dyna...no short shifting...let her rev. As you become used to the bike, let her rev more and enjoy. Under 70, stay in 4th gear.... Won't hurt a thing. Mpgs should be around 36 to 38. Much less indicates running to low rpm(bogging down), carbs out of sync or vacuum leak, Dirty carbs. Run more Seafoam! Regarding cross country.... I've made a couple of serious cross country rides and have to say, the RSV was by far the most comfortable. Getting off on the 2 lanes and cruising at 65 was a pleasure. Wishing you a great ride!
 1 point
 -
Thank you sir!1 point
-
Video #4 is available..... https://youtu.be/O37q6Xn5lws1 point
-
I wish we had known could have arranged a meet. We were staying at the Hillbilly camp site.1 point
-
What's happening to a rear RSV brake with old DOT 3 is the moisture in the fluid is boiling at 212degs. Far below the rated boiling point of new fluid. This basically has the same result as air in the lines. With clean fluid you won't have the fade problem....1 point
-
The opening sentence of every motorcycle story I’ve ever heard.1 point
-
Finally got it done this morning. It was a challenge trying to adjust the belt tension, but it was fun trying to learn the bike. I’ll try to stay away from nails and staples, etc. ride safe all.
1 point
-
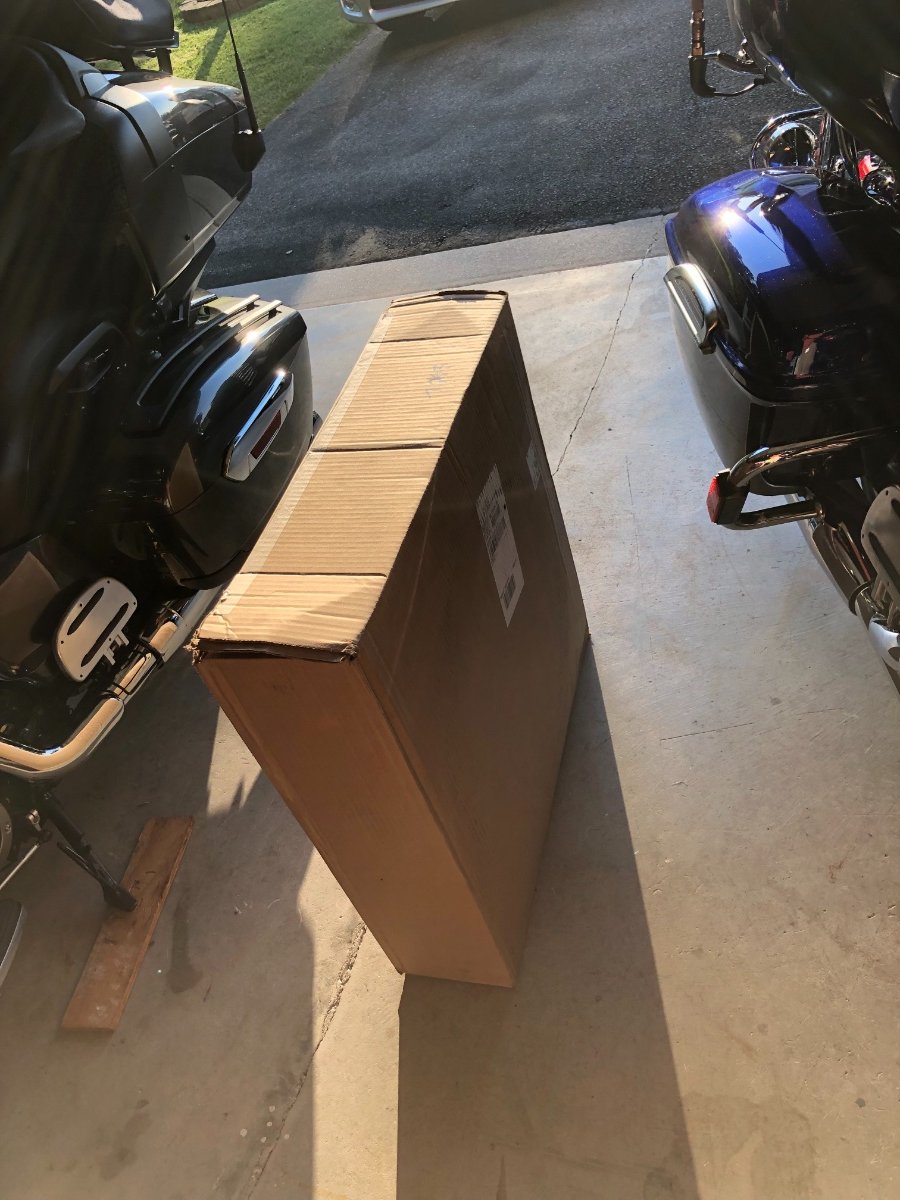
What’s in the box? Tomorrow is a busy day. 😀
1 point
-
@RDawson I agree. I spoke to Yamaha's field service advisor for the east region and he said to change the tire in a heartbeat. I also called my trusted yamaha shop and they said replace the tire. I will be ordering the tire today and will remove the wheel tomorrow. As I think about it more and more, is it worth saving a few dollars....you guys know what I mean. My wife ultimately said, go buy a new tire.1 point
-
The toughest part was figuring how to take them apart. But it is fairly simple just need to modify a socket for the wire then remove the nut then 3 screws that hold the shaft to the mirror. The extensions are stainless steel tube with longer screws. It worked great for me. Does require some machining or grinding on the tubes but not hard. As for the lowers I added custom additional plexiglass pieces. Actually a wind screen for a GPZ 550 fairing cut in half. Then drilled and bolted to lowers. Little bit extra wind off my knees. I am tall so knees are up a bit. Thanks for the compliment.... only reason we post.... LOL1 point
-
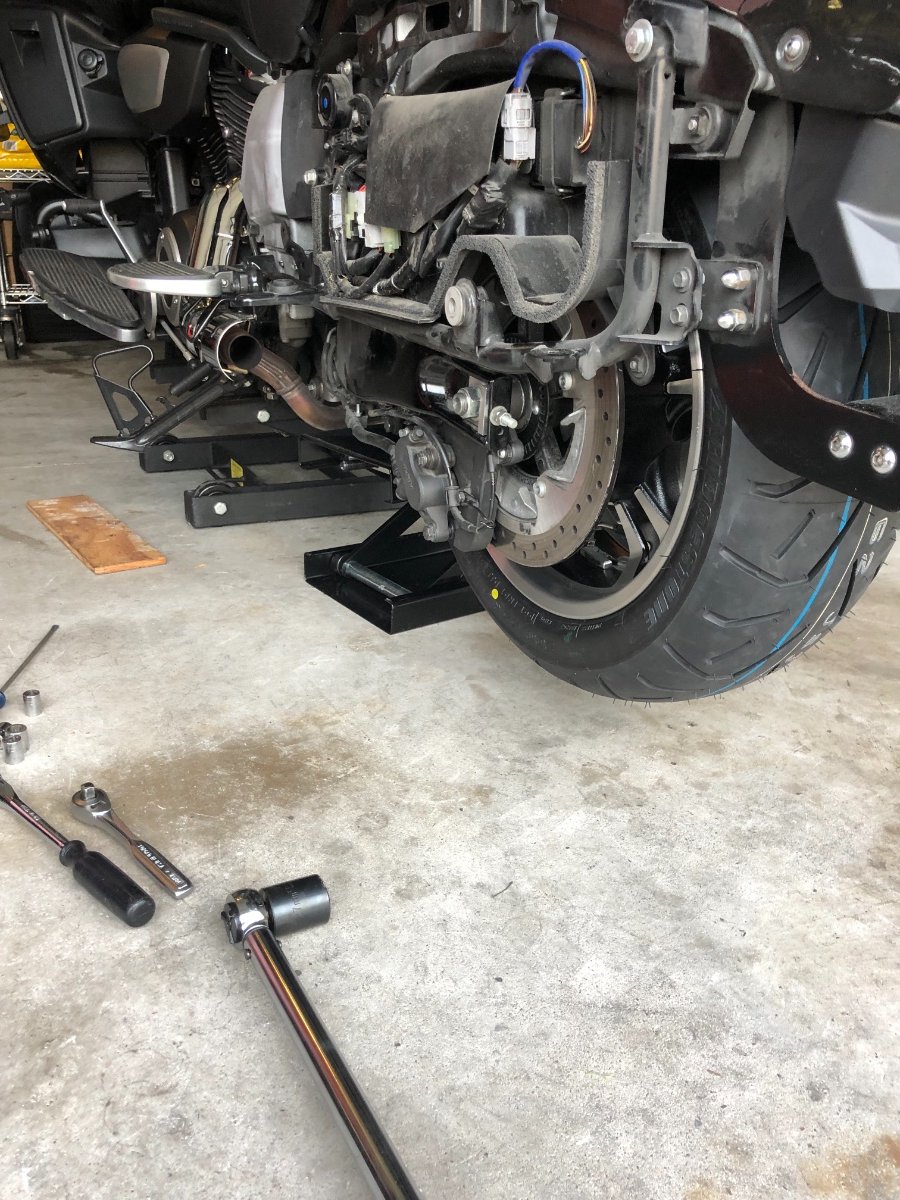
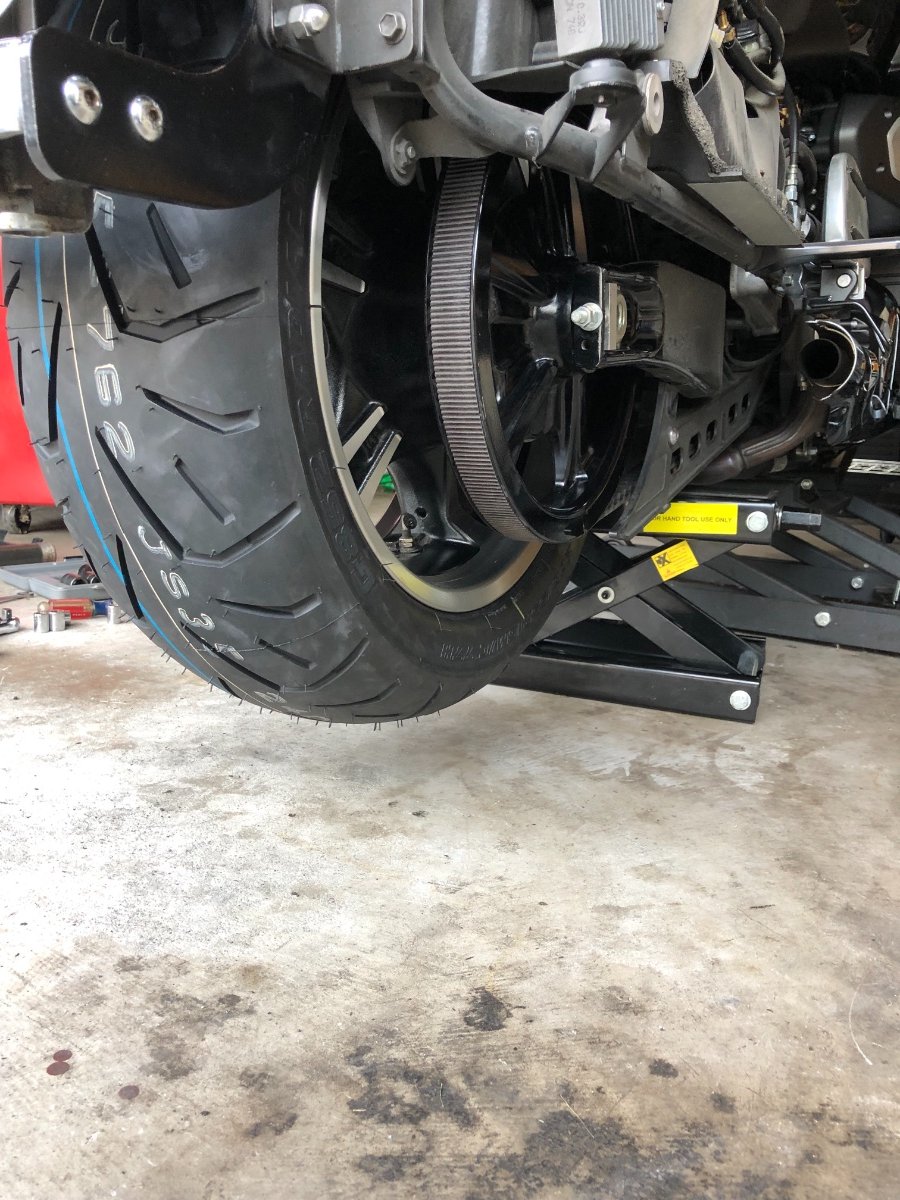
So, before my spring trip, I did a “practice” replacement to see what was needed. Going from memory: 5mm Allen to remove the side covers Phillips to remove the center cover 12mm socket to remove the pump Plier/needle nose to loosen the hose clamps. I will take a look @ the exploded view deg later, to make sure I’m not forgetting anything, but it is not complicated at all. The worst part was dealing with the various wiring clamps/ties under the side cover. That and that darn screw for the center cover which is always hard for me to get back into place.0 points