dna9656
-
Posts
1,124 -
Joined
-
Last visited
Content Type
Profiles
Forums
Gallery
Events
Store
Everything posted by dna9656
-
 I have several parts bikes, so far as I know the frames are nice on all of them. The 2nd gear thing doesn't usually show up until 50k, to 60k miles, you are showingway less than that and it isn't like it's not repairable, you just have to split the case! NO PROBLEM right!
 -
I'm back after a 5 or 6 year absence. I have 6 Ventures, some or Royals, some are not.I have parts available. My son wants to build a bike for himself using his old man's parts and bikes. So we will be here looking for advice, help, and encouragement. Nice to be back! Hi Freebird!
-
rear wheel bearing/seal order
dna9656 replied to dna9656's topic in Venture and Venture Royale Tech Talk ('83 - '93)
Do you have the manual? If so follow the instructions there in, (if you have the proper and correct tools) or take the wheel to a dealer or a knowledgeable motorcycle mechanic. I have 1983 wheels on hand. Please keep me informed. -
You can get a manually operated tire changing machines on Amazon.com and you'll "make money" (the machines will pay for themselves the first time you change the second tire) the first time you change 2 tires. Harbor Freight has a M/C tire balancer that works, it'll pay for itself after 2 tires as well maybe 4 tires. This is when you can change your own tires you can now spend what you paid some one else to do on better tires or more beer!
-
Sure justification for following the owner's manual concerning inspectying your bike before each ride. If that were a car's tire I'd say you have bad shocks. That would be a severe case of cupping. CT? Circuit Tester? Cannibals Tanks? OH CAR TIRES! Car tires are no way designed to have their side walls on the road as are MC tires. I don't know what car tire you could use on a standard Venture wheel, maybe a Model A tire or some front tires off a Dragster car. Dang bro! inspect them tires!
-
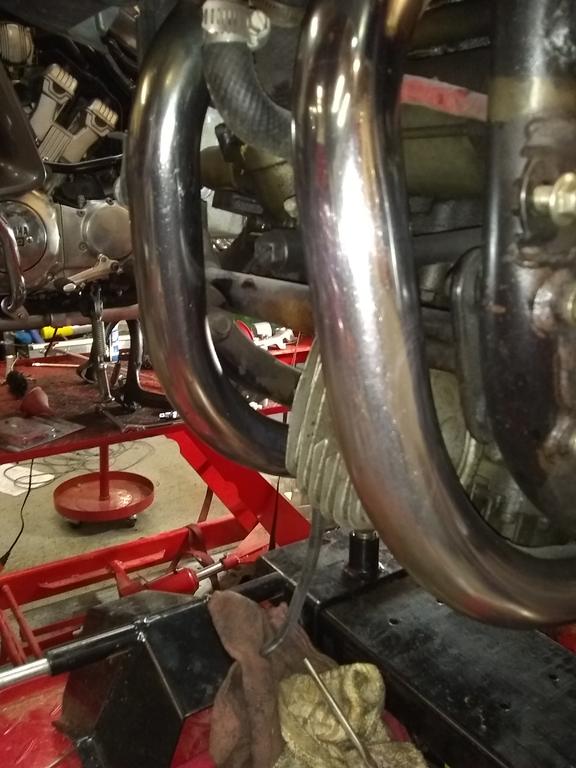
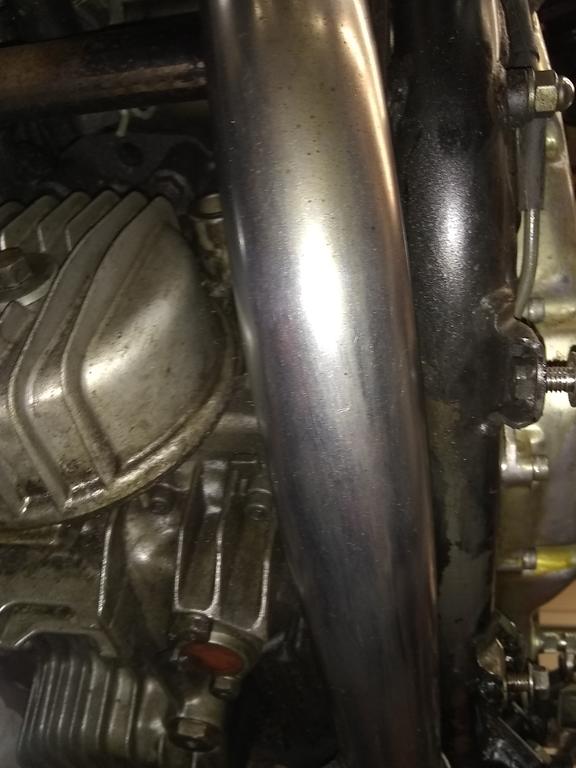
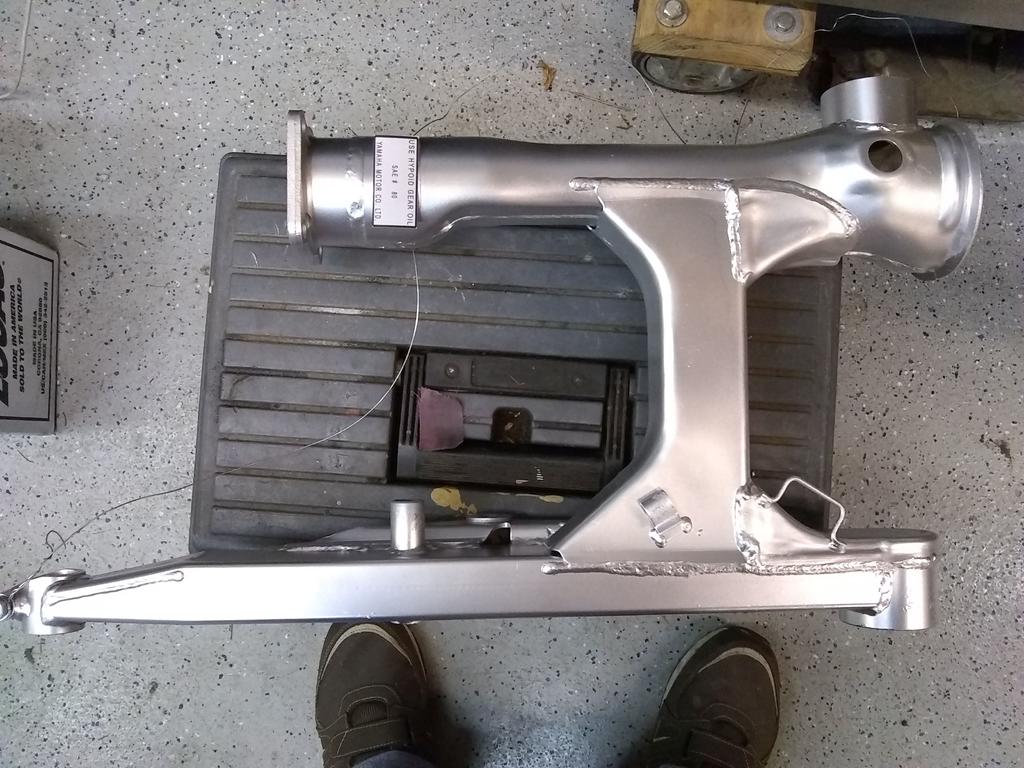
Header Pipes brick wall.
dna9656 replied to Vickersguy's topic in Venture and Venture Royale Tech Talk ('83 - '93)
I think Freebird is going to move this to a new post as it deals with carbs and not exhaust pipes but anyway. When you re-assemble the 4 separate carbs to create ONE unit of carbs place all the carbs on a FLAT surface THEN connect the carbs together in to one unit. This way the bottom of the carbs will all be in the same geographic plane; like the intakes are. It will be easier to install the unit of 4 carbs this way. You have to re-install them the same way you took them out. -
Not my first choice as i have to lift the bike, but it seems that's what I'm going to have to do....
-
1988 drive shaft teeth inspection
dna9656 replied to dna9656's topic in Venture and Venture Royale Tech Talk ('83 - '93)
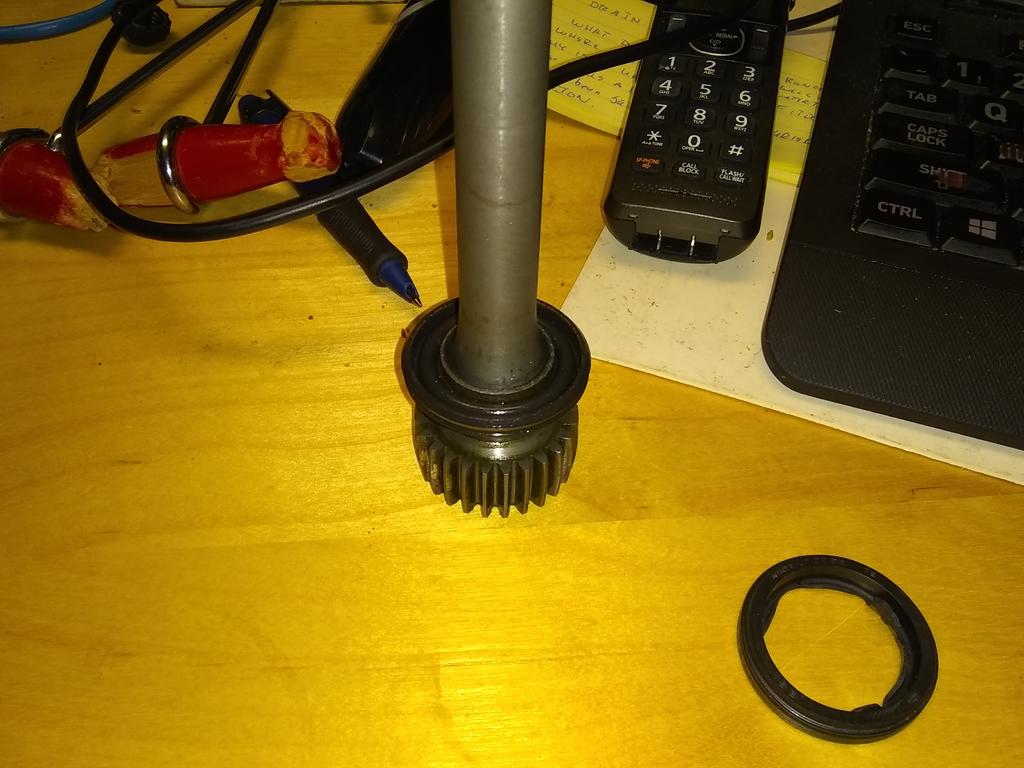
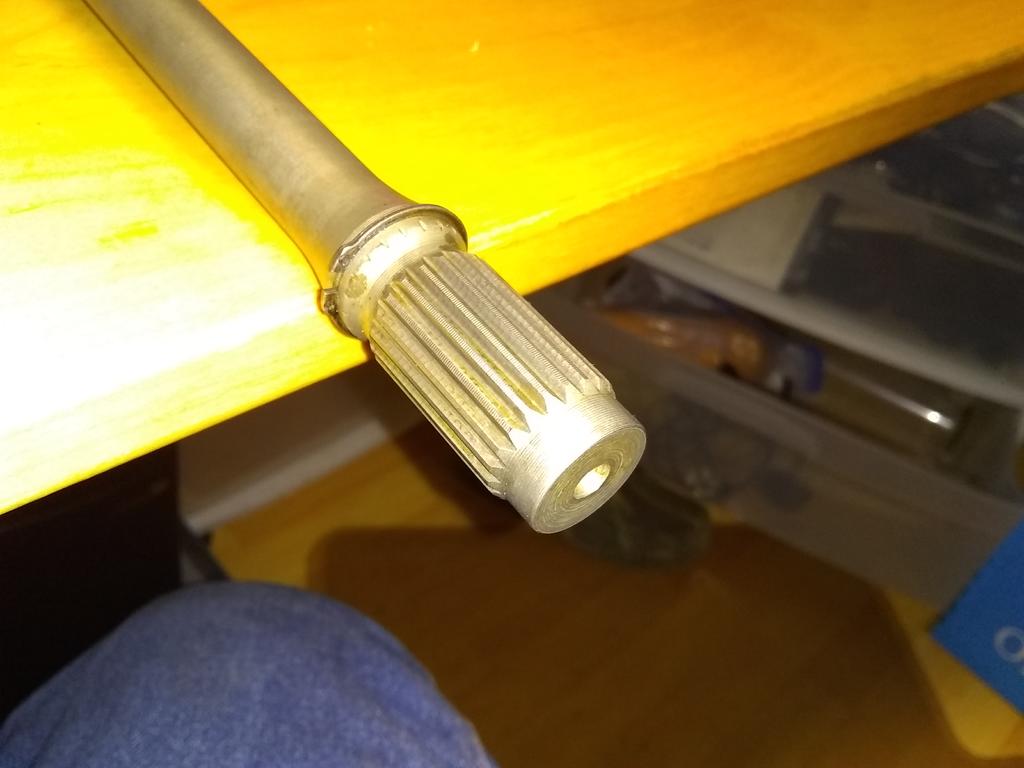
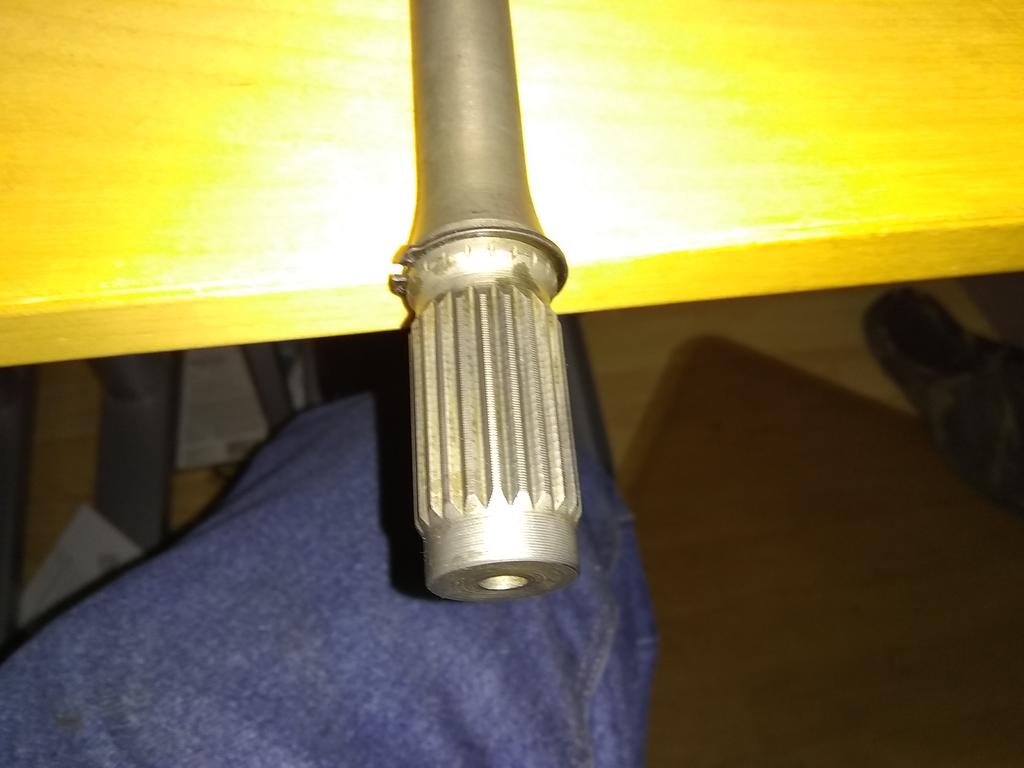
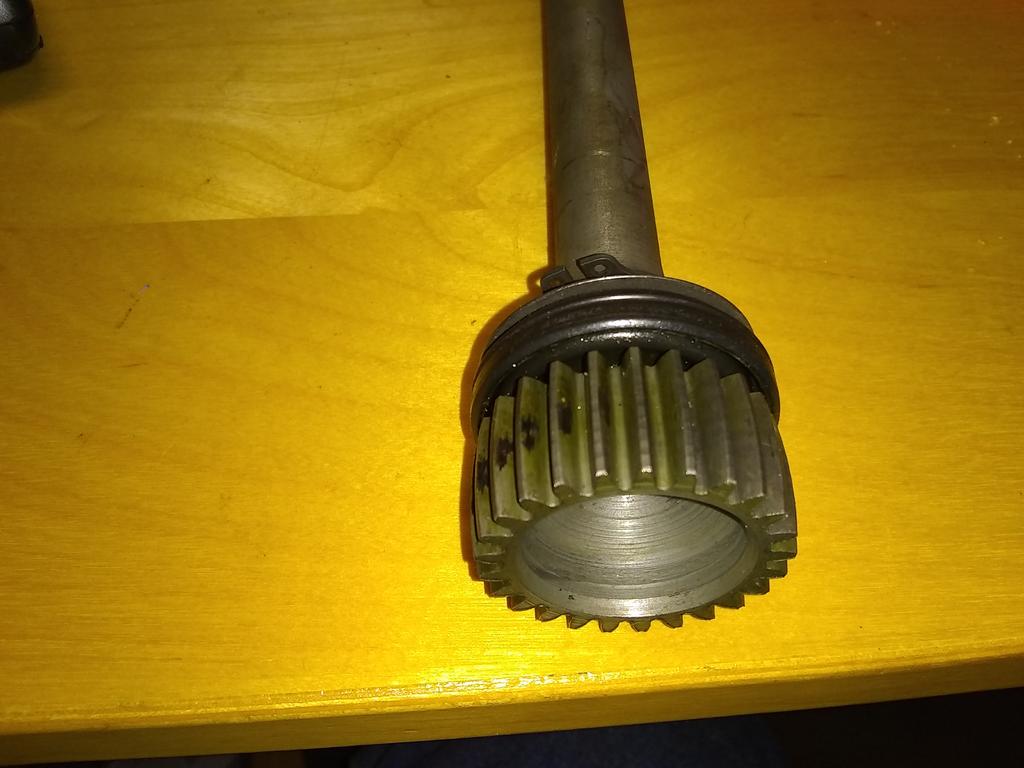
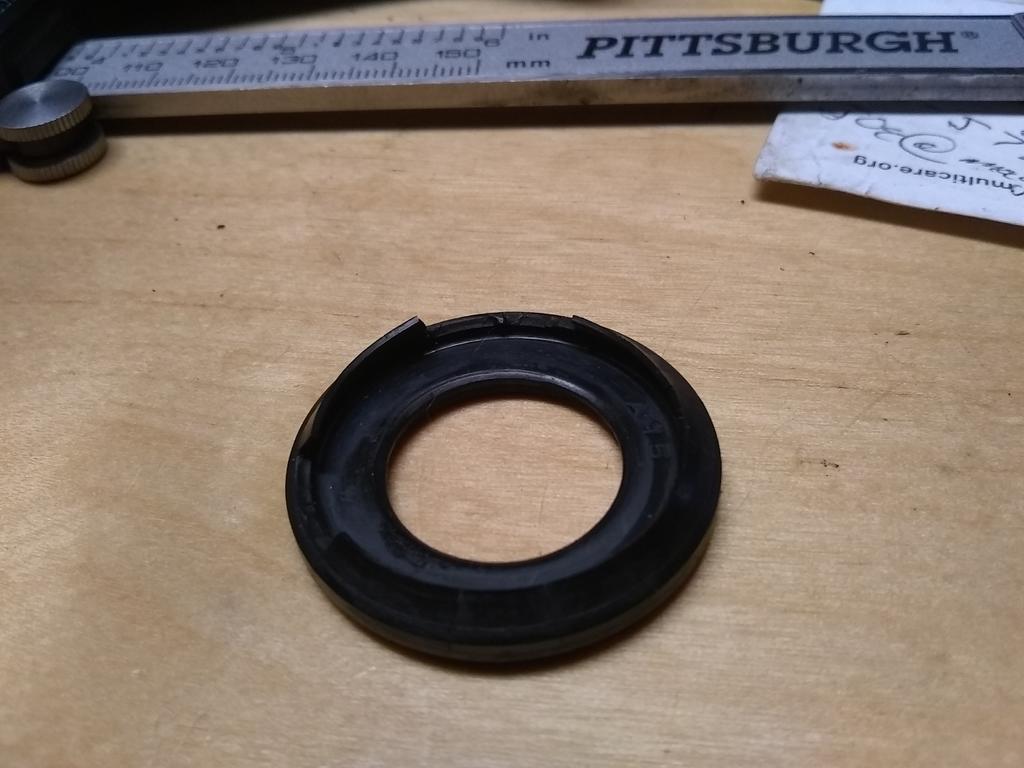
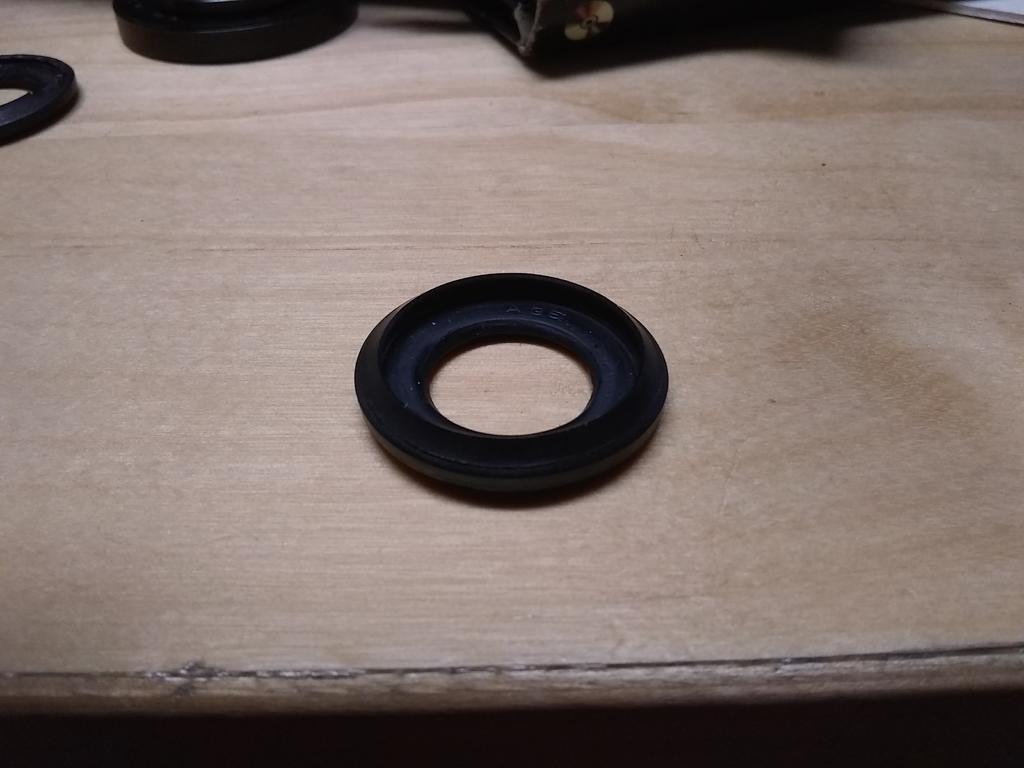
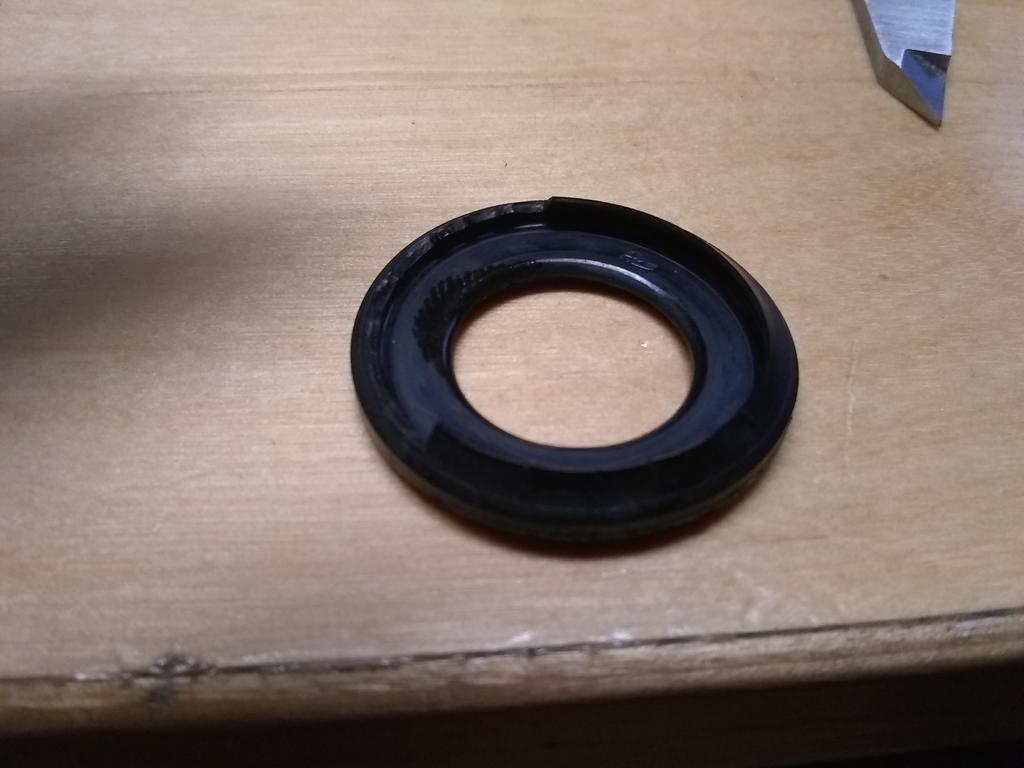
So the new seal arrived Friday (last) but we signed for a house, had a daughter get married, attened 2 wedding connected dinners, traveled to the ends of the world and we're beat. I got the old seal off with a knife, the new seal has a band of metal on it, so it presses in place, I saw no such band of metal on the old one so maybe it was bonded. In any event here it is... comments welcome. I thought it fit right next to the gear but it doesn't. I looked at the pics posted here and the positioning looks good, I test fit the saft to the final drive gear and it is where it belongs. So all that remails is installation. Waiting on other parts now.
-
Header Pipes brick wall.
dna9656 replied to Vickersguy's topic in Venture and Venture Royale Tech Talk ('83 - '93)
These pics are from the same bike, it's on the H/F lift and (right now) the only bike I can gets parts off of as the other 2 in the garage one is a parts bike and it's jammed in the corner with a bunch of crap in front of it. I didin't see any rash, like it bottomed out, I did notice a little pin prick rust.
-
Header Pipes brick wall.
dna9656 replied to Vickersguy's topic in Venture and Venture Royale Tech Talk ('83 - '93)
I will be posting pics from my (5 bikes) parts bikes later today. -
1988 drive shaft teeth inspection
dna9656 replied to dna9656's topic in Venture and Venture Royale Tech Talk ('83 - '93)
It's NOT differential as there is only ONE WHEEL. Yamaha calls it a "Final Drive Gear". You don't need a differential when there is only one wheel. Yes, it is a ring and pinion (like a diff uses) buy there re no spider gears, posi or other in there. -
1988 drive shaft teeth inspection
dna9656 replied to dna9656's topic in Venture and Venture Royale Tech Talk ('83 - '93)
That's a heck of a way to find out they are open but then if they weren't you'd know right away anyway.... -
You want to trailer with a 250cc bike? I wouldn't, the bike is too light, the tail is going to wag the dog. Just IMHO.
-
But so far as I know we're talking about Ventures and venture Royale, not Royal Star Ventures ;maybe this ia a WAY different bike, maybe it isn't and maybe it makes no difference, I really and honestly don't know. I do know that tires for the Ventures (83 to 93) use the same tires but there are different load ratings amongst the choices to make, the stronger the tire the more money you spend. Were I to tow I think is would be wise to use the strongest rear tire (at least the rear) available.
-
This is one of 2 reasons tires have weight capacity, you can get tires that fit our bikes but you have to watch the load (weight) limit on the tire, especially if you're going to tow! This where I get confused, I have a hitch on my bike, I like the option it gives me, but I need a recommendation for a weight limit; Marcal's comment is a very big help to me as it gives me an idea of how to figure out my enigma!
-
1988 drive shaft teeth inspection
dna9656 replied to dna9656's topic in Venture and Venture Royale Tech Talk ('83 - '93)
The seal now in place is on so tightly ON I wonder if it's bonded (glued) in place. I know I CAN remove it one way or another but I will get the new seal before doing so. Thanks for the reminder to be sure to clean out the oil holes inside the "cup". Is there a way to do an ops check on those gear lube ports you mention; like filling the drive with lube and positioning it as it were mounted on the bike and see if the gear lube weeps through the holes? At first I thought about lightly greasing the teeth but I think I'll just cover them in lube and install it. As I rtecall cleaning the cup on the final drive gear was a lot harder to do than it should have been making me think it was greased (well) but the person doing the work didn't know much about THESE bikes or bikes in general; you all will remember the pics of the inside of the forks I posted showed that the forks were not re-assembled correctly. I have found other signs of oddly performed maintenance. Thanks a LOT! -
1988 drive shaft teeth inspection
dna9656 replied to dna9656's topic in Venture and Venture Royale Tech Talk ('83 - '93)
Thanks Rick! -
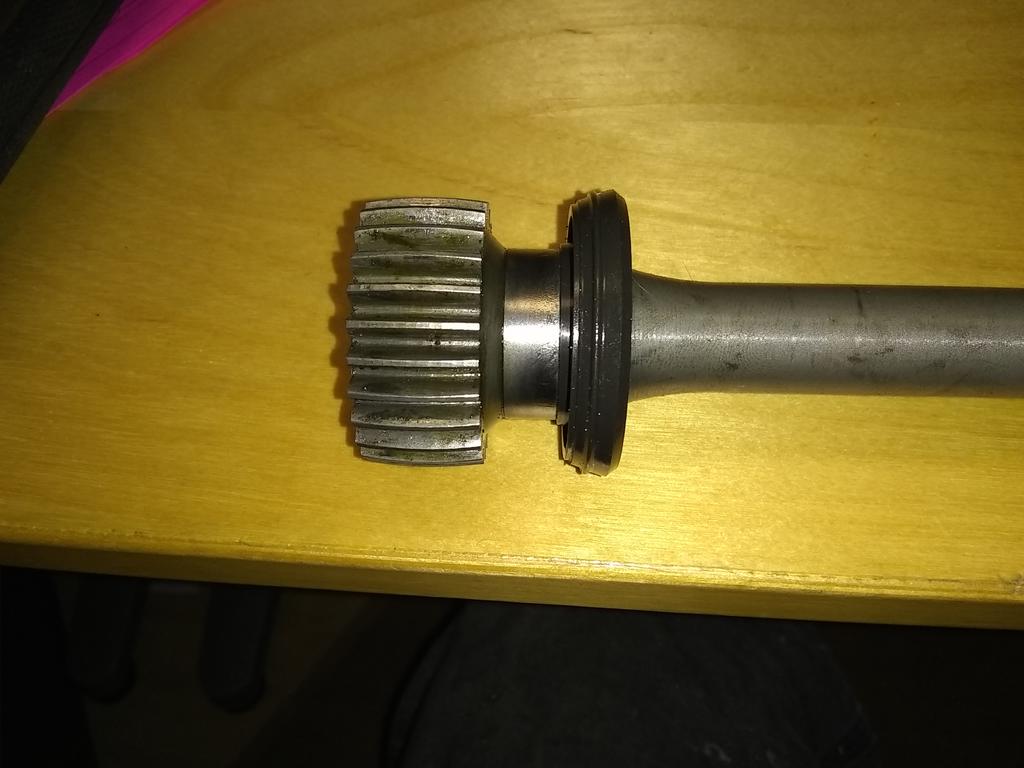
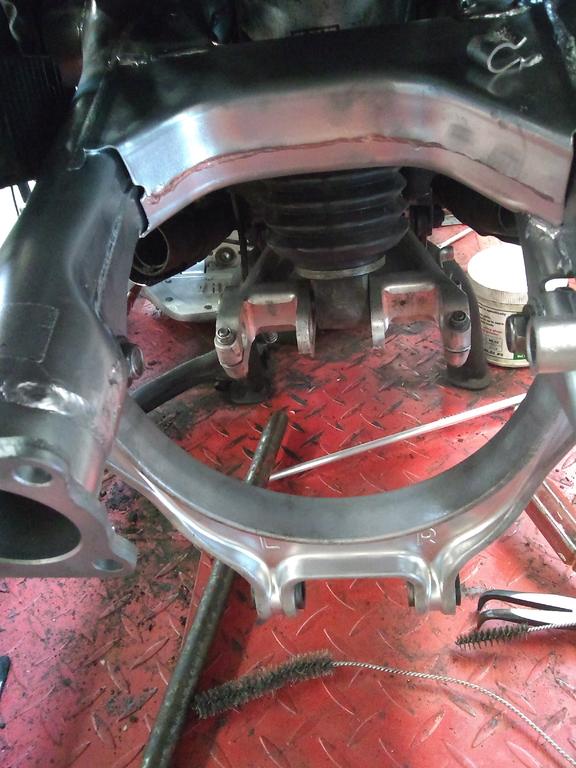
So here are some pics of my 88 drive shaft. I can see the phonograph finish on the crown of the teeth on the small side. BOTH sides look pretty good to me. Your opinion(s) would be welcome. What is the proceedure to re-install; it's been a few months since i took it all apart.... The seal shown in the bottom picture... is that the proper seal? The parts book shows a seal at the OTHER end of the drive shaft... clarification please!?
-
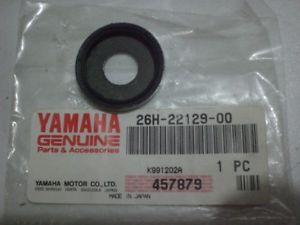
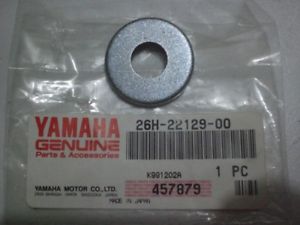
Thanks! I have these pics, they are SIMILAR to the other 2 part numbers. I am looking to give the bearing company EXACT pictures of what I seek. The dimensions I gave them (when running an internet search result are oil seals similar to those used on the front wheel of our motorcycle. This type of seal won't work. See below for my pics of what I removed from my 88. Below are pictures the 3 different part numbers; of cover, dust, cover, thrust1, cover, dust 2. I have thoroughly researched this issue. Item 18 on the parts list for the 1988 year model bikes is PART NUMBER 26H-22128-00-00; "COVER, THRUST" the assembly requires 2 each, that's about $34.00 +shipping. Item 34 on the parts list for the 1988 year model bikes is PART NUMBER 26H-2217H-00-00 "COVER, DUST" PART NUMBER No price at all on the parts list the assembly requires 4 each, Item 36 on the parts list for the 1988 year model bikes is PART NUMBER 26H-22129-00-00 "COVER, thrust 2" @ $14.39 + shipping and 4 each are required . Thanks for any assistance you have or may have provided.
-
Would like a picture (both sides if possible) of these parts; THANKS in advance! For 1986 and up bikes specifically an '88. COVER, thrust 1 26H-22128-00-00 COVER, dust 26H-2217H-00-00
-
Dust and trust washers
dna9656 replied to dna9656's topic in Venture and Venture Royale Tech Talk ('83 - '93)
Is there a way to find him? i can't find a member search.... -
Dust and trust washers
dna9656 replied to dna9656's topic in Venture and Venture Royale Tech Talk ('83 - '93)
Thinking about doing some thing like that!. -
Dust and trust washers
dna9656 replied to dna9656's topic in Venture and Venture Royale Tech Talk ('83 - '93)
Yes, those are the parts. Some are available on line from the New Old Stock sellers, however the least expensive I have found is $16.?? + shipping of $8.??. As I need all of these for the 88 (I believe there are 4 of each part number shown in the parts book for the '88) I'm not spending $64.00 for what is essentially a a washer with some rubber bound to it. I think I can do just as well with some neoprene rubber (cut out a ring and bond it to the washer) and RTV rubber for about $5.00. In other words those prices are exorbitant. Those sellers will have those parts a LONG time. -
So, I have had my post on dust covers and thrust washers up for a while now and Cowpuc is the only person to respond and he's defiantly not sure about what I'm referring to. These are the washers with the seals on them that go on the Arm and Arm 1 at the bottom of the spring/shock thingy, right next to the whatchamacallit. ONE of these is available at usury prices on the internet, SOMEBODY here has run into this before, I need to know what o use instead of the Yamaha parts, anybody?
-
Caliper, There are no pads in the caliper, the caliper is tied off, out of the way, caliper bracket, and wheel are all removed from the bike. That's why the caliper is not the issue... It's been a long time since I have had a bike apart; but I think the caliper bracket has to be in place before the wheel is installed because there is no room to get the caliper bracket in once the wheel is installed so that is what is going on in more detail... The first pic is how I started the install of the caliper bracket section of job. Note; no tire/wheel so the caliper proper and it's associated parts aren't part of the picture literally! In the next pic you can see the paint on the caliper bracket nub on the long side of the Swing Arm; note how much bigger the nub is vs. the '83 to 85 models. The bracket can be installed only one way because like the Mark 1 the holes on each end are different sizes. So I removed the paint and the bracket fit, so I applied a little grease to the bracket and installed it. I appreciate the membership for all the help and guidance you give me and keeping me straight! CRS is real!