
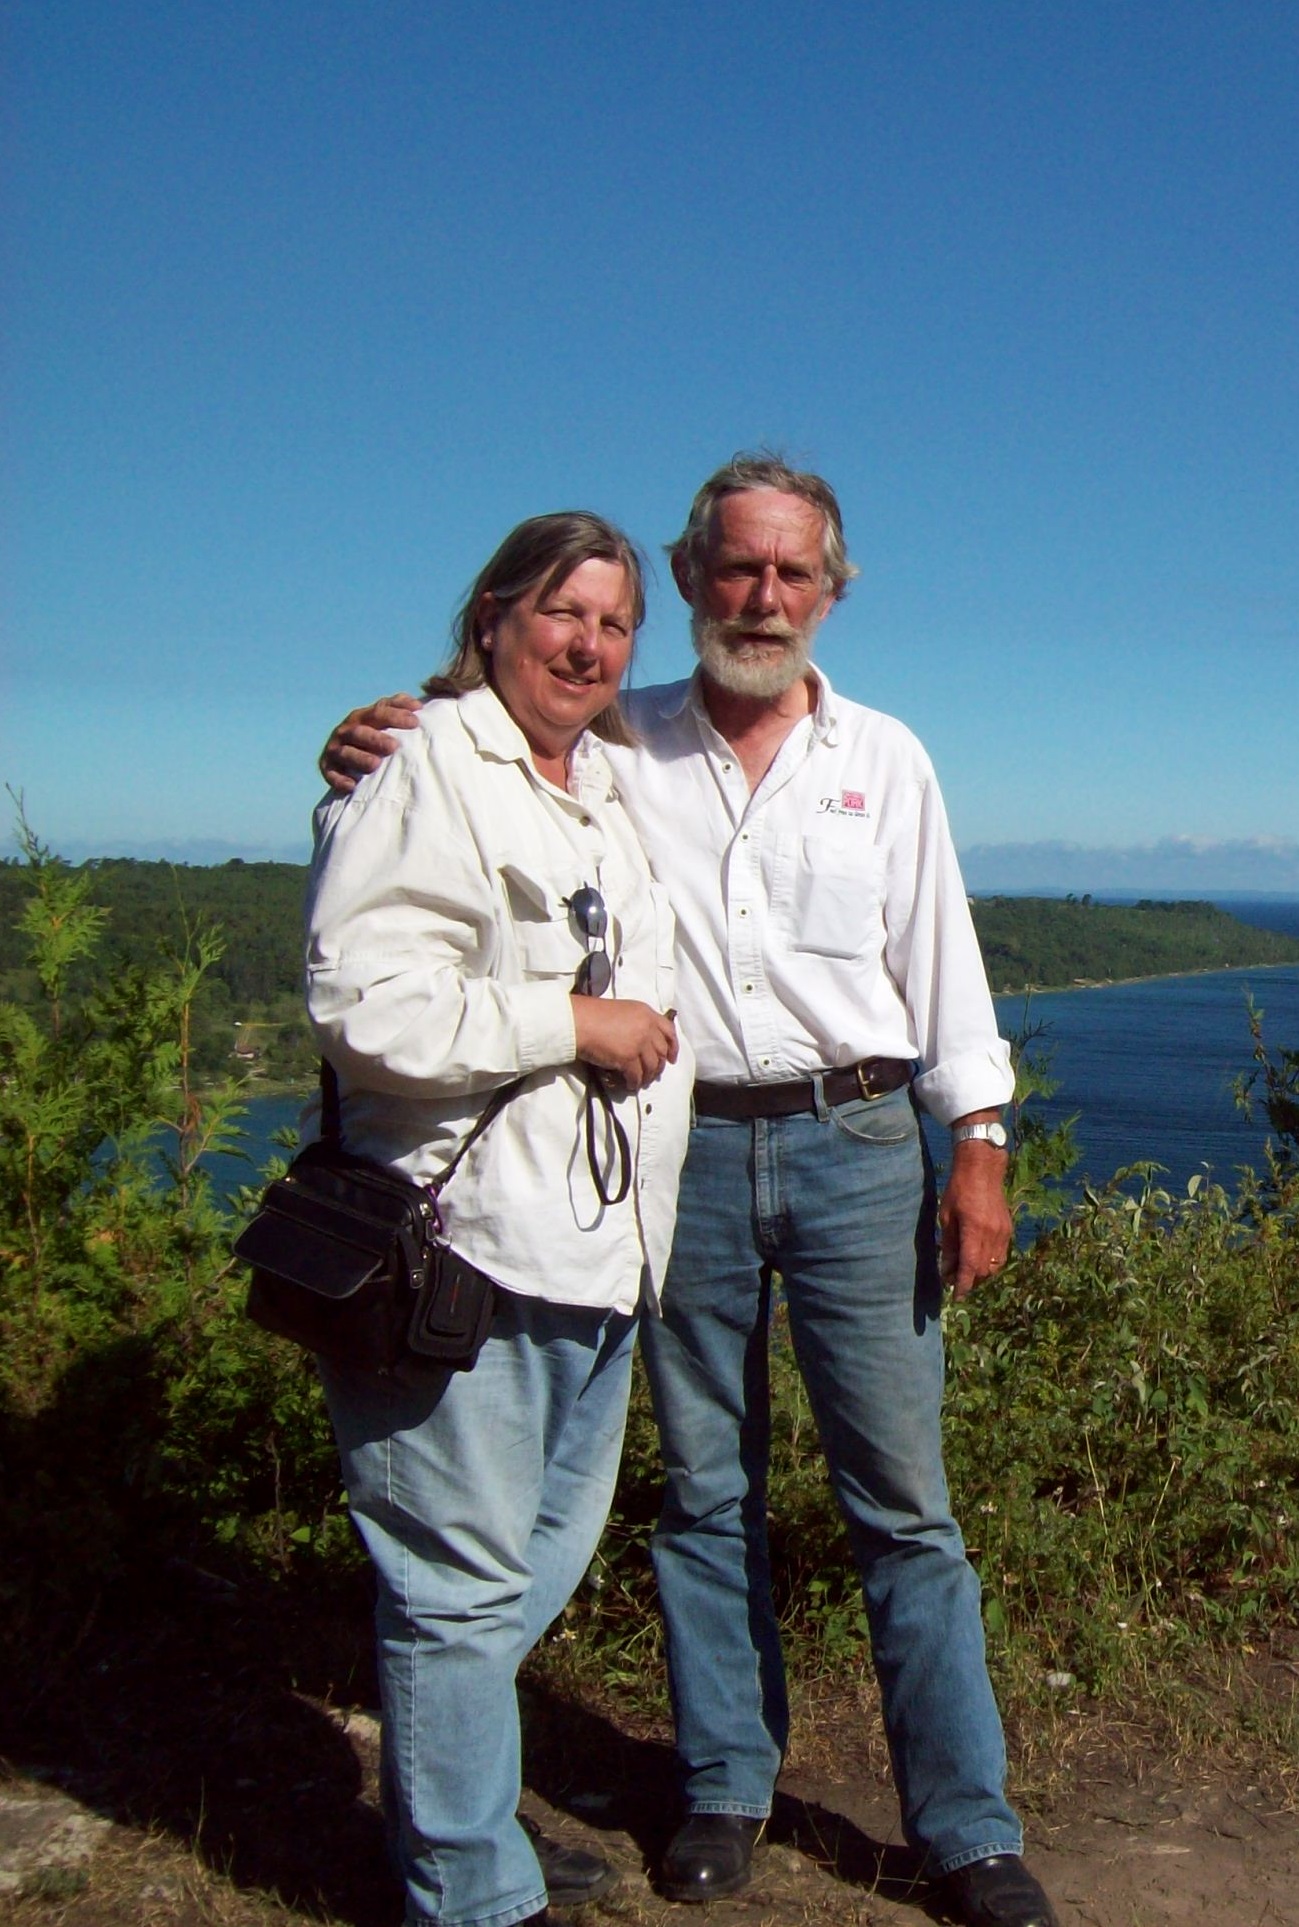
Marcarl
-
Posts
11,238 -
Joined
-
Days Won
135
Content Type
Profiles
Forums
Gallery
Events
Store
Posts posted by Marcarl
-
-
Contact @dfitzbiz to see if he can help you.
-
-
If you have the pieces, then that can be fixed, there's been worse. Another faring though, would be nice.
-
10 hours ago, labill said:
Looking at purchasing a Star Venture. See a lot of 2018s for sale.
Now that it's a discontinued bike any thoughts?
Thanks,
Bill
Could be one or two still in a crate somewhere maybe.
-
On 4/28/2023 at 8:36 AM, Mike PEI said:
Is there a place on here that people post bike picks?
-
Remove false tank cover, left side lower and upper faring, radio etc, and the inside faring. The rest can stay. Cables can be tied together to work them into place.
I think that's it.
-
Don't wake him up!!
-
Sounds like it might be the u-joint going to the drive shaft,, maybe.
-
Funny how that happens,,, maybe time for a nap.
-
19 hours ago, RDawson said:
Does that mean it sounds crappy? 🤣🤣🤣
Guess so,,, the computer knows best I guess.
-
 1
1
-
-
6 hours ago, Skully said:
I wanted to know what could be the problem with my bike. I have an 05 Yamaha Royal Star touring deluxe 1300. That I bought back in 2018 almost at the end of the riding season. Road great I rode it up to new years day. Cleaned it all up to store for that winter. Then the new riding season came and went on until 2021. I pulled bike out the garage to get it ready to go get it inspected ran great on Friday. I rode all weekend long with no issues. Then I rode in the memorial Day parade and half way through the parade the clutch got too hot and smoked the clutch. Got the home. Ordered an new clutch for it and installed the new clutch set for the bike. I fired up the bike to go take it for an test ride. The clutch lever seems to be locked up cause the clutch lever was hard to squeeze it in and shifted the bike into first gear and the bike just reved up. So I shut it off and pushed the bike back into the garage and torn apart the clutch cover and drained the fluid to see if I missed something but I didn't I went by the service manual from my Yamaha dealer. I even went as far as ordering an new clutch set for the second time around and same thing happened again.long story short I Had spent about $3500 so far I even had it to four different dealers and put another four clutches in it.Thats an total of 6 brand new clutches and still haven't been able to ride it and how the riding season already started. Going nuts not riding again
I will post this in the proper forum, so you'll get some replies.
-
8 hours ago, ReinyRooster said:
Did Carl do the taste test?? LOL
I tried but he said something about being allergic to glycol.
-
Sound is a fecal thing and it needs things to bounce off of. Get a setup that sounds awesome in the garage and then move it outside, half the quality is gone. Now add some other noise and wind to carry things away, and you are left with what a plain set would provide.
-
Probably won't get very wet while moving, but get soaked when stopped. Also, if you take it you won't need it, but if left behind you'll wonder why on earth you hadn't packed it along.
-
Try Hanigan.
-
On 4/20/2023 at 6:24 AM, HermanK84VR said:
Hi Everyone
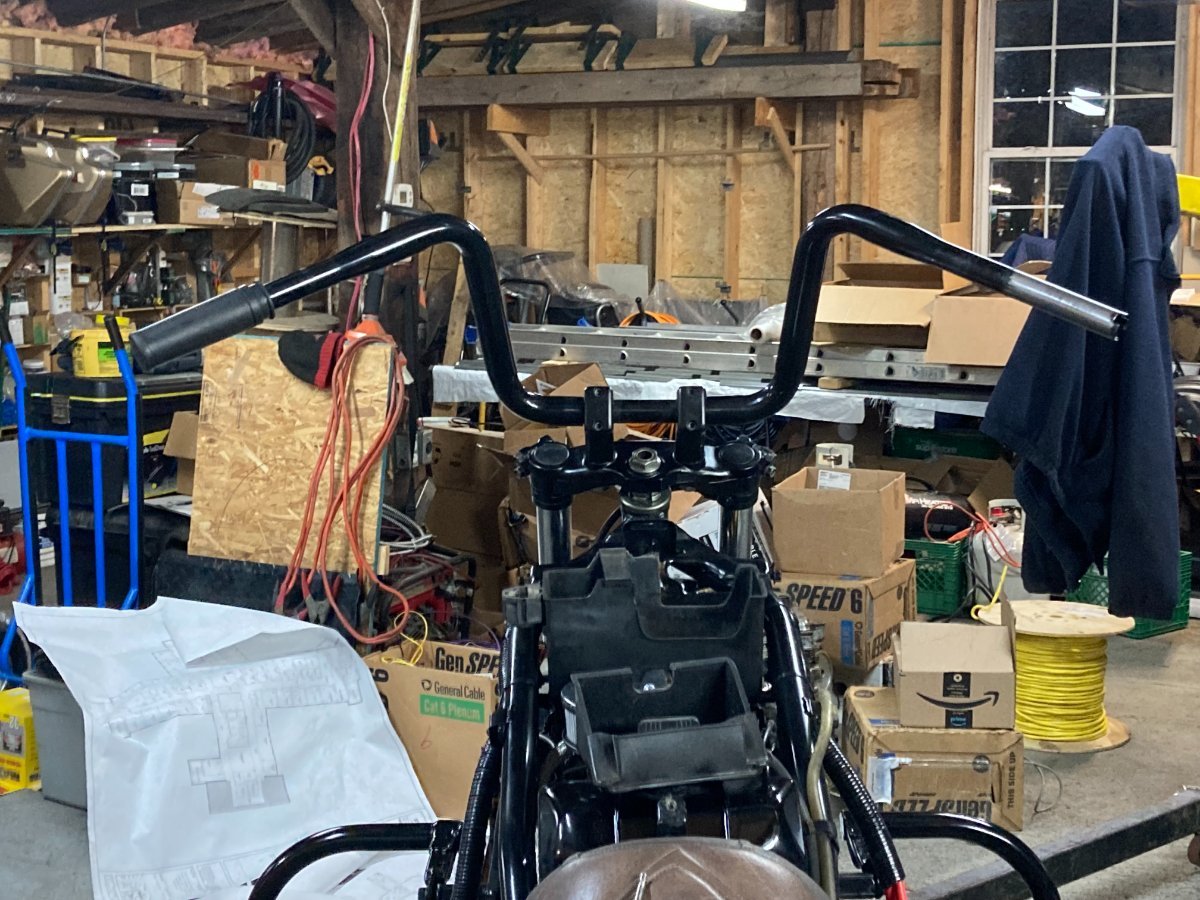
Picking away on getting things done on the Bike Installed the Handlebars last nite with the new Krator Risers Not sure if they are set at their final position but they are on and Ready to have the controls mounted.
Now have the new forward control Rear Brake master permanently installed after retapping the Outlet for the M10x1.25 banjo the hole was originally M9x1 and near impossible to find a Banjo to fit it one of the joys of Amazon.
Started to rebuild the Rear caliper and found out the AllBallsRacing Rebuild kit only has the Piston and Dust seal for 1 side so now I need to order a second also missing was the rubber washers that are in between the 2 halves so i have contacted the manufacturer we will see if they respond.
that is it for today
Herman

Did the brakes on an 84 here, and found that AllBalls kit as you say. The front ones though have both sides in the one kit. For the rubber flat cut o-rings I could not find anybody who made them or the size, so I went to a local brake rebuilder and he said just to use normal o-rings, at least that is what he would do and he said it would work just fine, so that is what I did. Now the manual says not to slit the caliper, I wonder why?
-
2 minutes ago, sleepy2 said:
Have same problem except with everything!!!!!
Only happens at certain times, but then?.............
-
I believe that the coils are constant powered and then the ground side is disconnected to create spark. So you might have power at the coils but no spark. The ground would go then to the TCI to activate the spark.
-
 1
1
-
-
On 4/8/2023 at 8:04 AM, HermanK84VR said:
Hi Everyone
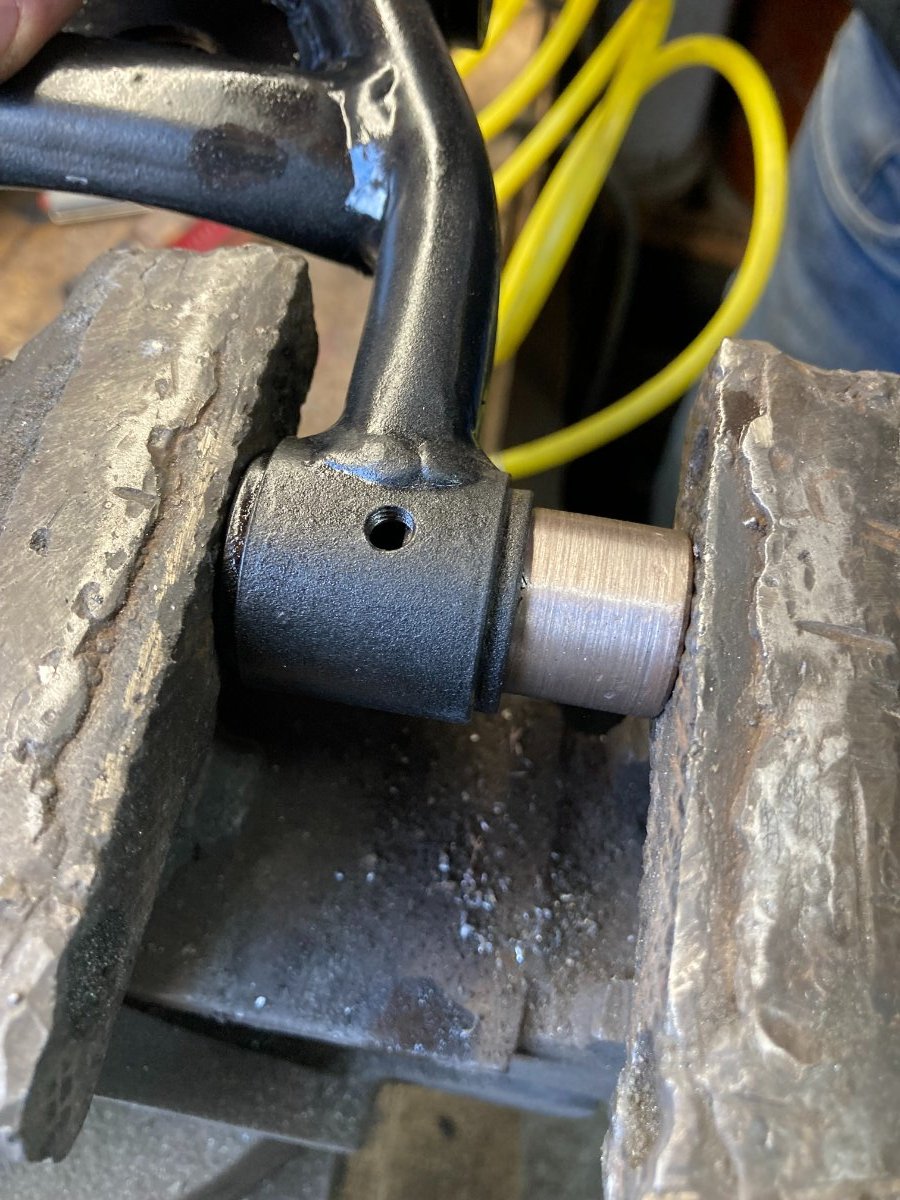
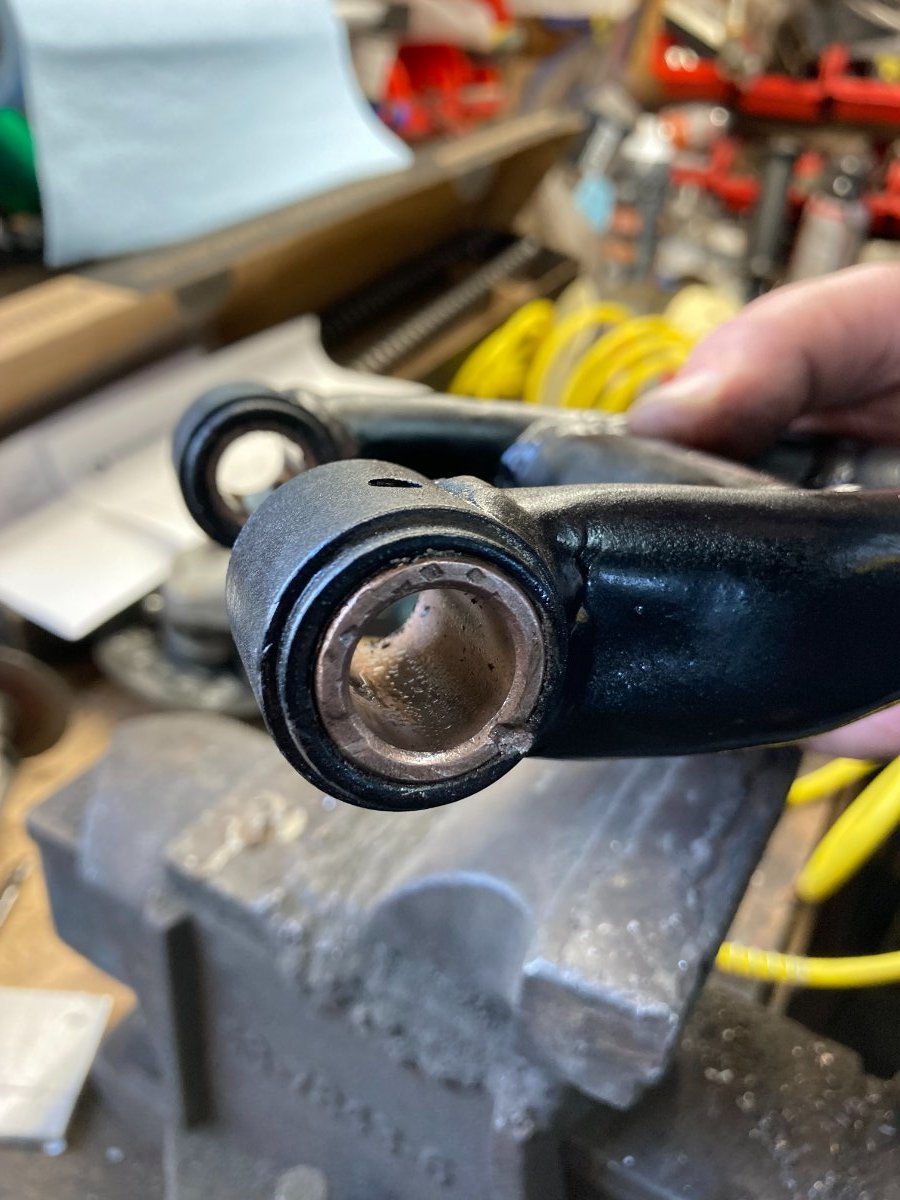
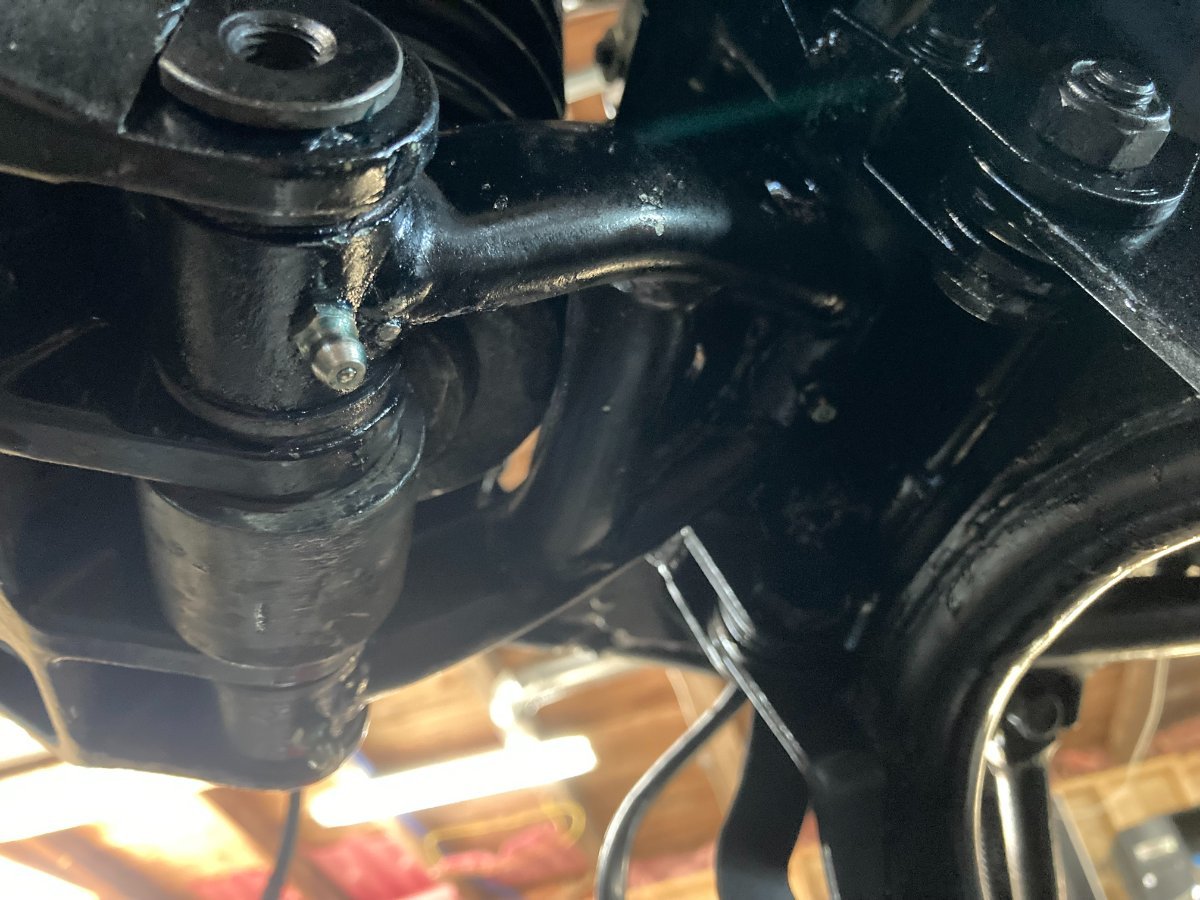
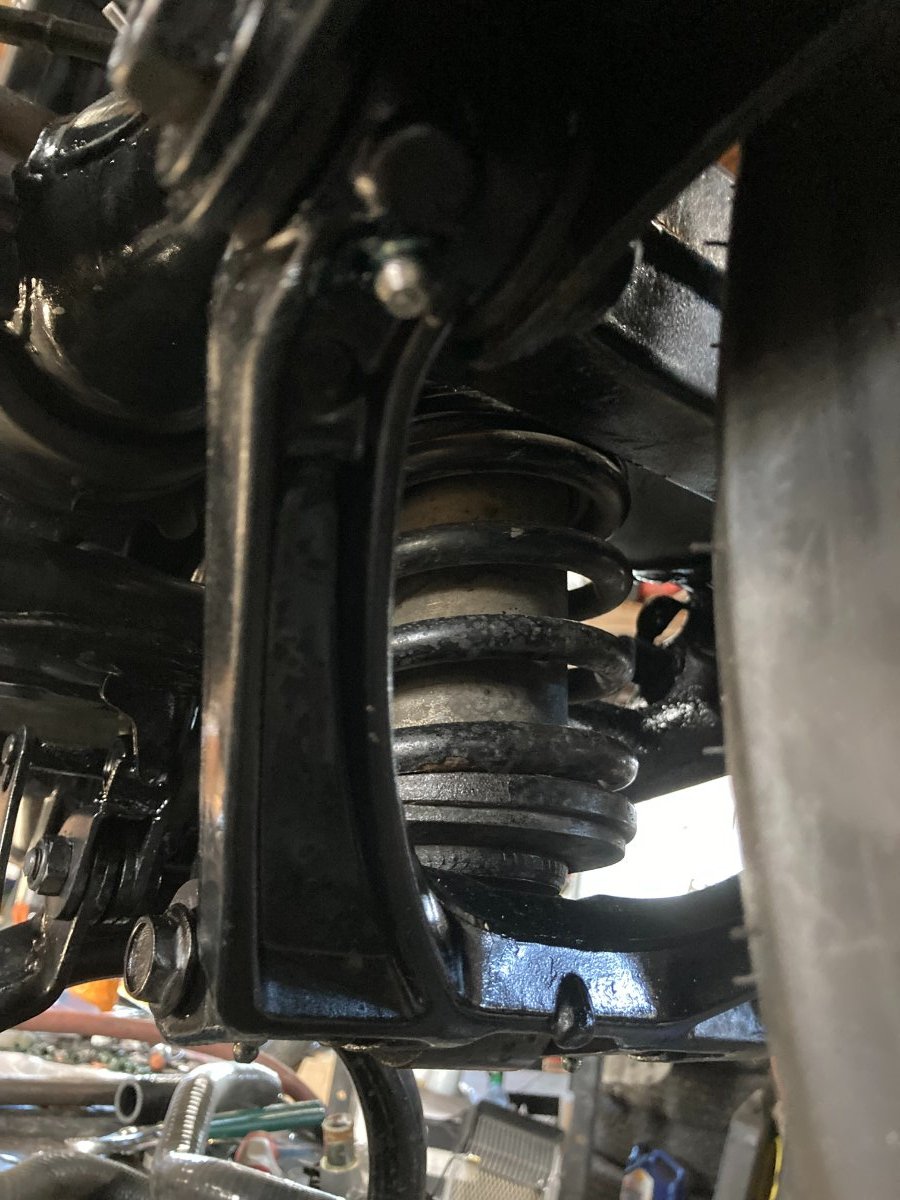
Here is an update on the Bronze Bushing replacements and Installation in the Lower control arm. The Challenge is finding the Metric Sizes we need for these Swingarms the worst bushings were the 2 that are in the small swingarm link that connects at the Shock lower mount and and the Larger swingarm link. The remainder of my bushings were fine. the 2 on the Larger swingarm link to the swingarm rear mounting points had some wear but was not critical.
I have added grease nipples to all 5 points and they are now well packed with grease and the 2 bushings are now Bronze bushings. To accomplish this I purchased from Princess auto a pack of 4 Bronze bushings OD7/8x5/8ID, $14.00, placed this on a 3/8 bolt with washers and put it in my drill press, with the drill press spinning this assembly I used a large flat file to gently mill down the bushing to the required 22MM OD, only need to remove roughly .225mm off the 7/8 OD, once that was done I was able to press in the bushing into the swingarm using my bench vise.
Next Step clamp the swingarm into your drill press vise, square it up to the Drill bit then drill the bushing with an 18mm drill bit (amazon purchase $17) go slow using lots of oil.
Last thing is to drill and tap for a grease nipple this can be done before or after you drill the bushing to the 18mm.
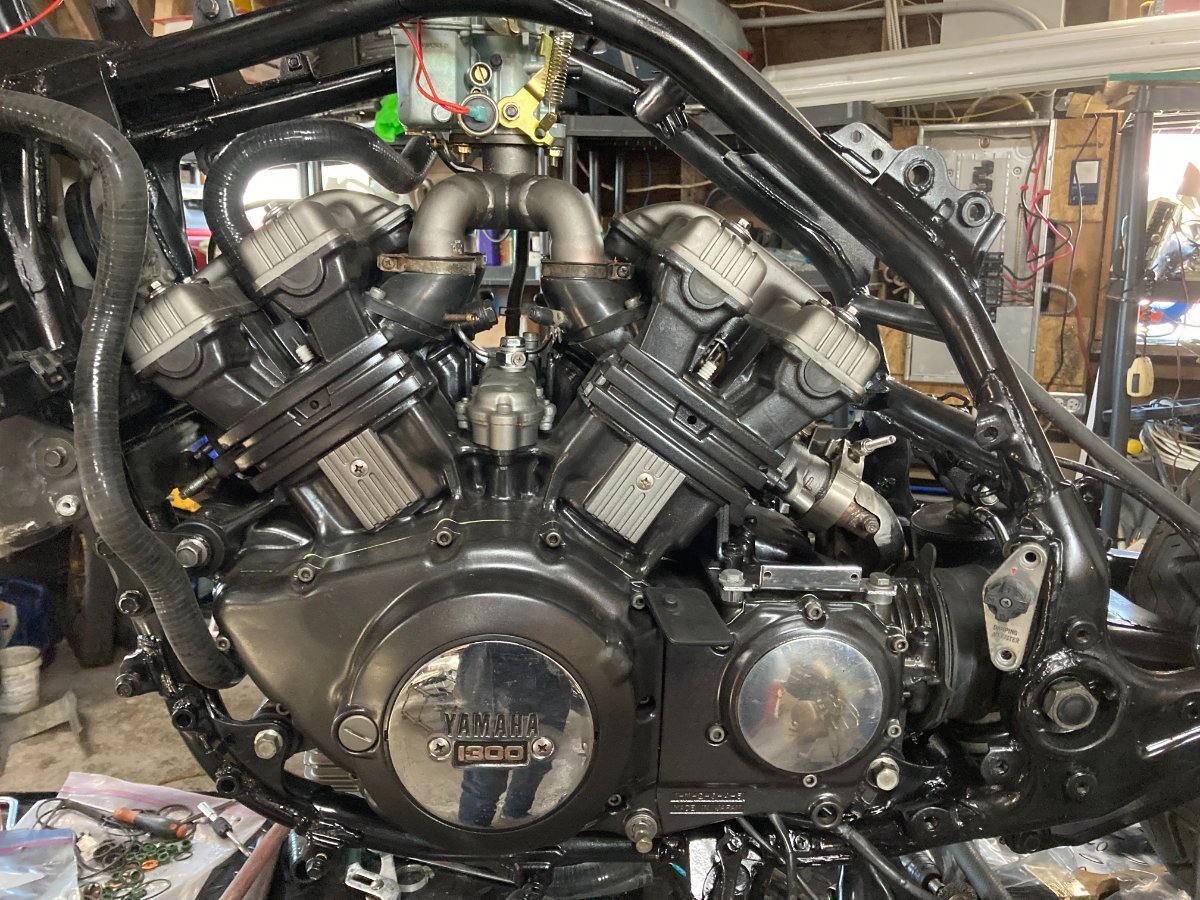
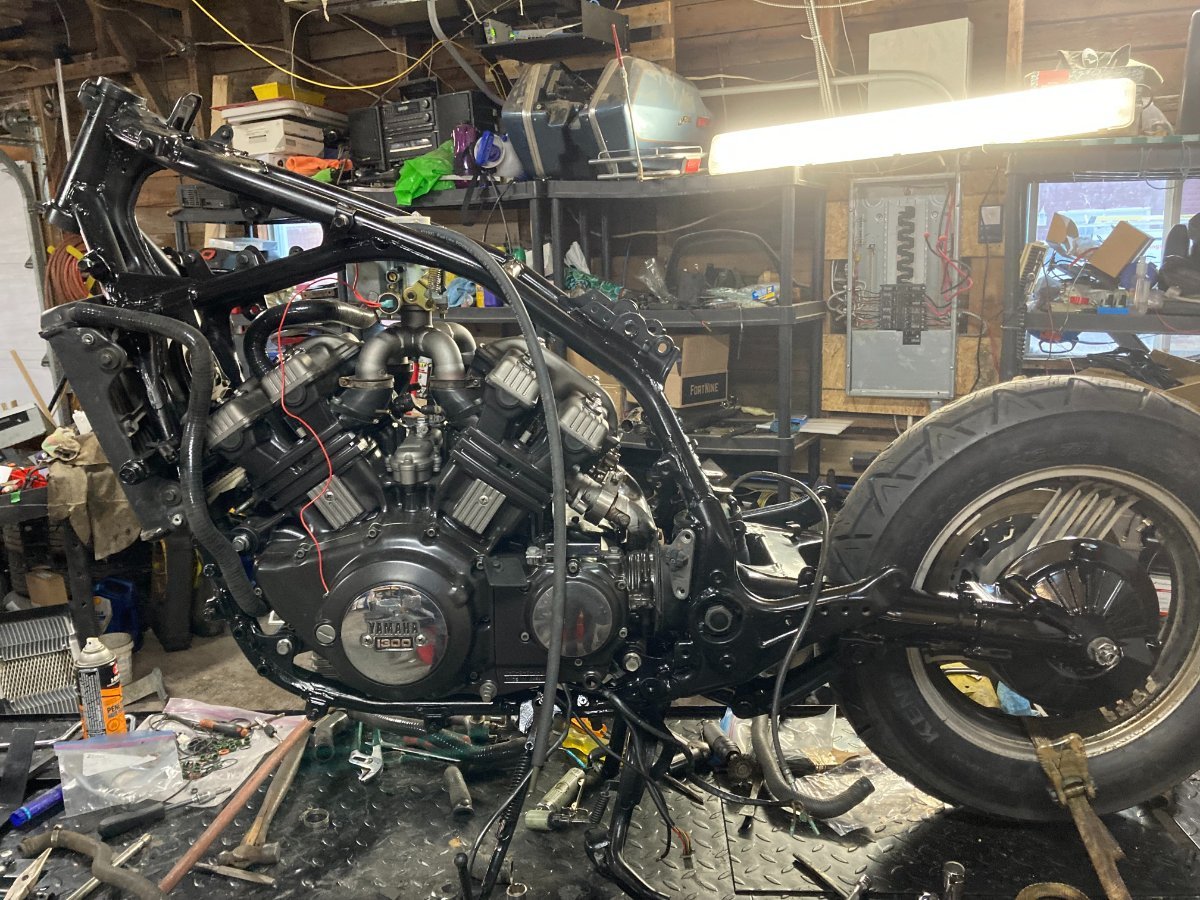
Now an update to the Build my buddy came over to help get the engine mounted in the Frame and I must say it is much easier to install the frame over the engine then muscling the engine into the frame I built a wooden Engine holder out of 2x6 so we could get the engine off my Engine stand and sitting on the Bike lift we then picked up the bare frame and easy peasy engine was bolted in with the new delrin mounts within an hour. We then started reassembling the rear swingarm components and Final drive and Rear wheel with the new Tire.
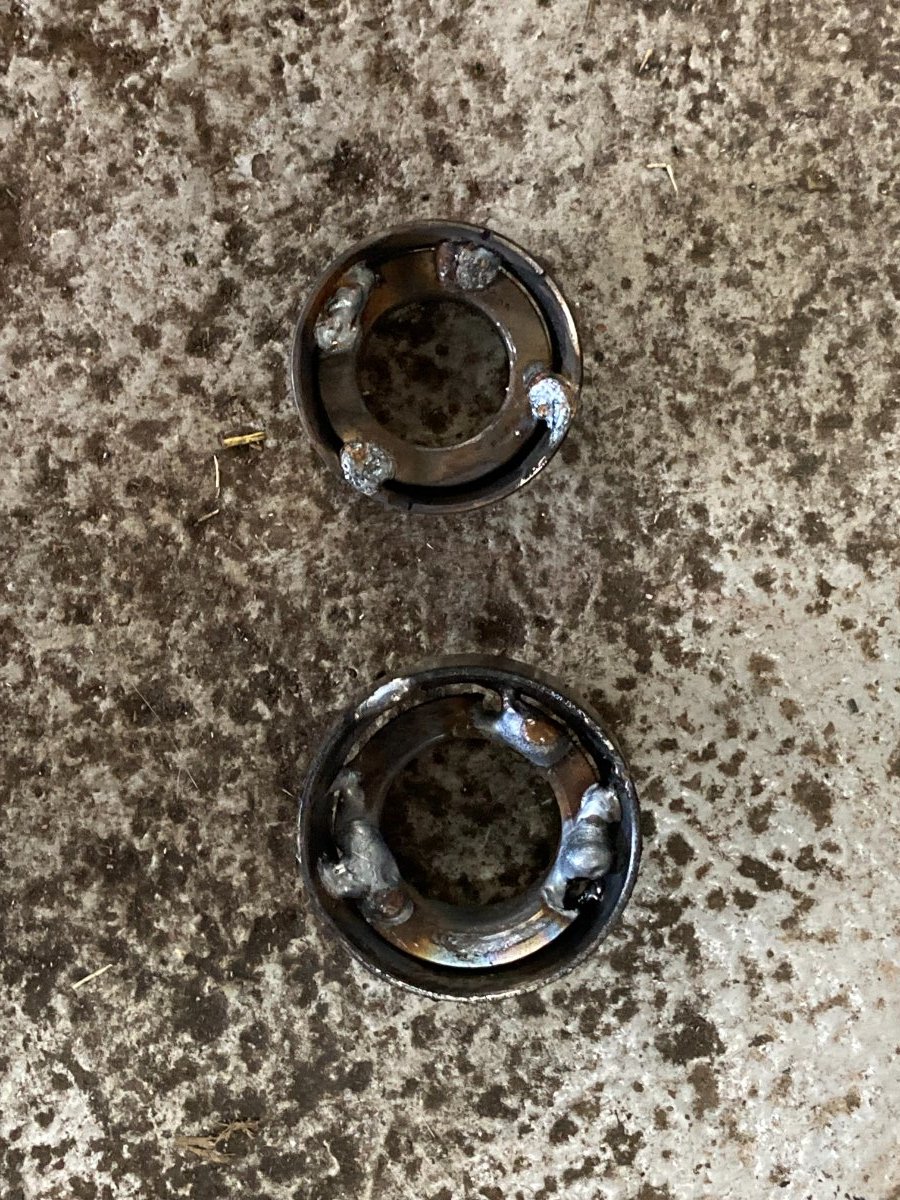
I then started to work at replacing the head bearings and seals, it blows me away how so many MC owners neglect this critical component the Bearings were seized the bearing races were beat to death and not a bit of grease left on the bearings. The bearing Race removal was a bit of a chore as there is now discernable lip on the back side of the race to tap out the old race, so next best thing was to weld the old bearing to the race then pop it out worked like a charm.
Front end will be put back together tomorrow as we are heading to family for the day
Happy Easter all
Herman
Might I suggest you also put a fitting on the shock mount? When I did my 85 the bolt/pin was worn badly and I had to get a new one made, Yamaha no longer stock those either.
-
Oh WOW! Do you read all those books every year?
-
Not going to pass this on to nobody,,, just in case a special someone sees it and gets ideas. Looks good though.
-
23 hours ago, Russ said:
thank you for this confirmation. between the two of us, we're around the 570 mark, so i was concerned. now to figure out how much air to put in that rear shock. 😉
Fill it up, to I think 55lbs. Best check the manual though, you don't want to over capacity.
-
You are doing well,,, real well!!
-
Nice!
Tire suggestions for a 2013 RSV?
in Watering Hole
Posted
Time!! It's time!