MoonShine
-
Posts
29 -
Joined
-
Last visited
-
Do it! Bring this motorcycle back to life and ride the wheels off! You will spend time and money, but if you want a solid, affordable, comfortable road bike that will eat the miles in sun, wind, rain? This is it! Rebuild the brakes/clutch master cylinders, new braided lines, rebuild and sync carbs, check fuel tank and replace filter and lines, new tires, rebuild forks, change all fluids, go through all electrical connections and look for corrosion. About a grand (2 plus if you hire the work out) and a few months later you will have a superb road bike that can roll with anything out there.

-
Rear brake caliber dragging
MoonShine replied to SpencerPJ's topic in Venture and Venture Royale Tech Talk ('83 - '93)
Good Lord… I think I remember what I did with this upgrade now. Rebuilt a MC from a Gen I MK II venture as the piston is 11/16. I took off the splitter that went to the front brake and plugged it off. Took the old reservoir off and replaced with one off a royal star venture. It was a while ago and my brain finally woke up… Hope this helps and that I didn’t misrepresent the project. -
Rear brake caliber dragging
MoonShine replied to SpencerPJ's topic in Venture and Venture Royale Tech Talk ('83 - '93)
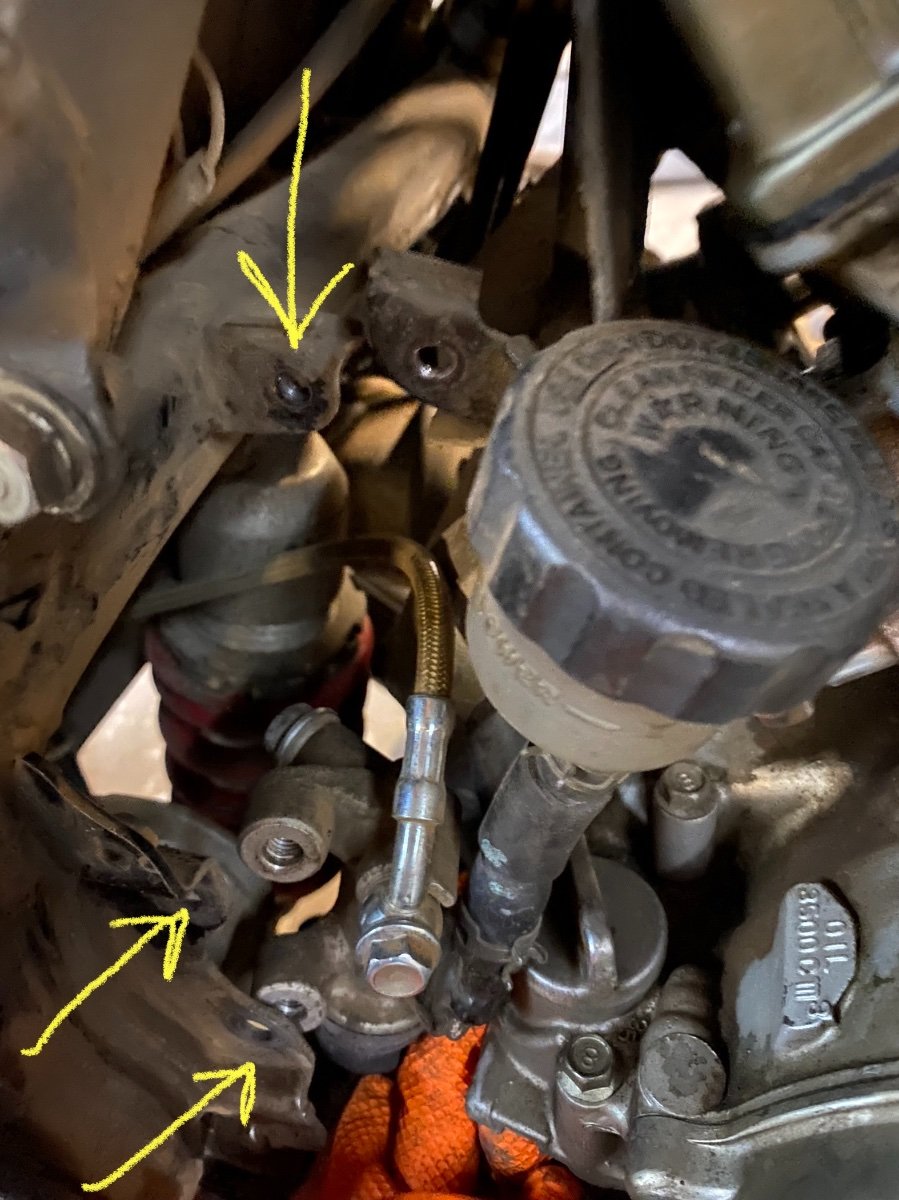
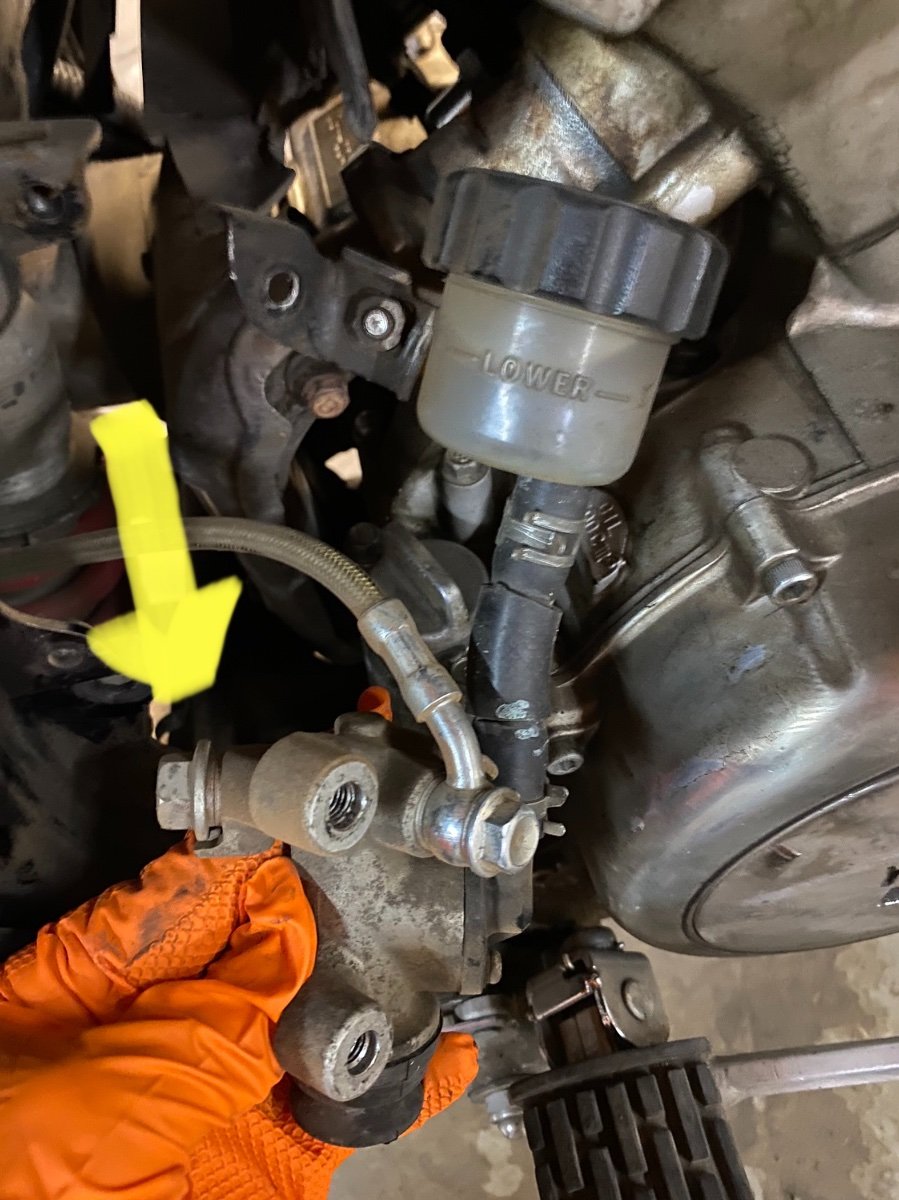
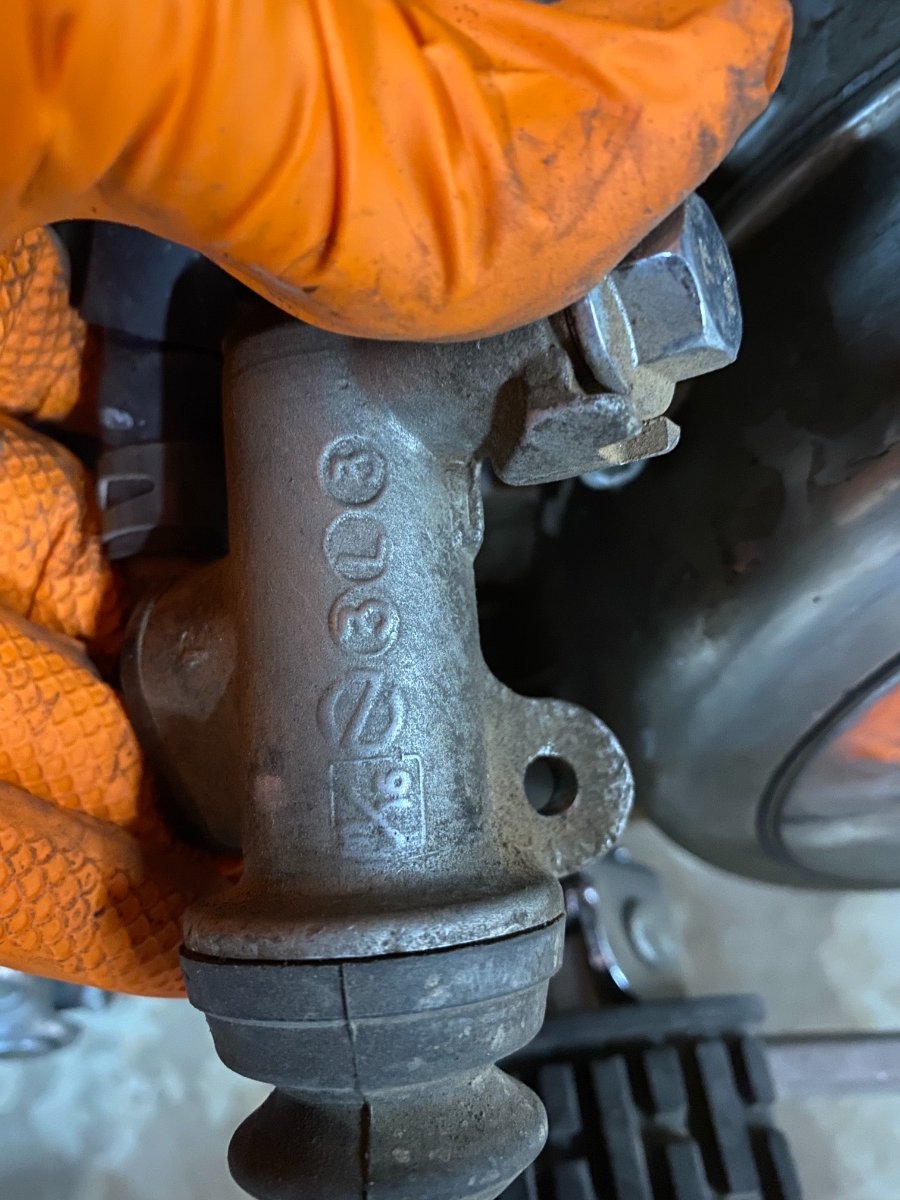
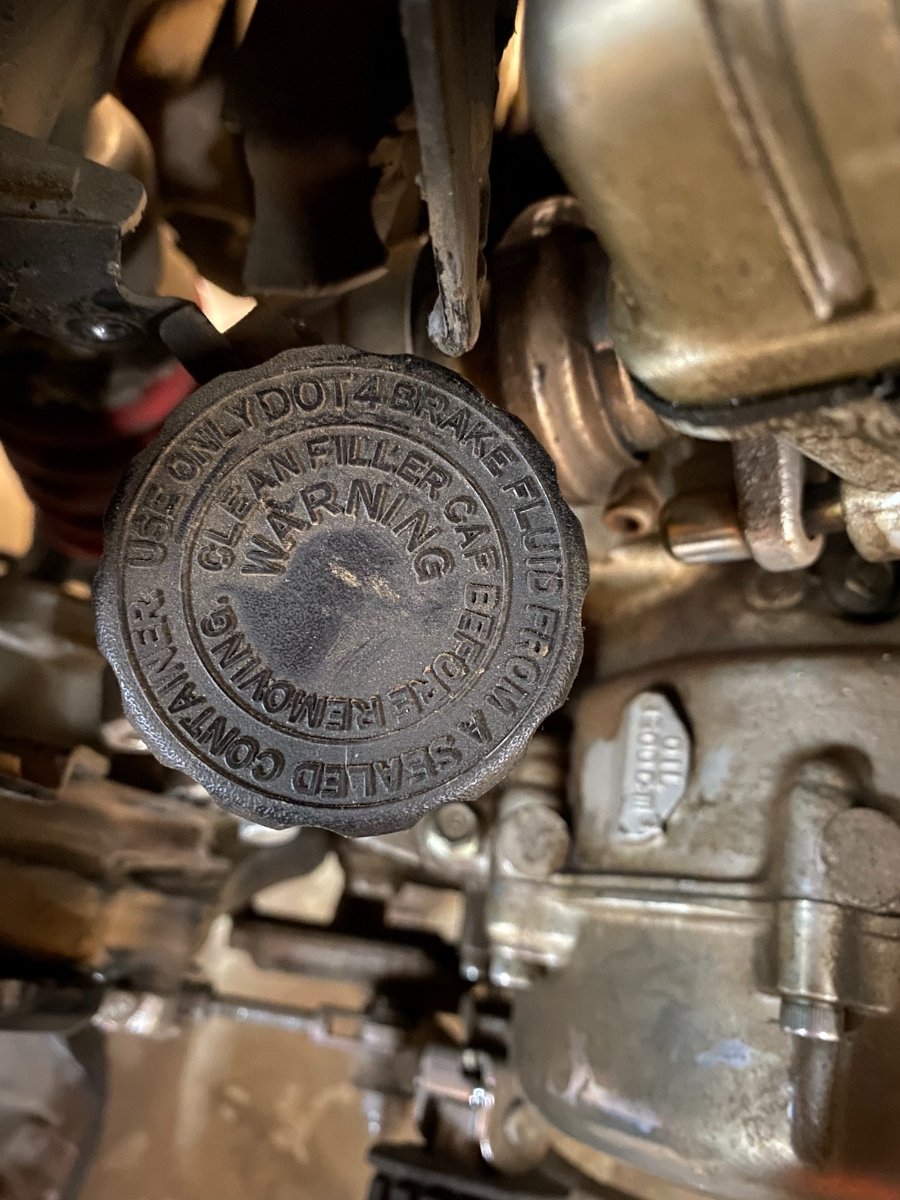
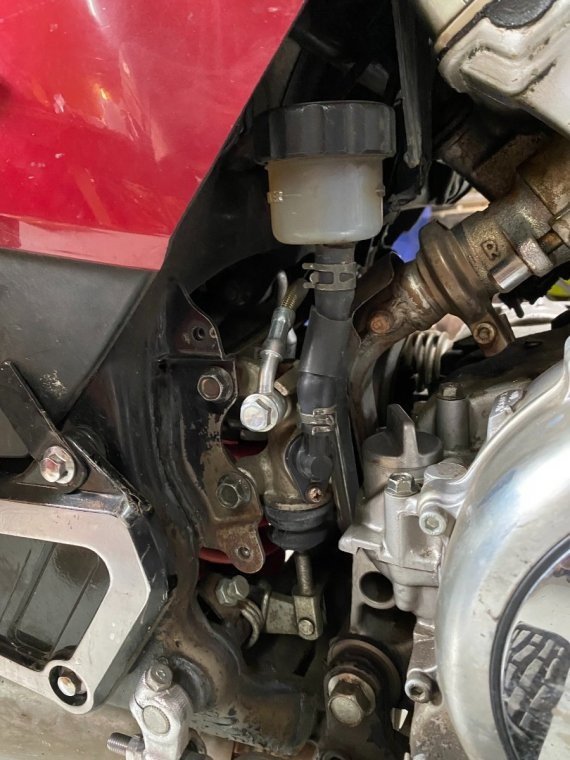
Ok. I have been going through my records and cannot find the make model of what bike this part came off of…. I’ve attached a few pictures after unbolting that might help. There are 2 bolts mounting the MC and 1 for the reservoir. There is also another outlet that I capped off as my front and rear brakes are separated now. By bolting up fairly easily, I mean that the brackets on the frame lined up pretty well with the new set up. I may have had to drill a hole? I believe I only had to adjust the slack after bolting in. Apologies for any confusion. I will keep researching to find the bike model and year for you.
-
Rear brake caliber dragging
MoonShine replied to SpencerPJ's topic in Venture and Venture Royale Tech Talk ('83 - '93)
Great job on the repair and all the info! I did the same repair with the help of the good folks on this forum. I later switched to a 2000’s Royal Star Venture MC and reservoir for convenience. It pretty much bolted right in without too much trouble…
-
Working great for around 2 years and thousands of miles. Thanks, and I will keep my eye on it.
-
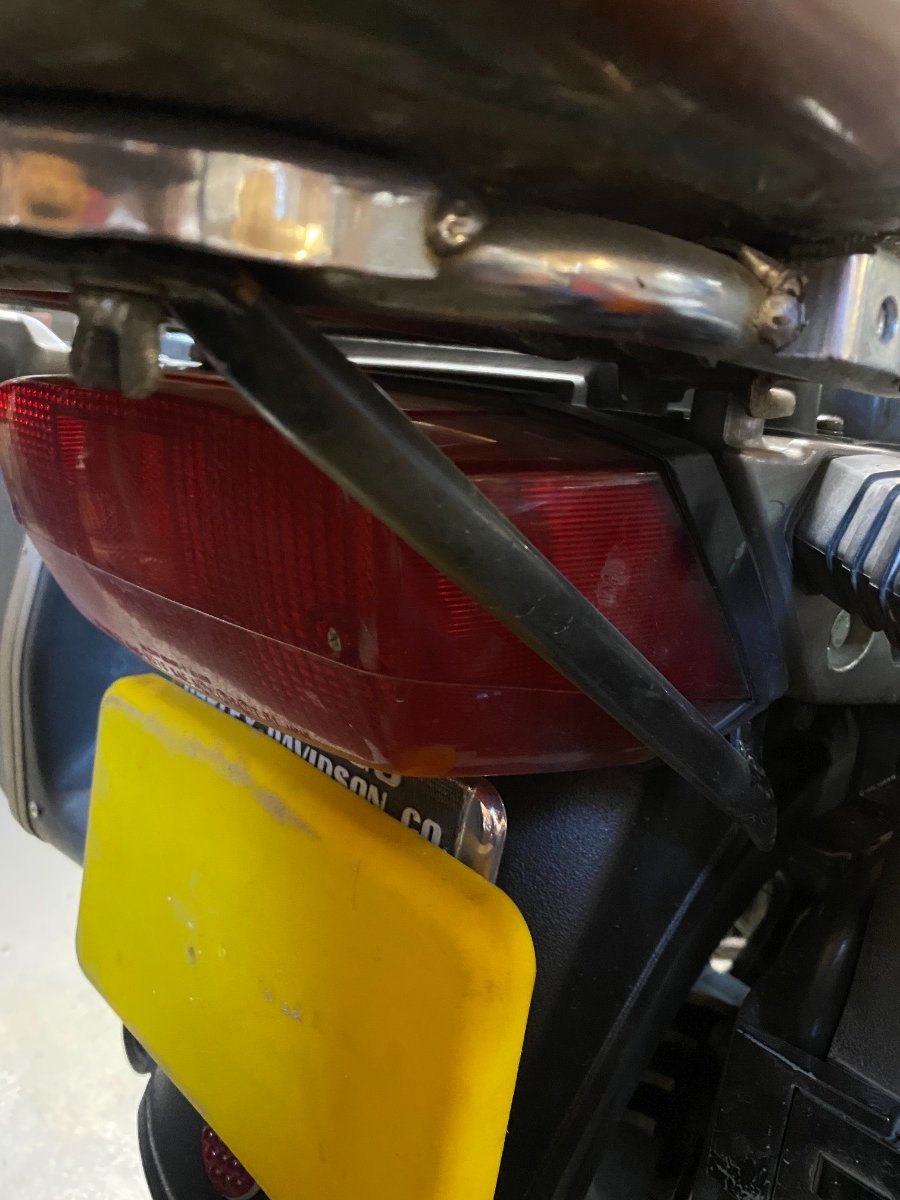
Replaced the rear brake master cylinder and reservoir with a more modern set up. I think it came off a Royal Star Venture from the 2000’s?
-
I would loosen all 4 air filter box clamps and remove the airbox. Then loosen all 4 air intake clamps and pop the carbs out. Silicone grease the o- rings on the top and bottom of all 4 carbs. Maybe a light coating on the inside of the intakes. Try and seat the carbs back into the intakes with downward pressure in a cross pattern, like tightening lug nuts. Good luck!
-
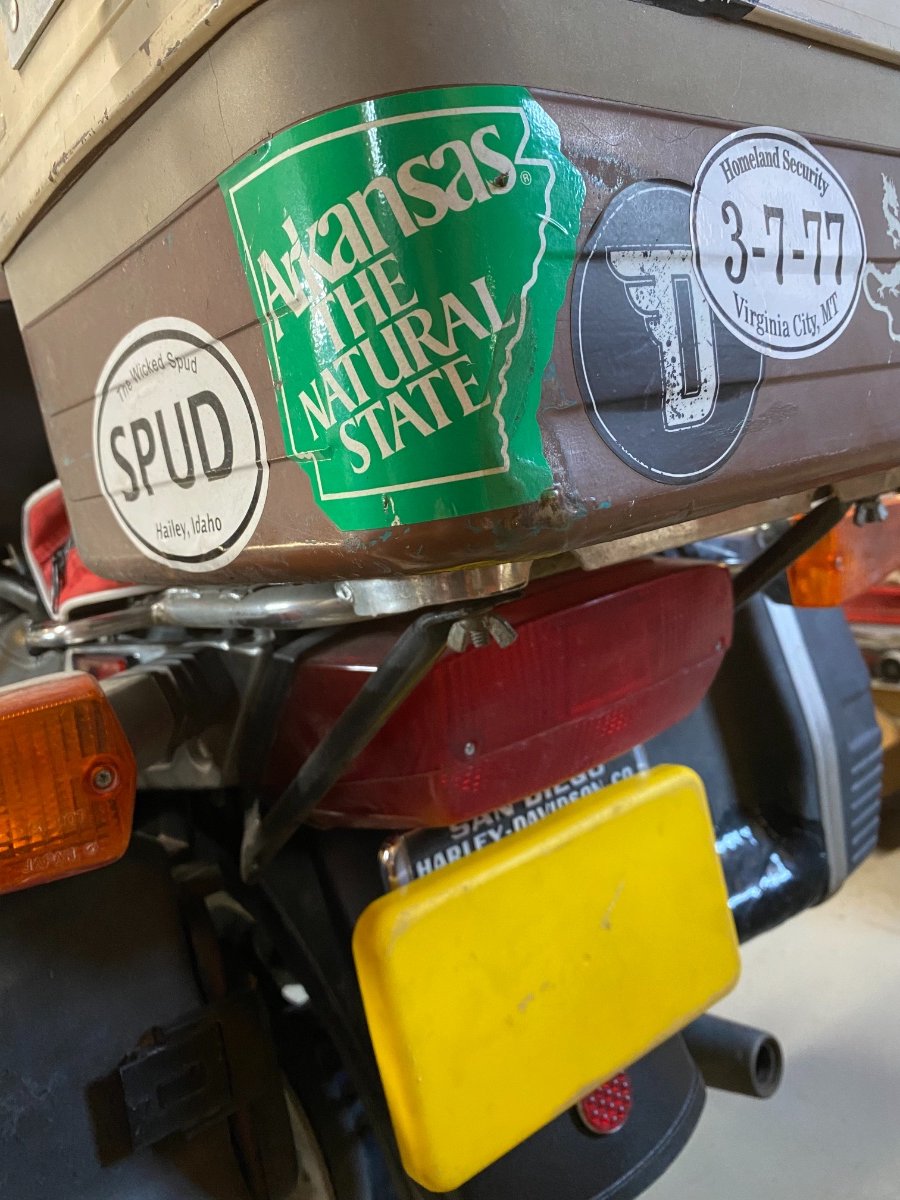
Added angle braces to package tray to support extra weight in mounted box.
-
Try cutting a slot in the center of the bolt with a hacksaw or cutting wheel on a die grinder. Get a flat tip bit on an impact drill in the slot and go easy on the trigger. Good luck!
-
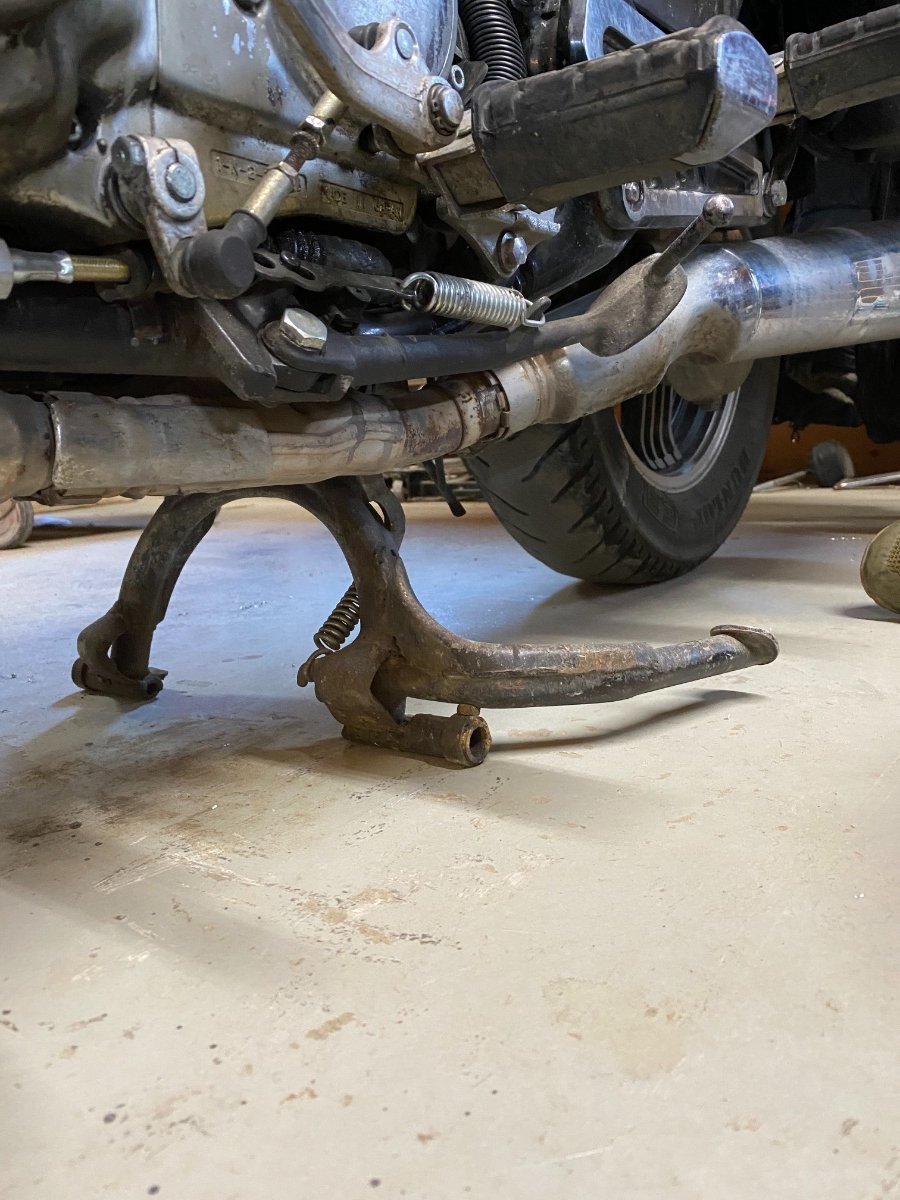
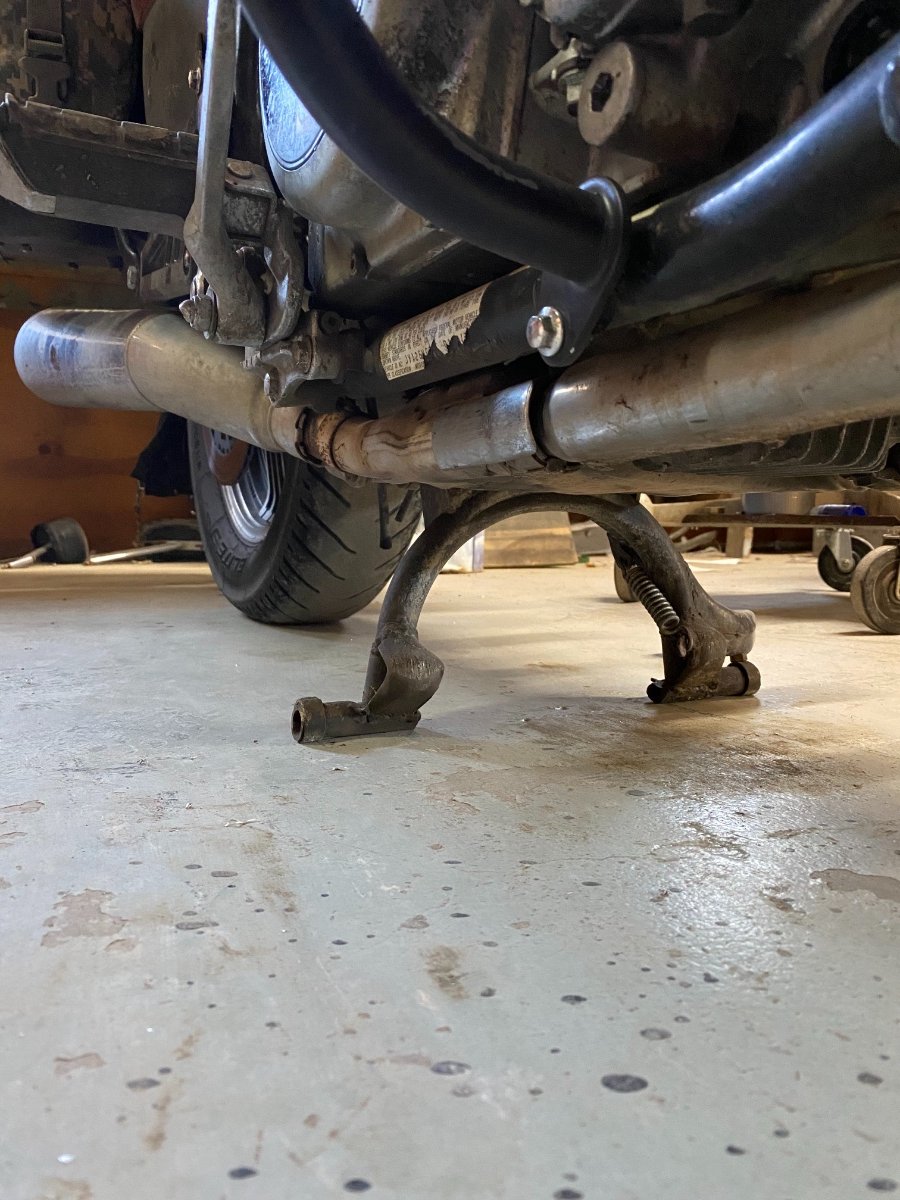
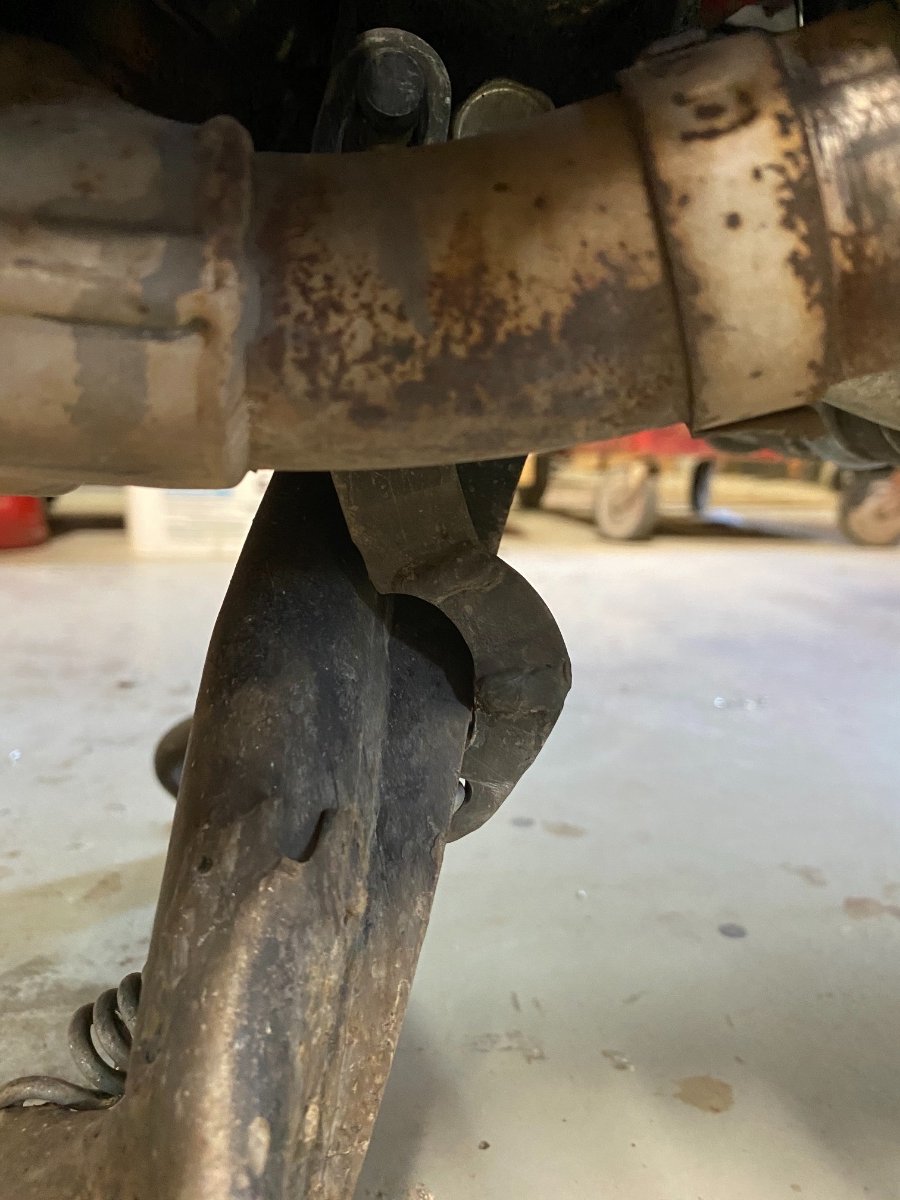
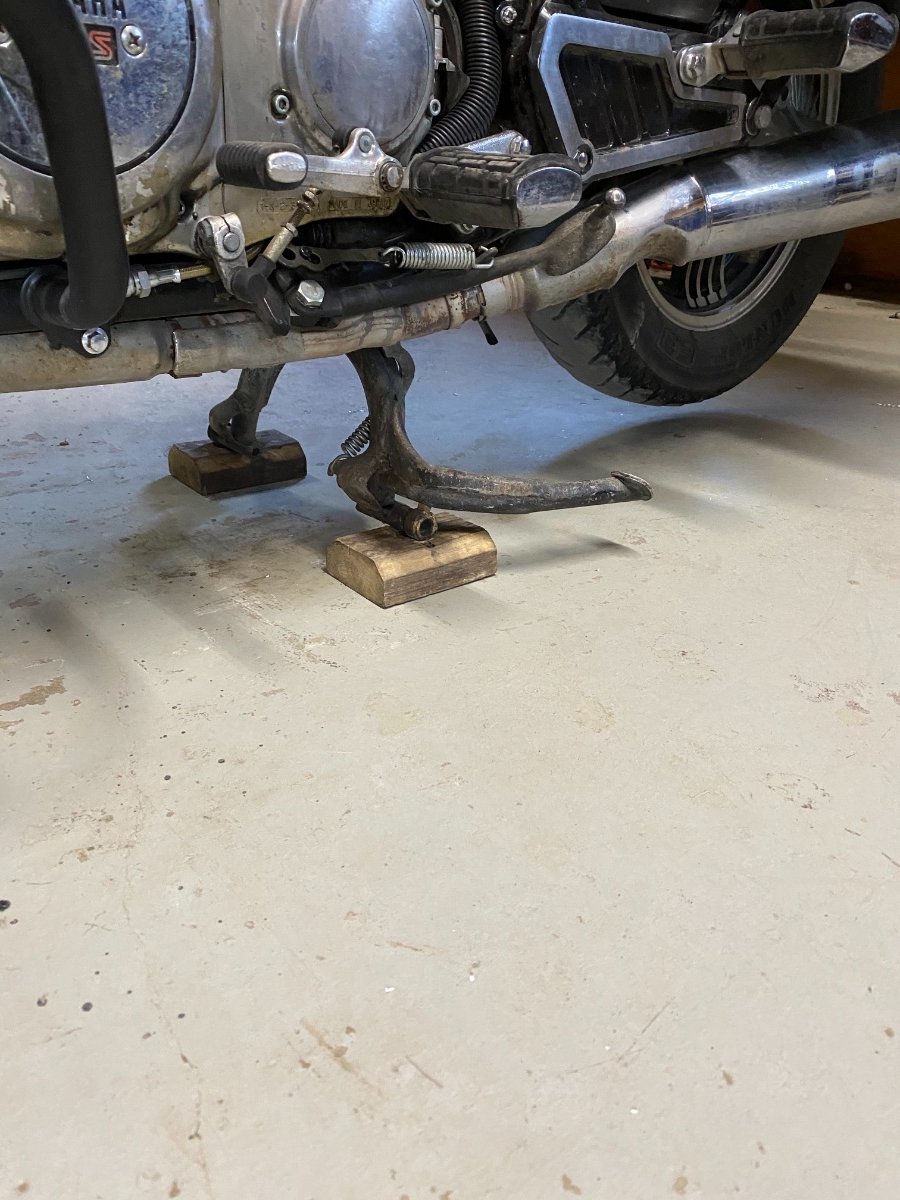
Center stand mod. I cut around 2 inches off the bottom of the center stand and welded some cross tube on the feet to make a “ride off” stand. It is very easy to pop on the stand (even in flip- flops) and rear wheel is on the ground when on the stand. I carry 2 small chunks of 2x4 to tip the center stand on to lift the rear wheel off the ground or stabilize on soft ground.
-
Center Stand
MoonShine replied to SC89Venture's topic in Venture and Venture Royale Tech Talk ('83 - '93)
I cut around 2 inches off the bottom of the center stand and welded some cross tube on the feet to make a “ride off” stand. It is very easy to pop on the stand (even in flip- flops) and rear wheel is on the ground when on the stand. I carry 2 small chunks of 2x4 to tip the center stand on to lift the rear wheel off the ground or stabilize on soft ground.
-
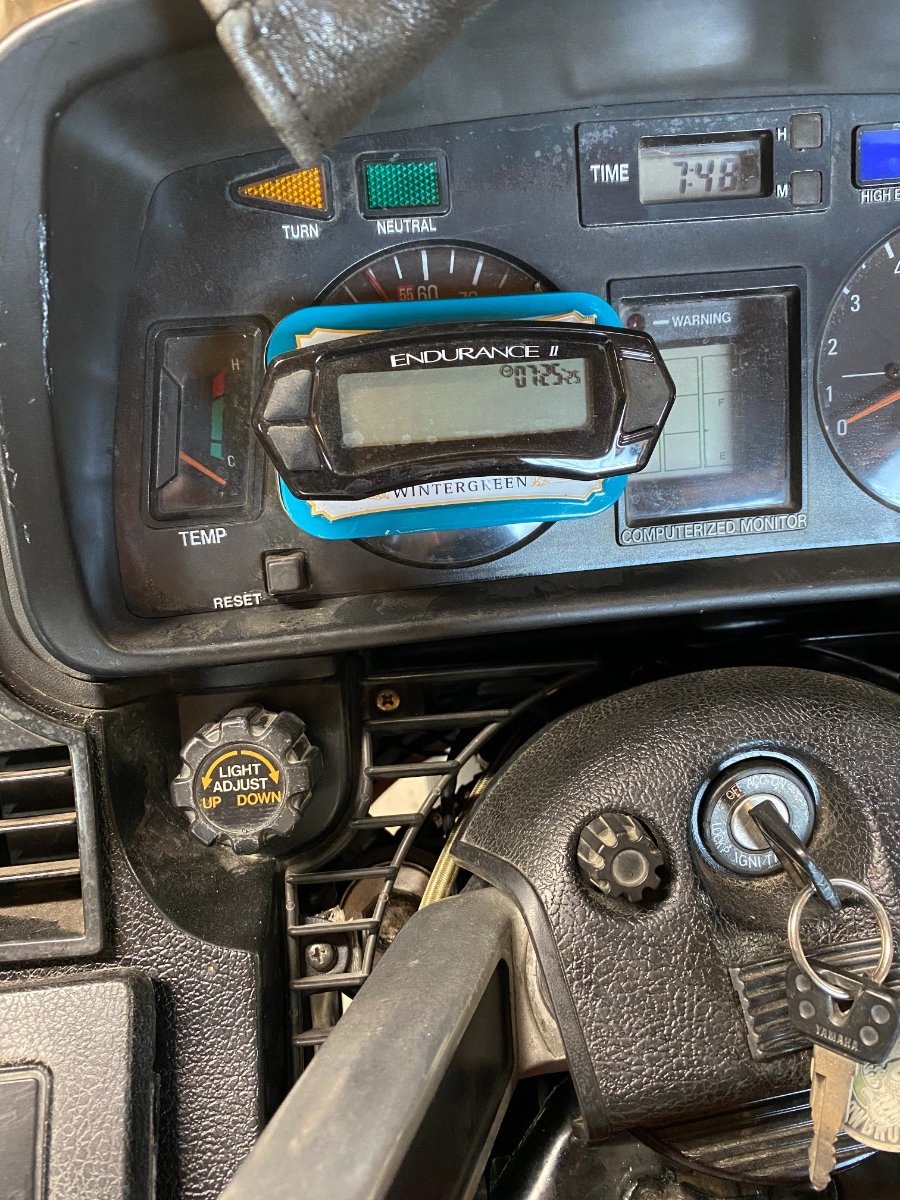
Replaced squeeling speedo with this Trailtech digital unit. Has a magnet gorilla glued to the rotor. Removed the old cable/ housing and capped off the drive at the wheel
-
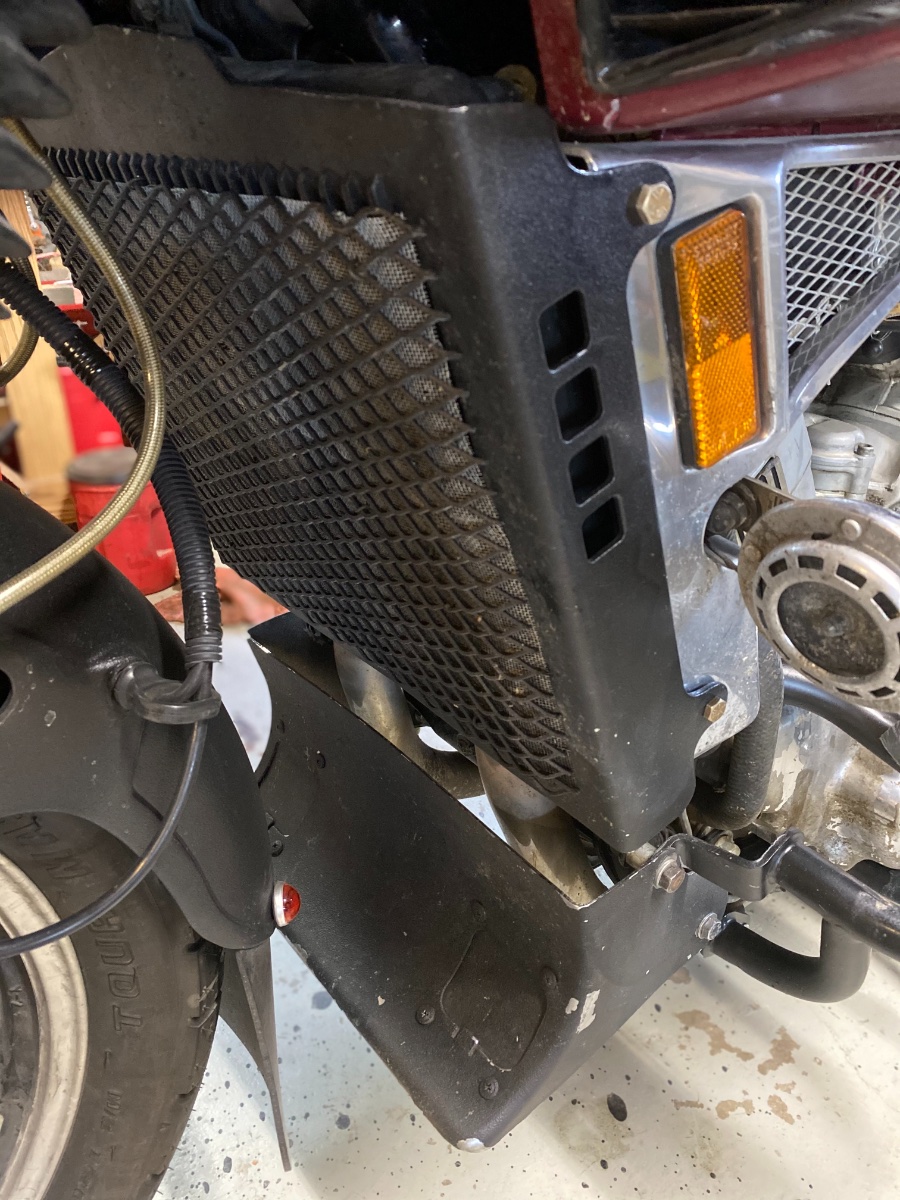
Added expanded metal and window screen over the radiator guard for extra protection from road debris and bugs.
-
Spray on truck bed liner for top case, fenders, radiator guard and wind scoop.