Johnnycyclone
-
Posts
137 -
Joined
-
Last visited
-
Days Won
12
Content Type
Profiles
Forums
Gallery
Events
Store
Everything posted by Johnnycyclone
-
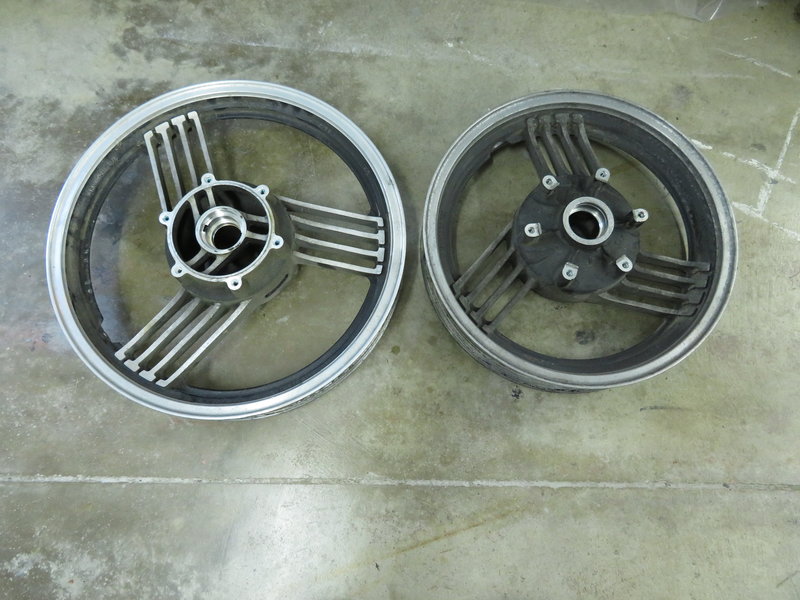
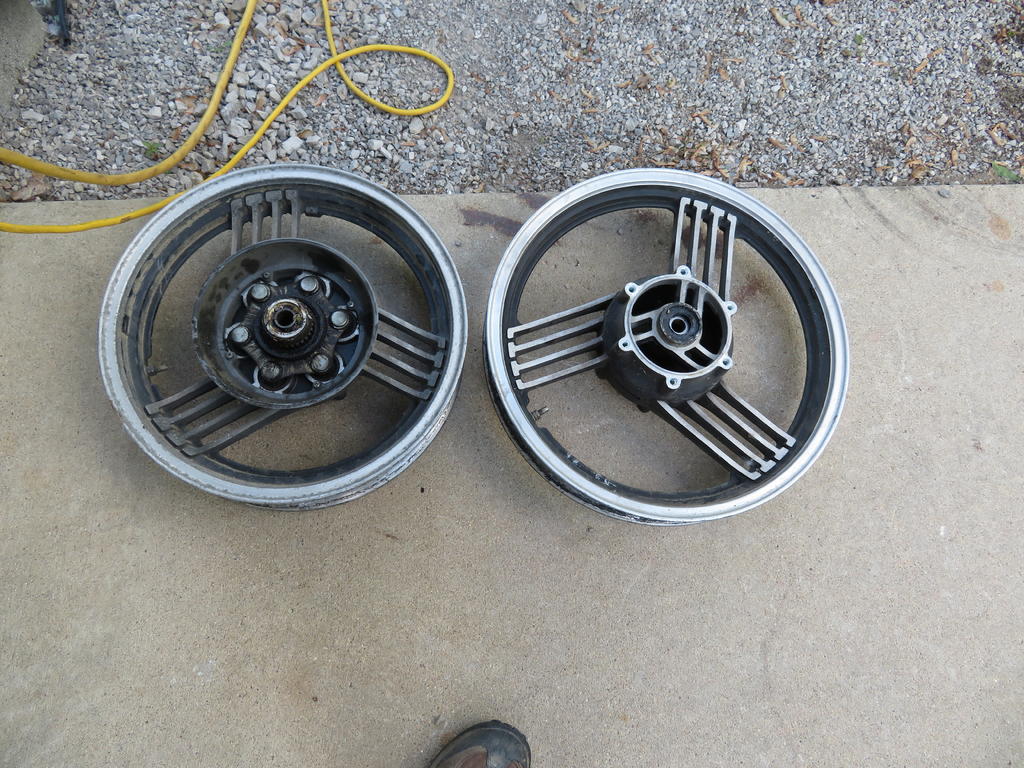
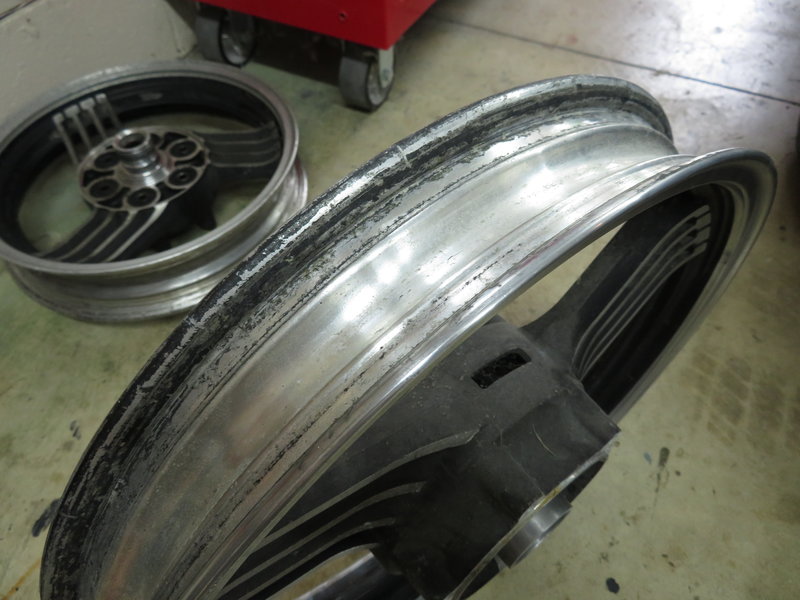
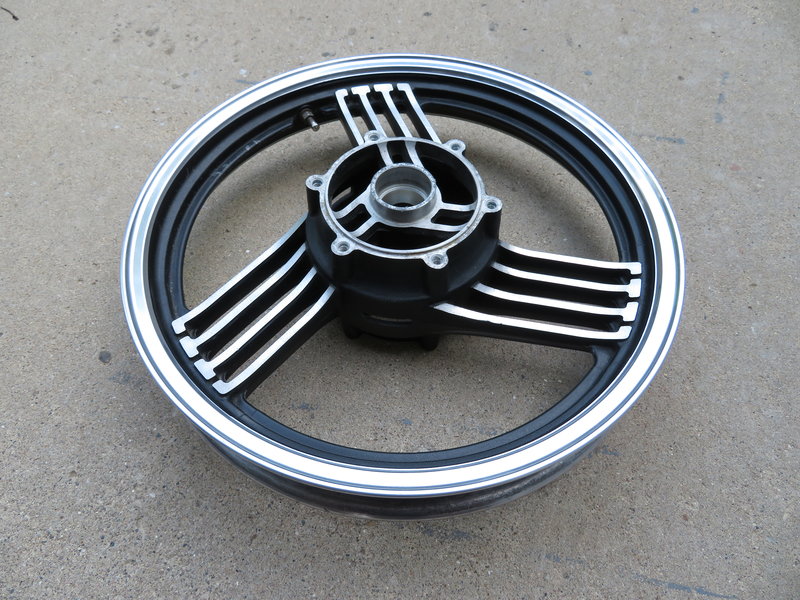
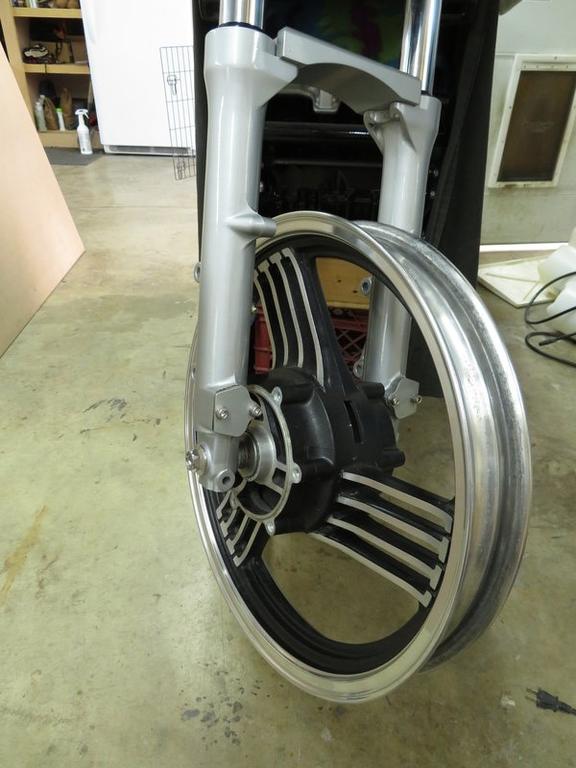
Working on front wheel. This is what the bead looked like with quite a bit of rubber build up. Used a buffing wheel on aluminum and then cleaned up the black centers as best I could. The wheel turned out pretty nice. Here's the wheel after wire brushing the inside bead to clean it up. New bearings and seals installed ready for the tire to be mounted. Also received the new tires today, going with Shinko 230's More to come later.............

-
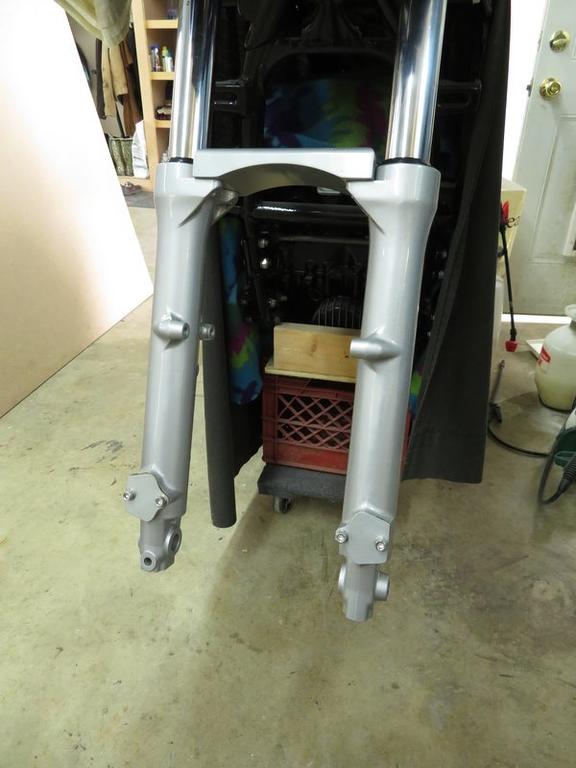
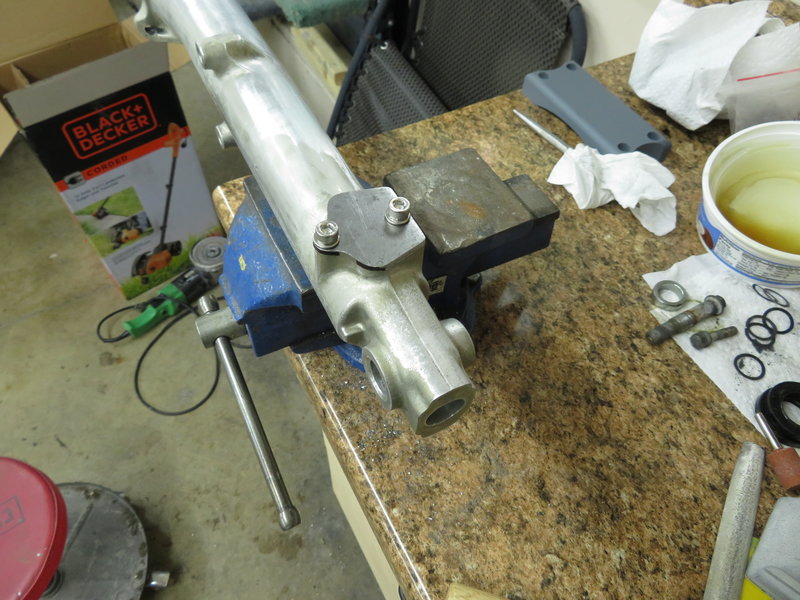
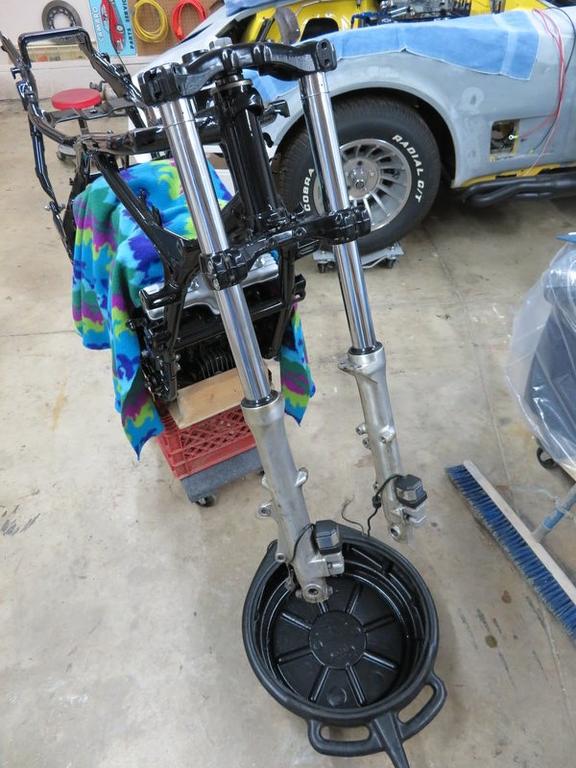
Work continues this week. Front forks are back together, new bushings, new seals and new copper gaskets. I also added a thicker fork brace to stiffen the front end up.
-
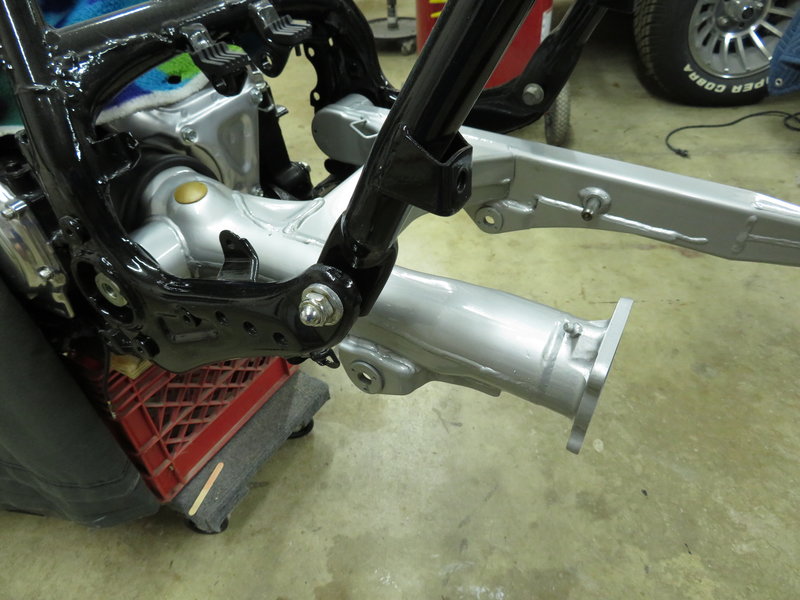
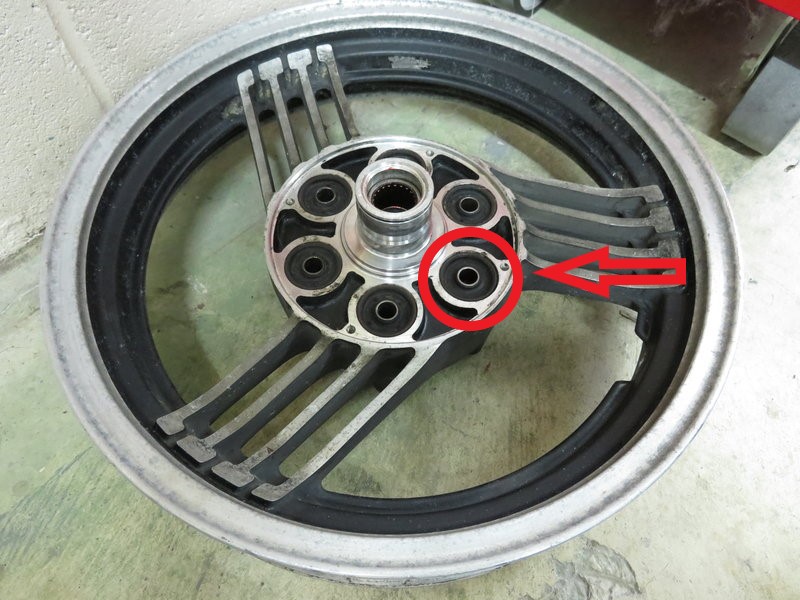
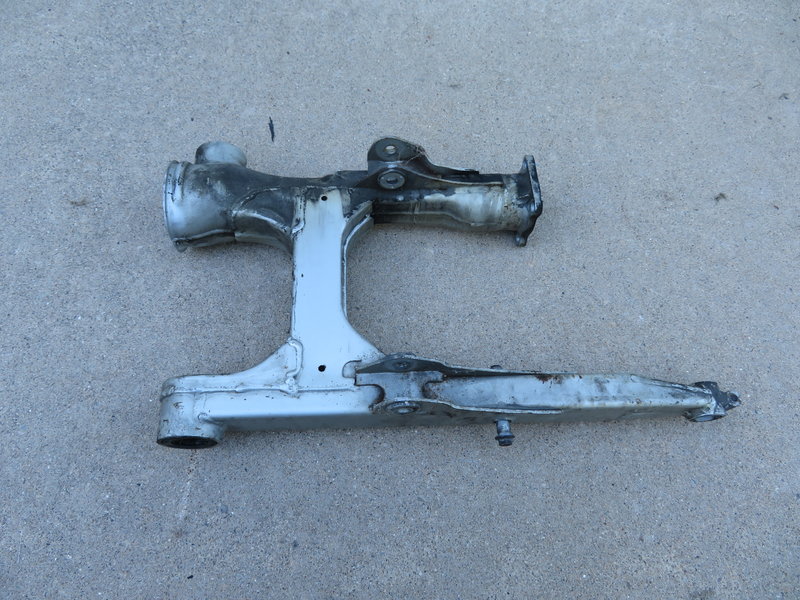
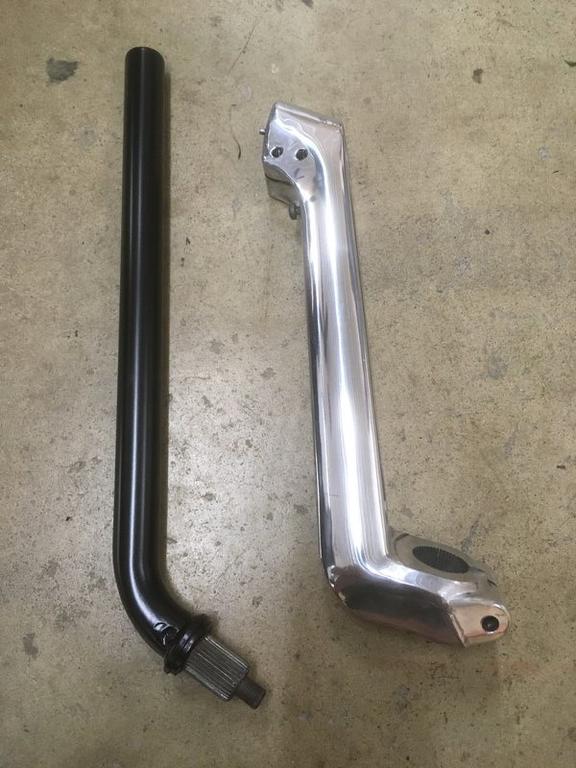
Decided to stay with the color for the forks and swing arm. They should be fine. Progress this week includes a new seal where the driveshaft exits the engine. The u-joint is back in and the swing arm is mounted. I cleaned and reused the bearings for the swing arm, but purchase new seals. Ran into a problem with powder coating the wheels last week. Forgot the coating has to be baked at 400 degrees, which means the rubber dampers for the drive in the rear wheel would have to come out. I don't see any way to get them out without ruining them. Since you can't buy them, and they would be pretty pricey if you could we are going with plan B which is to clean them up and make them look as good as possible. Stay tuned for more on the wheels. This weekends goals are to get the forks finished up and work on cleaning and polishing the wheels. More later............
-
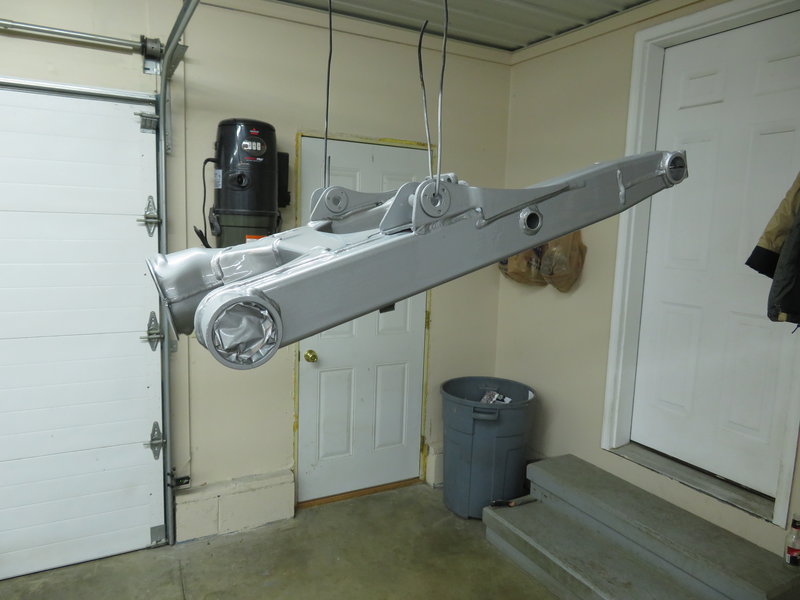
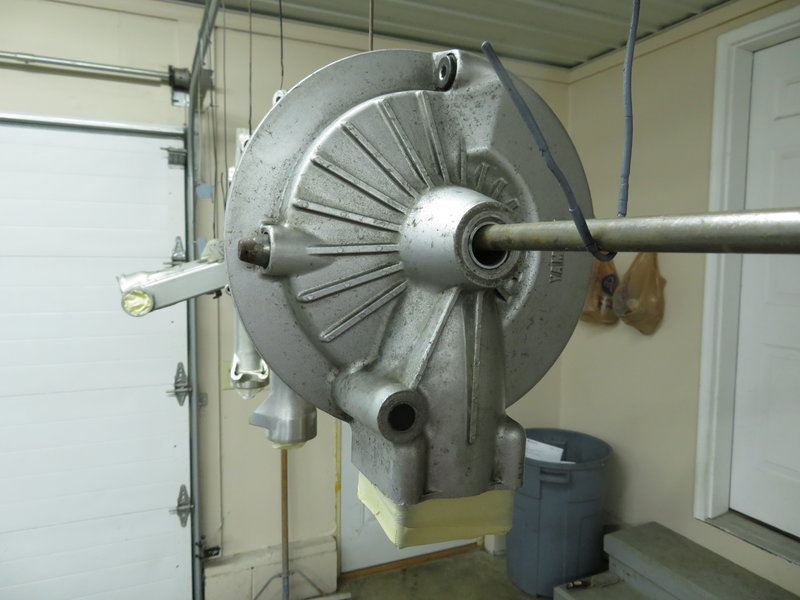
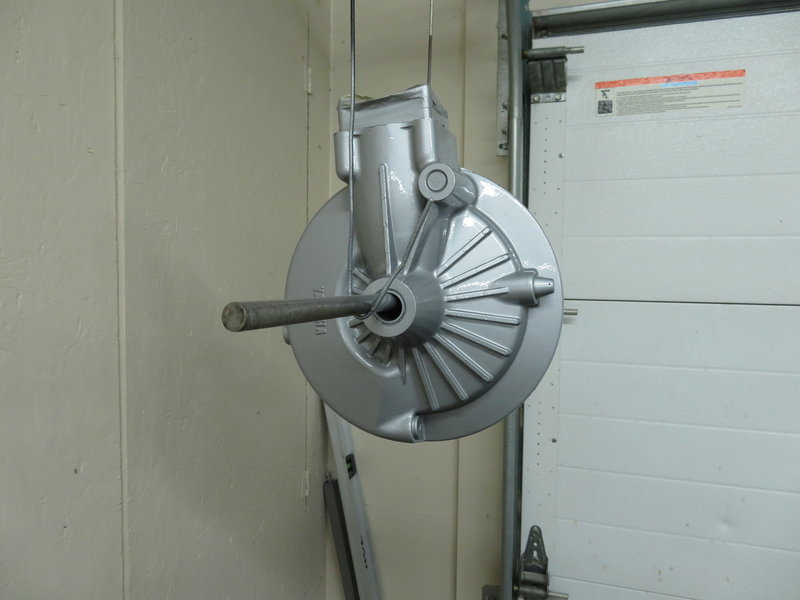
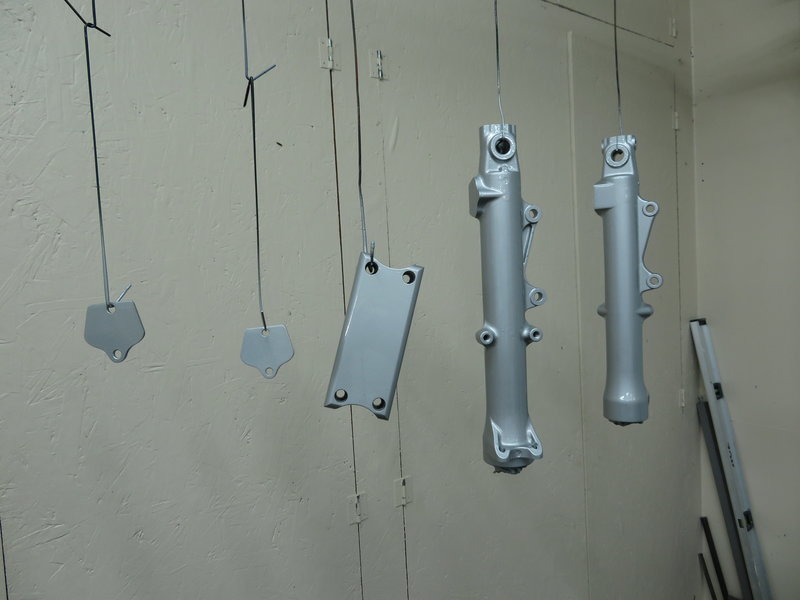
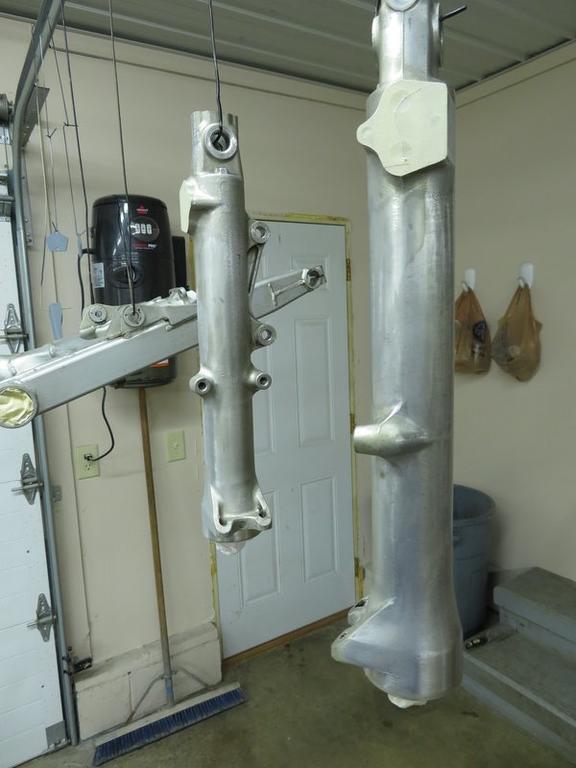
I gave up and went with plan B and purchased a color that is going to be pretty close. It's a common color used by others on the web for painting swing arms, Ford Argent Silver. Here are some before and after pics. Swing arm Rear differential Front forks I added a couple of coats of clear after the color, but I'm not sure I like it as well as just the color. We may or may not change this, I will need to think about it for a few days before I decide.
-
Updates from the past week. Finished up the blank off plates for the anti dive units. Prepped everything for paint, but couldn't find the paint I used for the valve covers. It was a color I had scanned and mixed so there isn't a paint code to use to have more mixed. So I spent the afternoon looking for it, but it was no where to be found.
-
Thanks Zag, that makes sense now. I wasn't sure if it was a company or someone doing side work out of their garage. Good information to know. Thanks again..... http://franksforks.com/ They have some really cool custom bikes on their site.
-
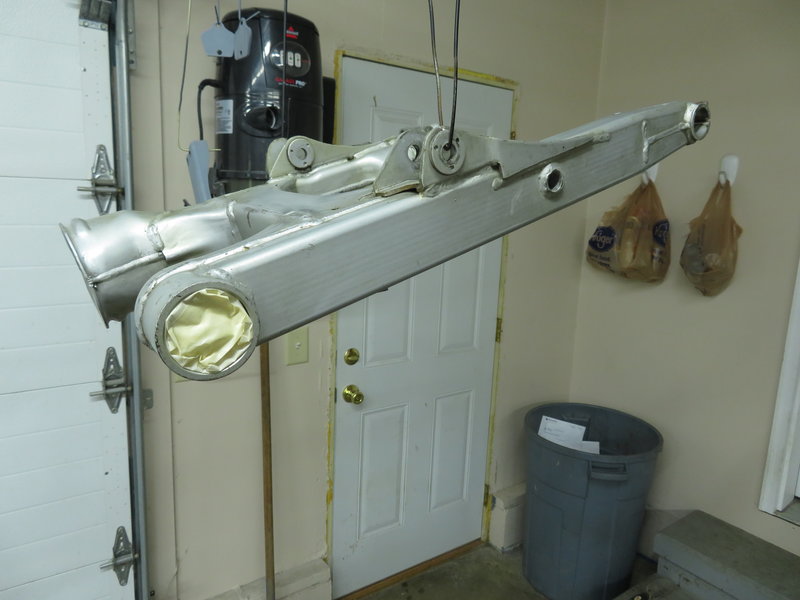
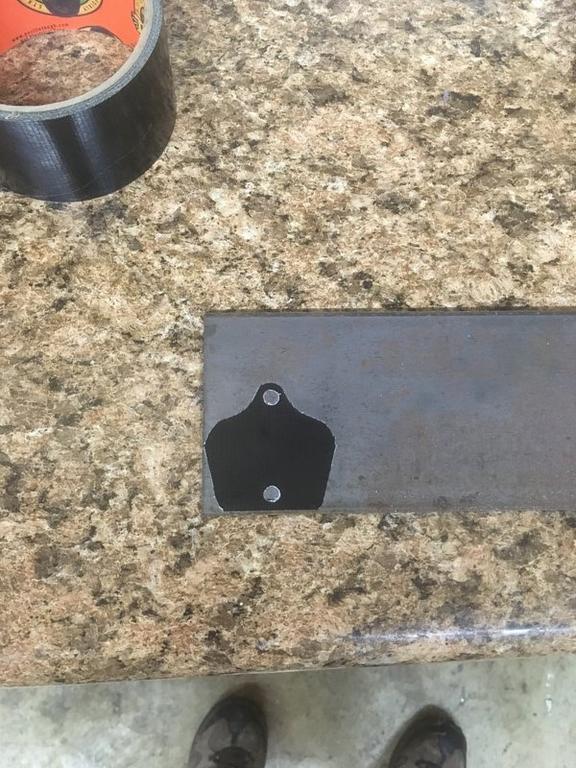
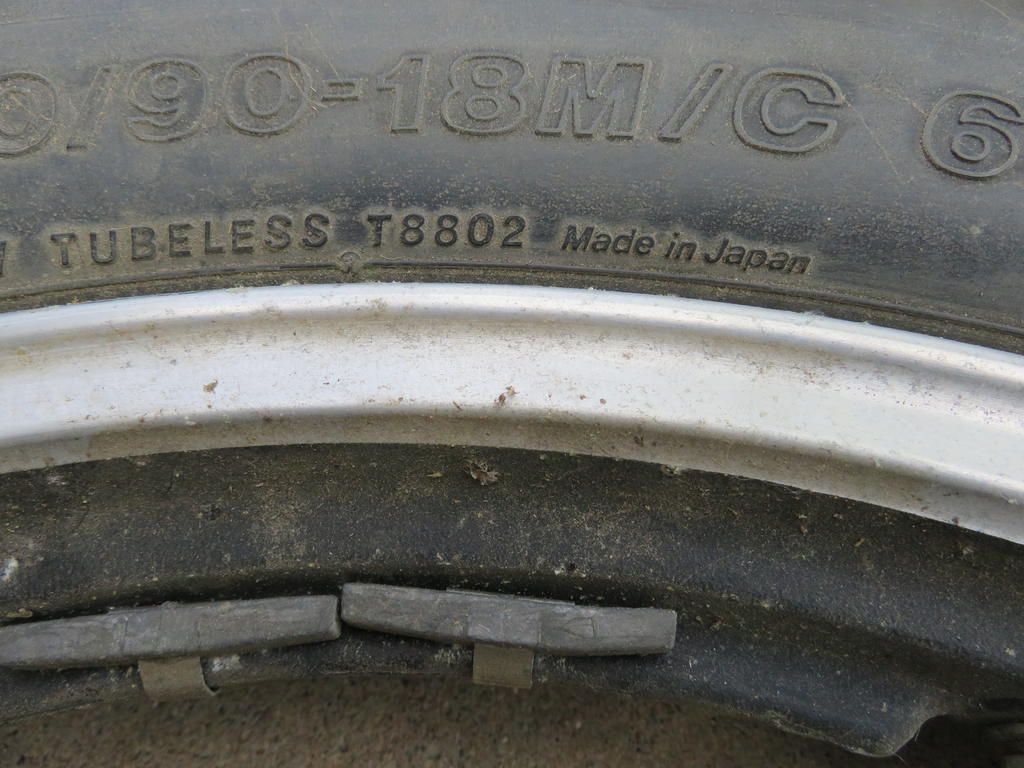
Found the correct date code on the front tire and it's a 2007, not good. No big deal I was planning on buying both tires new anyways. Here's an update for the week. Worked on the swing arm tonight and got it cleaned up, sanded and ready for paint. Here is a pic of the starting point. I will post another once it's painted. Finished stripping down the wheels getting them ready to take to the powder coater. Now the hard part, what color? I am either going to go with silver and add in the black to make it look like factory, or a long shot would be to go satin black. Either will go nicely with the new colors I have picked out for the bike. Stay tuned. Making a block off plate for the forks since they have progressive springs, plus I can't use the anti dive units. The forks are from an 86 so I can do the R6 brake upgrade. First step is to make a pattern using gorilla tape. Transfer the tape to the steel and use as a pattern. I have them cut out and just need to finish them up. I hope to be able to paint the lower fork tubes, fork brace, swing arm and block off plates yet this week. We'll see how it goes.
-
Thanks Herman, it is going to take some time probably another year to finish, but I can't wait either. Make sure to post some pics of your project when you get started. I love looking at other project too.
-
That's good to know, thanks for the clarification. I will take another look tonight and see what I can find. I don't remember seeing any other numbers, but they have to be there somewhere. Thanks again....
-
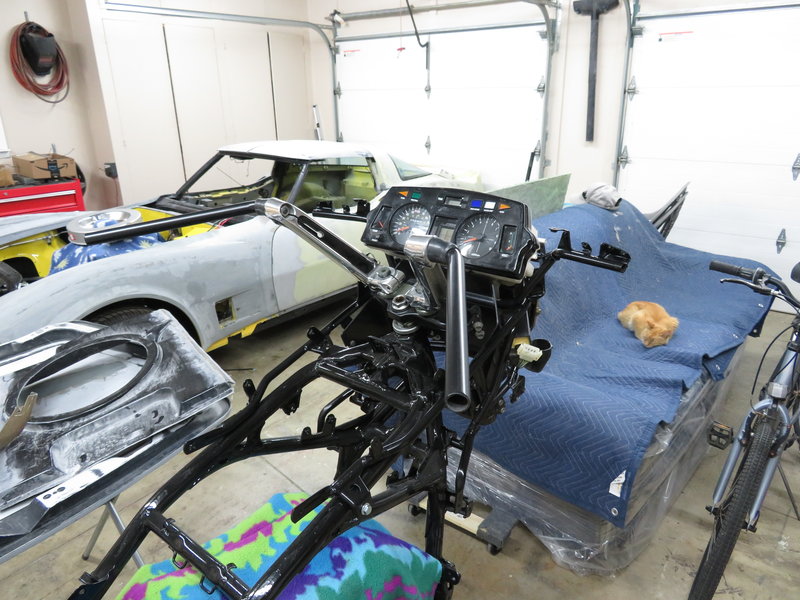
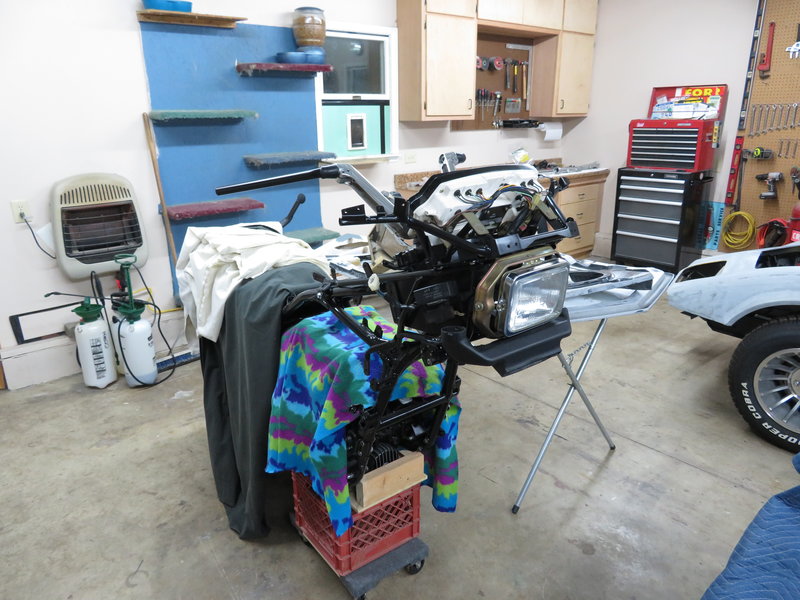
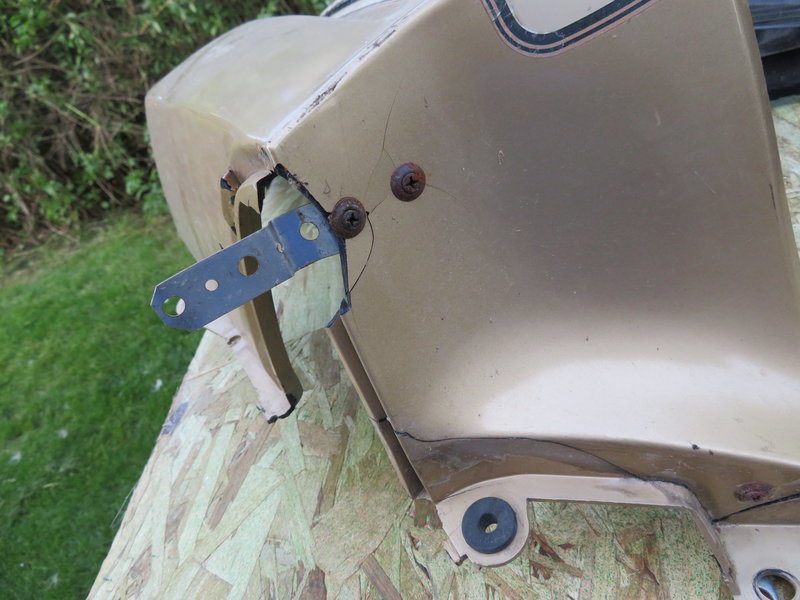
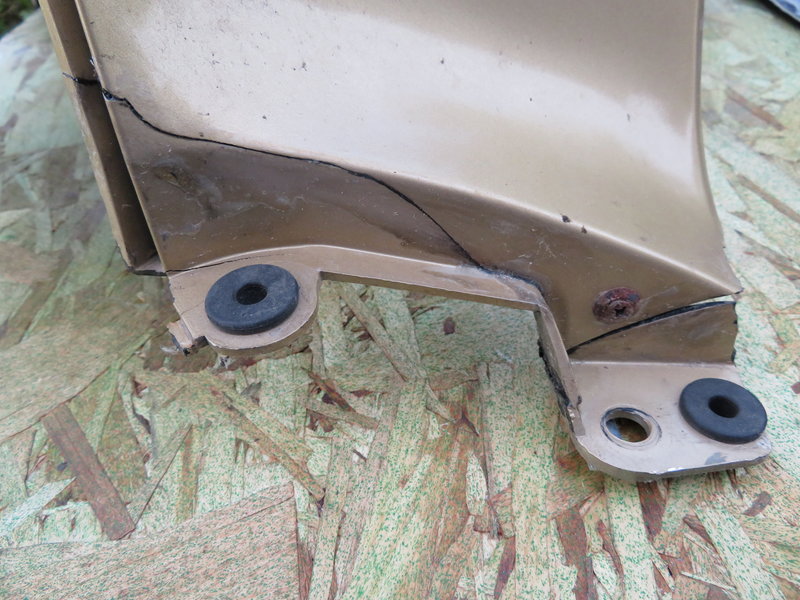
Last update for the week. I sanded down and painted the mounting bracket for the dash/headlight. I have it loosely installed for now. I need some new rubber bushings to mount the dash. I also started working on crack repairs to the plastic fairings. Lot's of issues to fix so stay tuned. Here's a couple of pics of some of the damage. I'm sure this is nothing new to most of you, probably a pretty common problem.
-
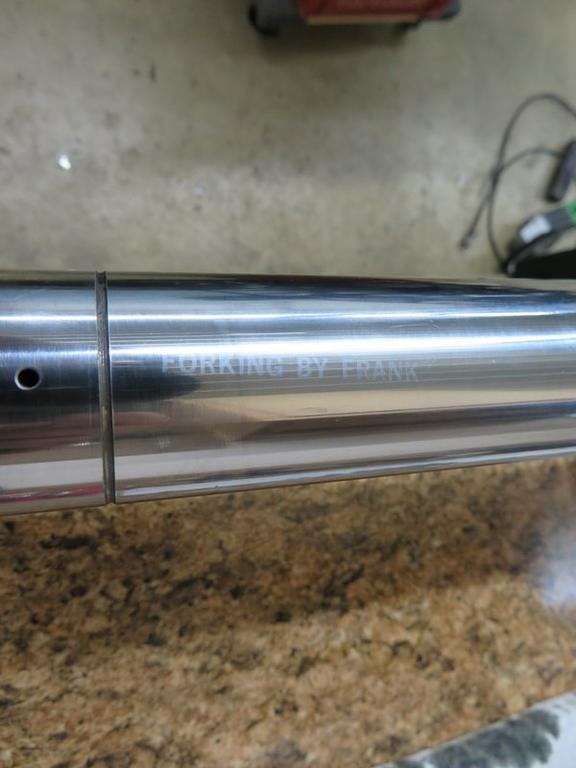
Still waiting on parts for the fork rebuild but I thought this was interesting. I found this etched into the forks "Forking by Frank".
-
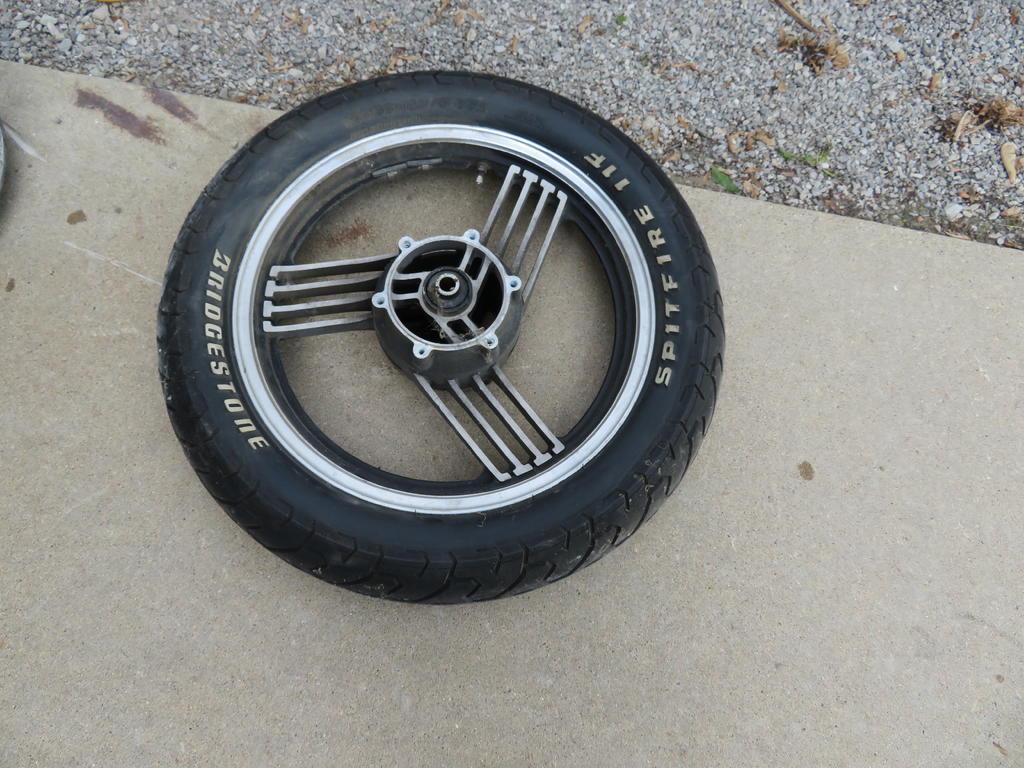
Time for an update. Working on rims and tires this week. Here is a pic of the front tire, looks like brand new never run. Just needs to be cleaned up and should be good to go. Not so fast. I believe this is the date code which means this is a really old tire. Not even going to take the chance, time for a new one. Both tires are off the rims. I have new bearings and seals to install later. First we have to make them pretty again.
-
One piece at a time. If I looked at the project as a whole it would be overwhelming and nothing would get done, so I break it down by working on one piece at a time. Not to worry on your project, your doing a great job, keep it up!
-
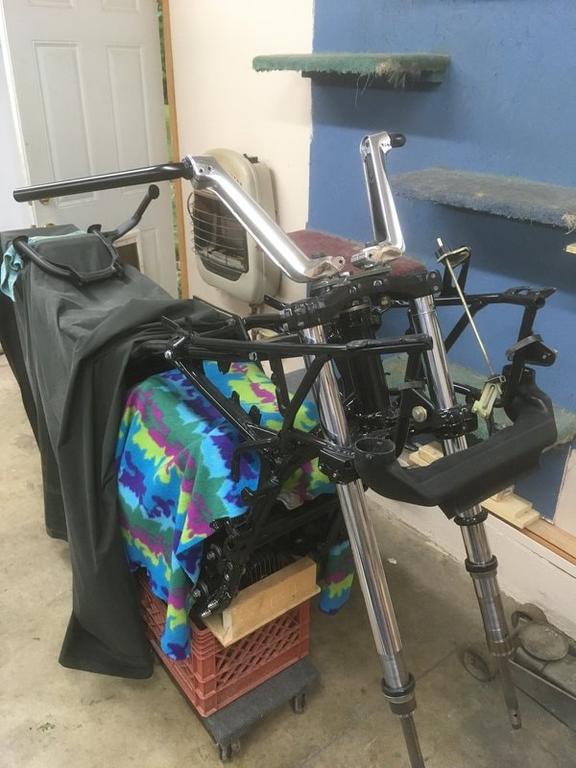
Warm weather is here, garage doors are open and work continues. I'm going to try to spend more time on the project this summer. Worked more on the forks this weekend, I got them pretty much disassembled now and have ordered new bushings and seals. Next I spent some time on the handlebars. I stripped the clear coat on the aluminum parts and have them polished. I also sanded down the steel parts and put a few fresh coats of paint on them. Before After Also did some work on the frame work for the fairings. I sanded them and also put on some fresh paint. One piece at a time.
-
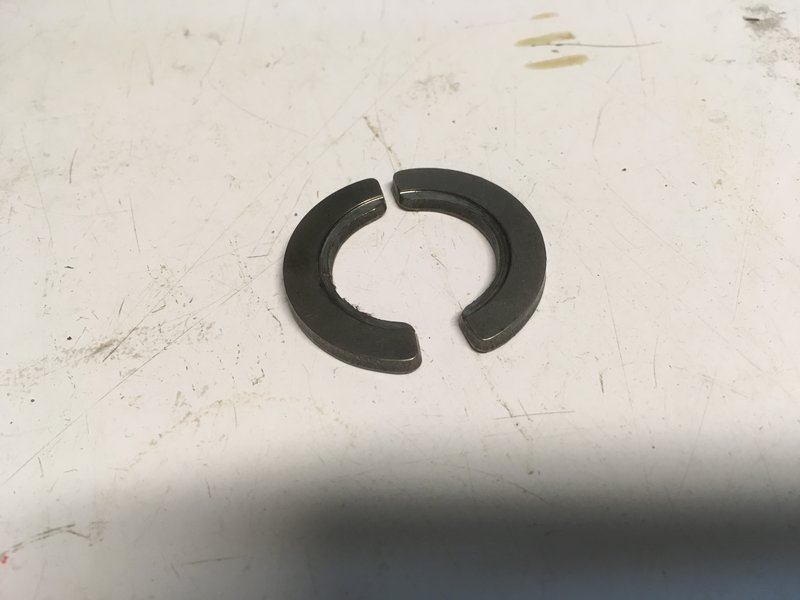
My understanding is the original recommendation from Yamaha was to replace the thrust washer and the thrust plate. You can always take it as far as you want including installing a complete Vmax engine with trans. That tends to get a little pricey. If you want to do it on a budget then go with the plate and washer. Of course you will need some other small items like gaskets. I would also recommend you inspect all of the gears for wear and also the groove in the shaft where the thrust plate fits into. Any wear here and you would need more than just the plate and washer.
-
Nice project you have there, bummer on the broken frame, but certainly not a show stopper. There's a lot of good advice written already, and nothing I could add that hasn't already been said. For me it's about the wrenching, about taking something someone else would scrap or part out and making it like new, actually maybe a little better than new if possible. Riding is just icing on the cake, the real thrill is knowing you built it yourself with your own hands and sweat. The money well that's just the price of having fun. Either way, it's your decision on how to proceed, either keep grinding away on this one or start looking for a better one that needs less love and attention. If you decide to keep it this might be an option for a frame. Not saying go out and buy it but something to consider since you are limited on time for traveling. Hope this helps....... https://www.ebay.com/itm/83-84-85-Yamaha-Venture-XVZ-1200-Main-Frame-Royale-Paperwork-Michigan/223041735760?epid=2282458749&hash=item33ee52cc50:g:hu0AAOSwjdpbOhFy
-
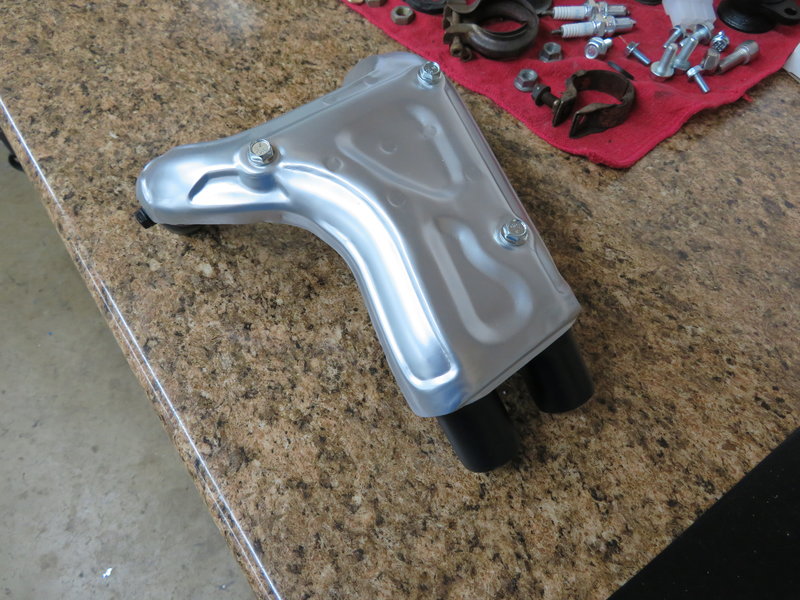
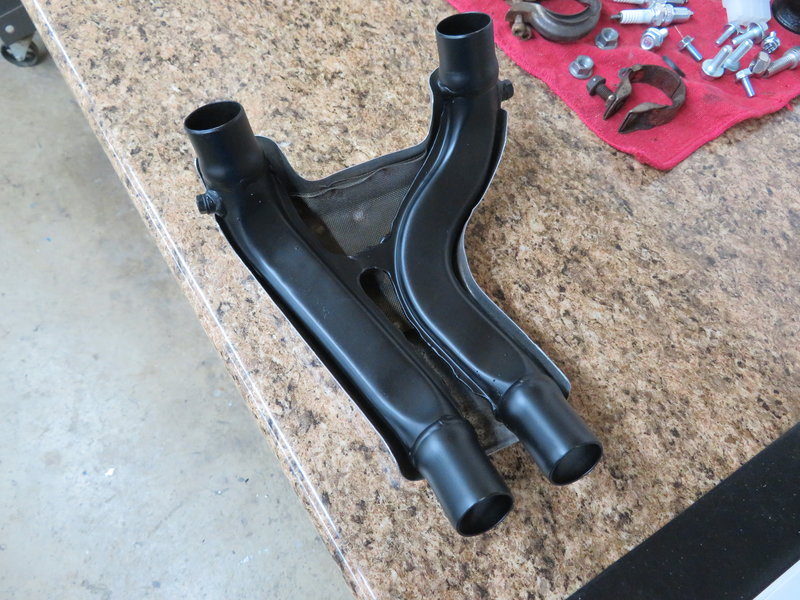
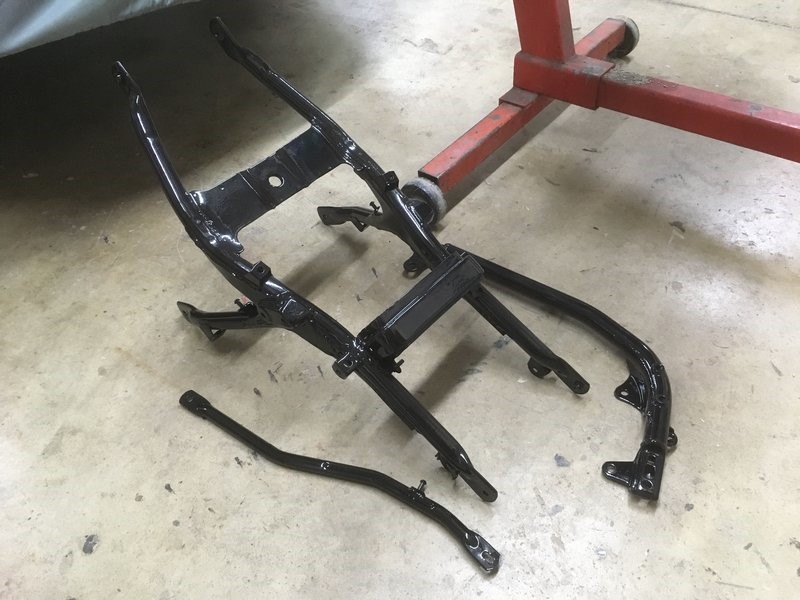
Not a lot of work done but still moving forward. Here are a couple of pics from this weeks work. Working on the rear exhaust. I had the parts blasted when I took the frame in and now have them painted and ready to go back on. Triple tree is back on with new bearings and seals. Front forks from an 86 are mounted so I can take them apart. The plan is for new bushings, seals and progressive springs. Will be making some block off plates so I can remove the anti dive units also. Slow and steady.
-
I started, but after thinking about it more I decided I don't really want to know. Haha! For me the fun is in the restoration so the cost is only part of the fun, if that makes any sense. I'm glad you found the thread and I will try to post as much as I can so others may benefit from the project.
-
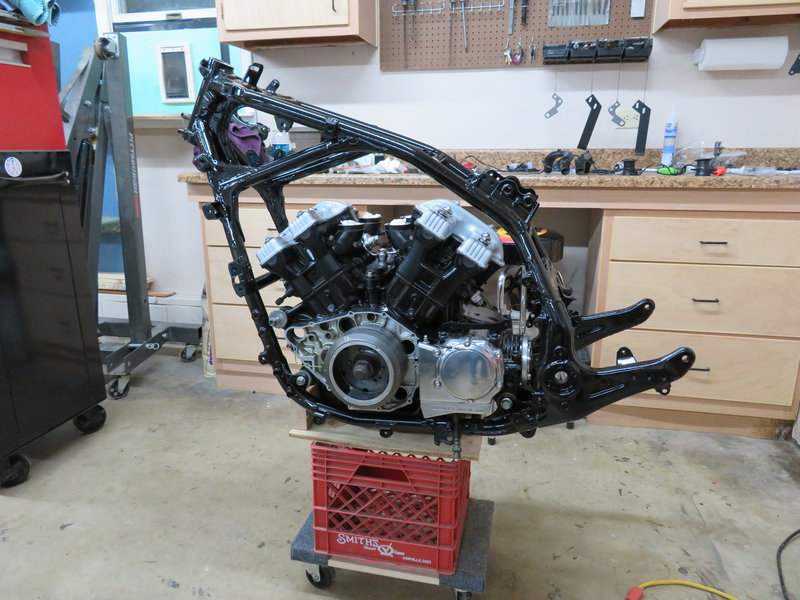
Minor setback, but we are back on track now. I'm hoping for some steady progress this year. I doubt it will be done yet this year, but maybe by this time next year will be about finished. Anyway, just one pic of the engine in the frame.
-
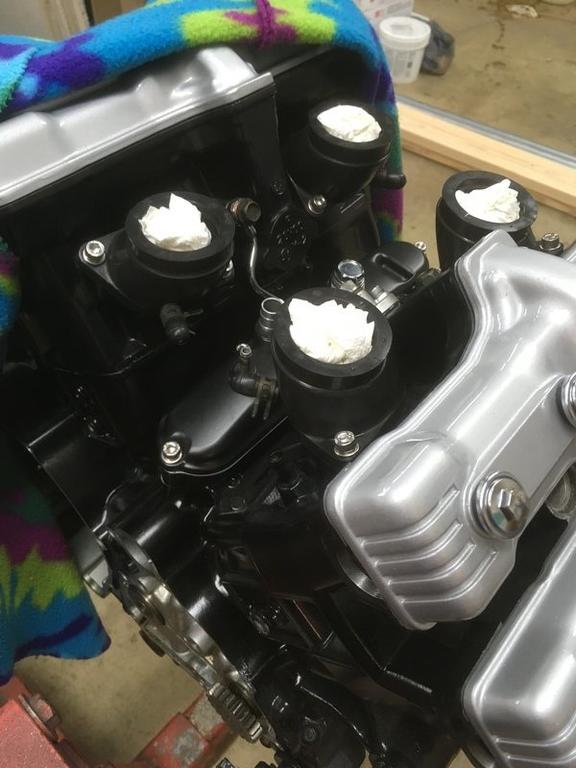
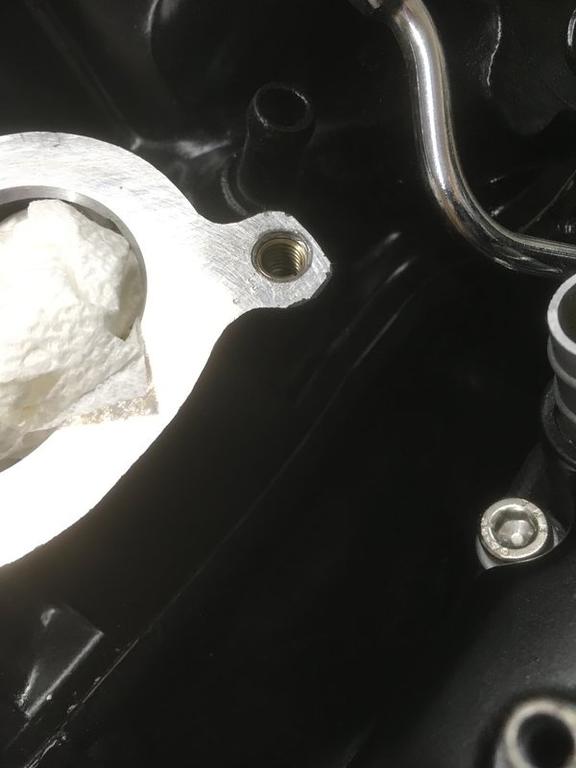
Pretty quiet here so let me post a couple of pics. Spent a little time on the project last night. Cleaned up the carb boots and got them installed. Ran into trouble with one of the screw holes having messed up threads. I drilled and tapped it and put in a helicoil, problem solved. The valve covers are just sitting there right now. I only had 8 of the mounting bolts that were in good condition. I ordered 8 but they are on back order until the end of January. More to come later. Enjoy.
-
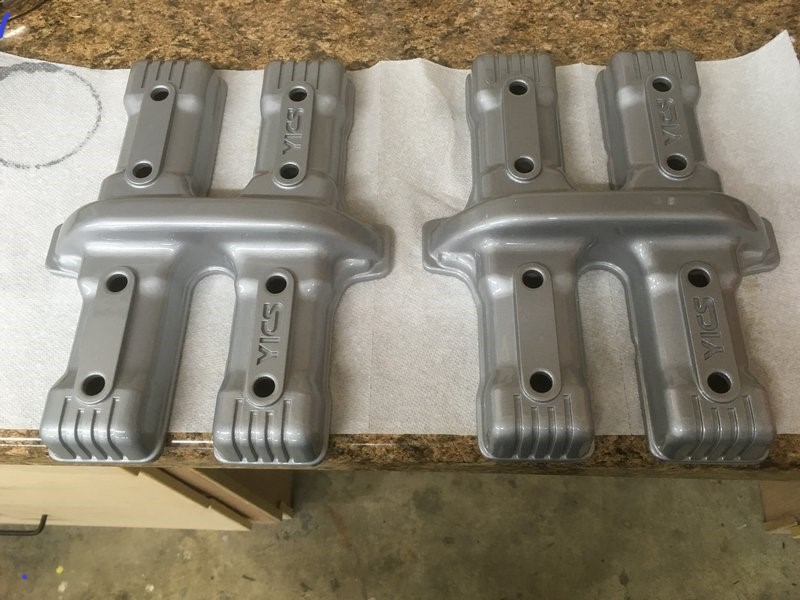
Finally got through all of the valve clearances this weekend, so that is done. I also had time to paint the valve covers. I had a before pic but can't find it. Anyway I had these sandblasted when I took in the frame and now they are painted John Deere Winterfrost II and 3 coats of clear. Look pretty sharp, too bad they are pretty much hidden under plastic. Haha!
-
Thanks, I hope everyone can stick around until the end. We still have a long ways to go!
-
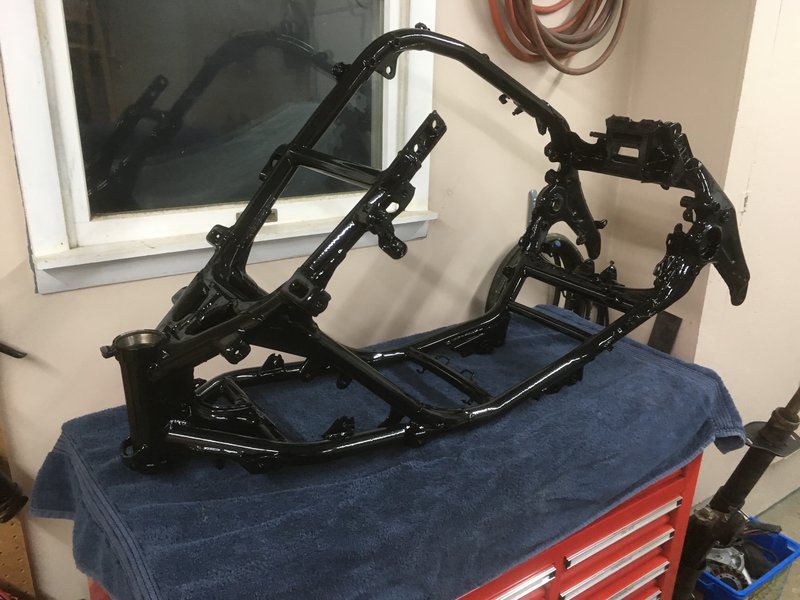
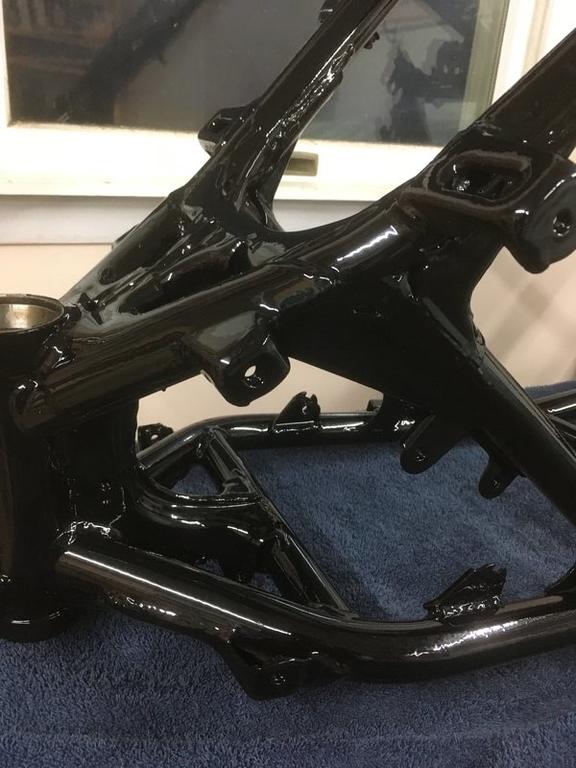
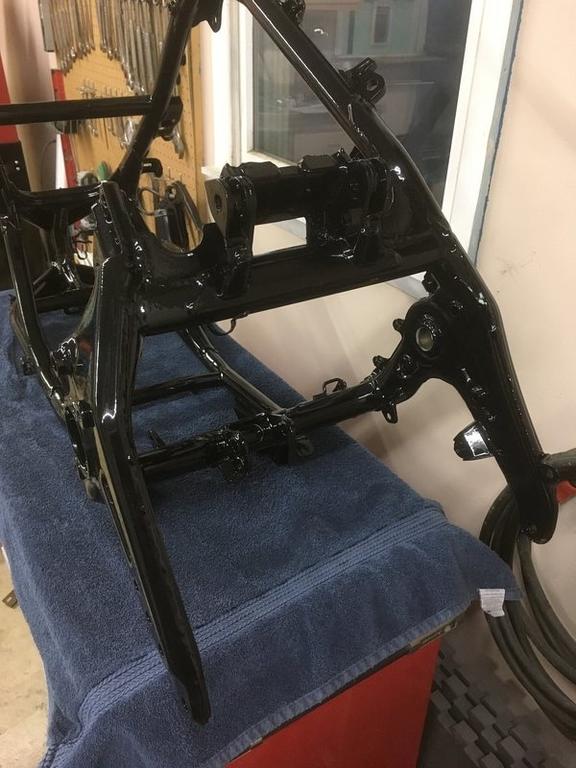
A little eye candy for everyone this evening. The frame is back from the sandblaster/painter. I opted not to go with powder coating as that would have been a little pricey. This is painted with epoxy and then baked. Turned out fantastic!
-
Yep, I agree, all good logic there.
.jpg.b41bc22e5a044f465f51d923f1c13cb9.jpg)