Johnnycyclone
-
Posts
137 -
Joined
-
Last visited
-
Days Won
12
Content Type
Profiles
Forums
Gallery
Events
Store
Everything posted by Johnnycyclone
-
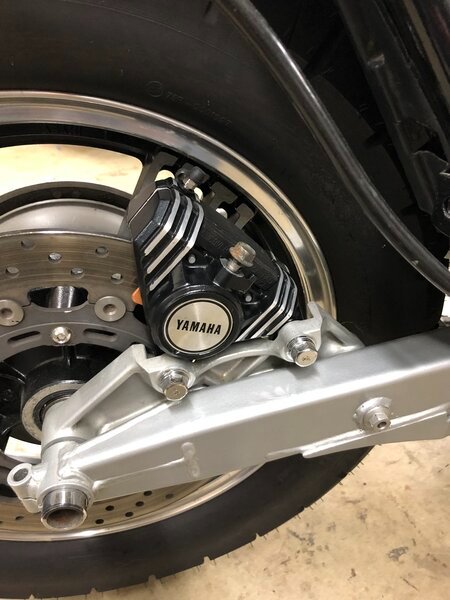
Another pic from this afternoons work. Rebuilt the brake calipers and installed them with new pads.

-
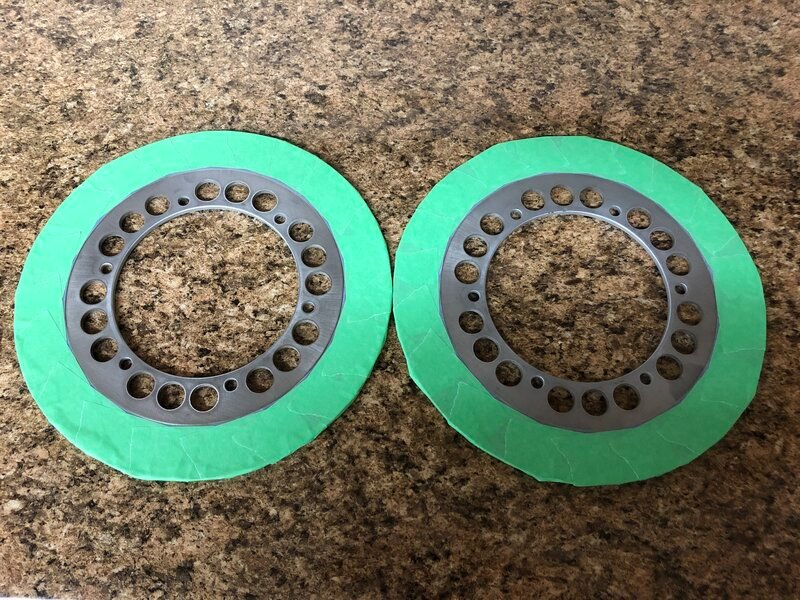
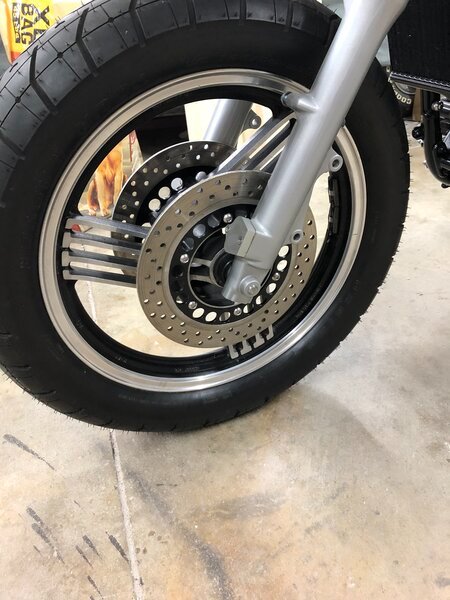
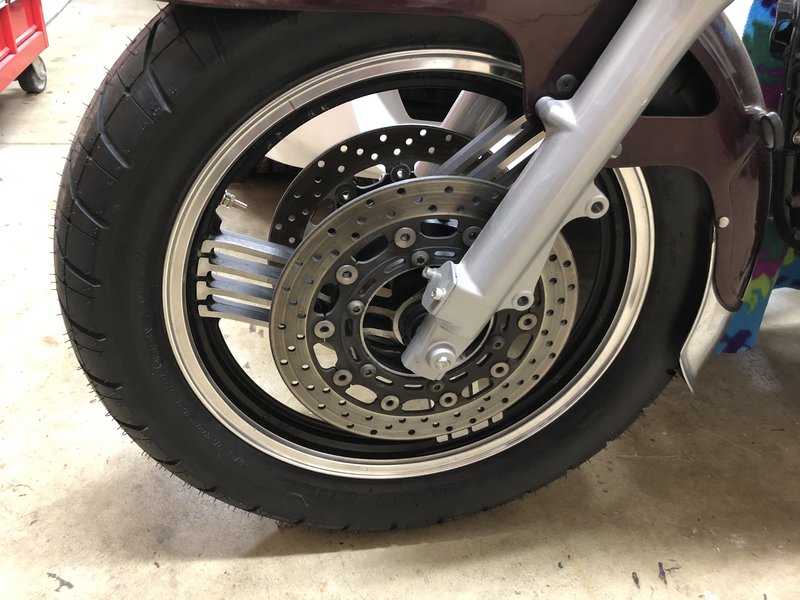
I know I must have read this at one time concerning the R6/R1 front brake caliper upgrade, but for some reason I guess it just didn't stick. If you go back in the thread a little bit you will see a pic of the front wheel with a set of R6 brake rotors on it. Well they look really good, but they are too big for the upgrade. The R6 rotors are 300mm and you need to have ones that are 282mm which are the same as the ones from a MKII Venture. I guess I missed that part. The R6 rotor seems to fit just fine on back and so I wanted to keep with the same hole pattern for the front rotors. The MKII rotors have the slots and so not a great match. I did some research and found out that rotors from a 96-99 Yamaha Virago XV1100 are 282mm and have the same hole pattern as the R6. Here is a couple of pics of the rotors prior to painting and installed.
-
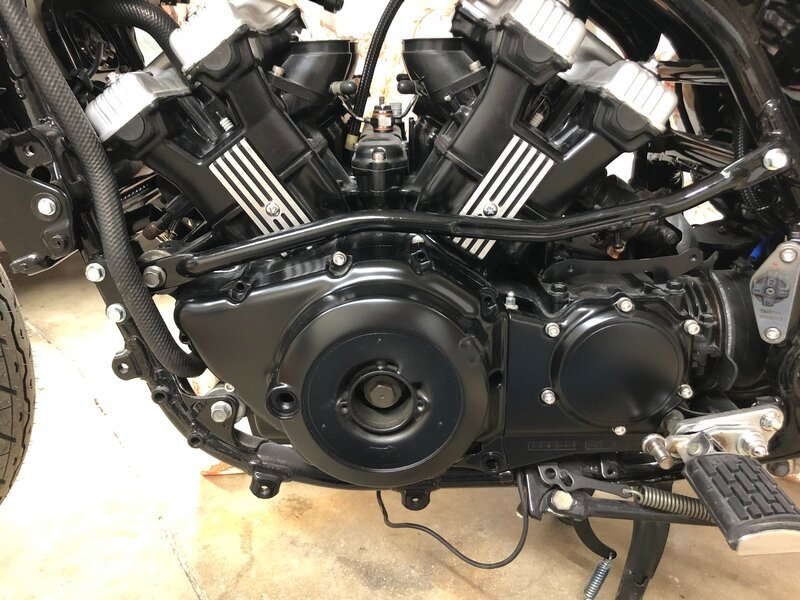
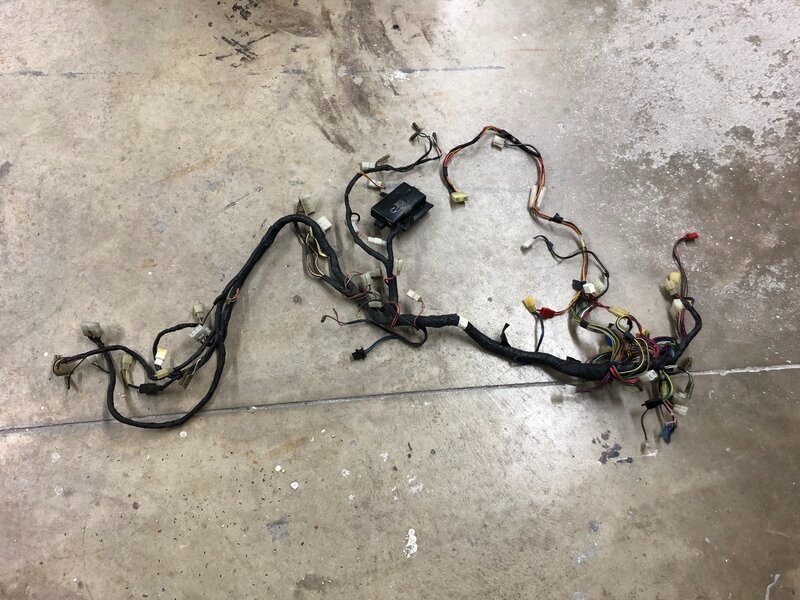
Finally was able to clean up the generator cover and get it painted. The two center plates for the generator cover and the clutch cover were shipped out to the platers last week. Looking forward to see how they look with some shiny chrome. I also worked on the side covers for the cylinders. Both turned out real nice. I ended up buying another wiring harness. The original one was to chopped up with a lot of wiring additions and modifications. I found a nice one that doesn't have any mods done to it. It looks like it just needs a little cleaning up and I can start putting it on. More to come later.
-
No worries on hijacking the thread, all is good. It can actually be helpful because I can see where parts are supposed to go. Haha! Looking at the project it can be very intimidating. The best way for me to approach it is to hide all the parts and only work on one at a time. So right now the only thing in the garage is the bike and the part I am currently working on. If I bring in to many parts it becomes an overload situation and nothing gets done. The biggest investment is the time, which I don't mind, it gives me something constructive to do. It has been just over 4 years now since the project started, and hopefully this will be the year to finish it up! I haven't really looked at the console panels much, but I will have to do something with them. Like you said, once you make one part pretty all the rest don't look so good. So if I am going to repaint pretty much everything on the bike I am going to have to do something with the console panels. That will be this summers project.
-
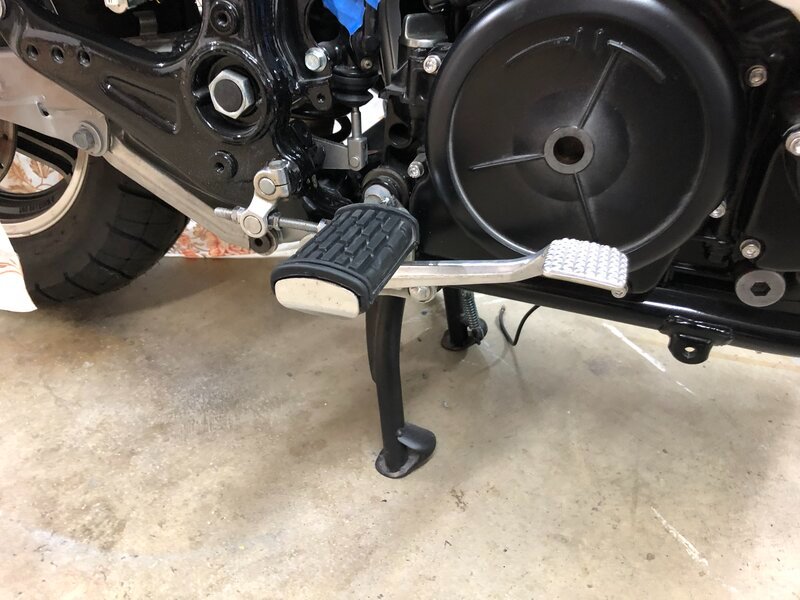
Made some good progress this week. One part at a time, but it was a good week. Spending lot's of time looking at the manual, looking at parts diagrams and digging for parts. I have some duplicates and I am still finding parts that are missing from the pile. But still moving forward. Working on the foot pegs and pedals this week. Also still working on the cooling system. Still cleaning and painting brackets and other miscellaneous parts and bolts. Here are a few pics of the progress.
-
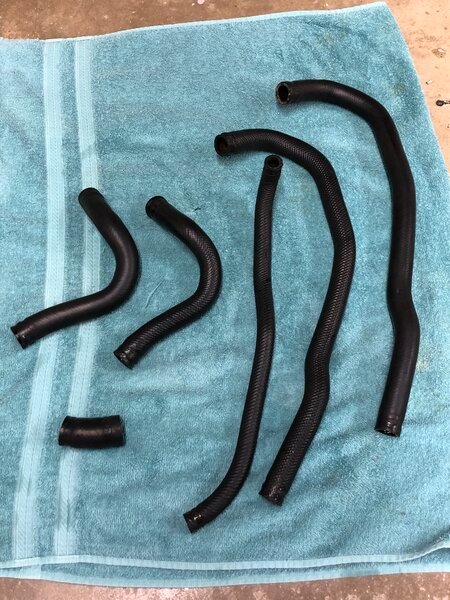
Looking over the manual tonight and it looks like I have a couple of duplicate hoses, as can be seen in the picture. They were not on the bike when I got it but in a box all taped together. He must have included the extra's he had.
-
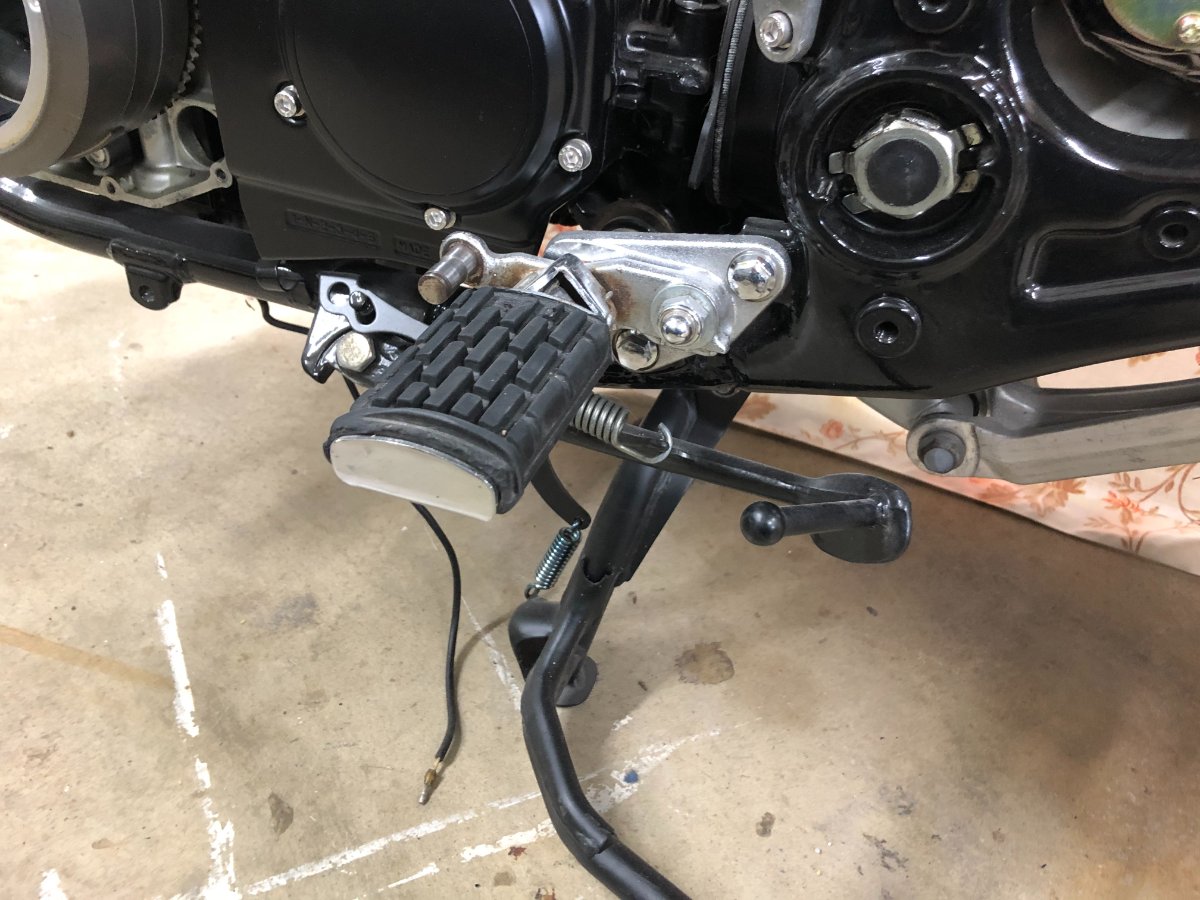
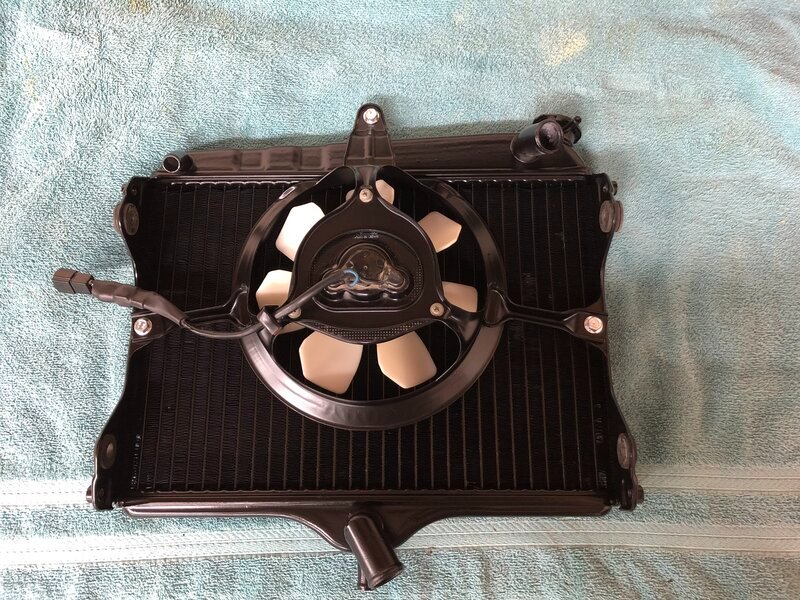
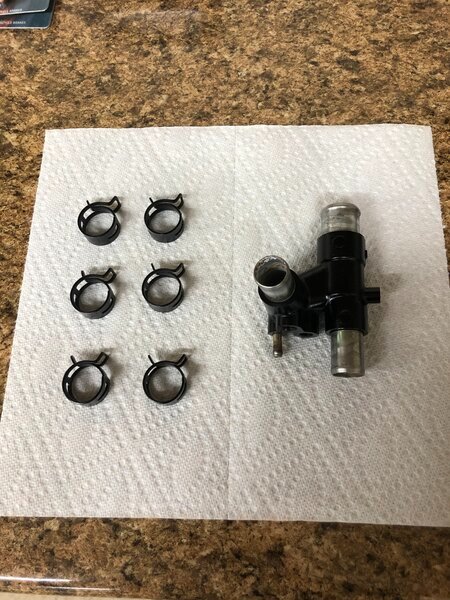
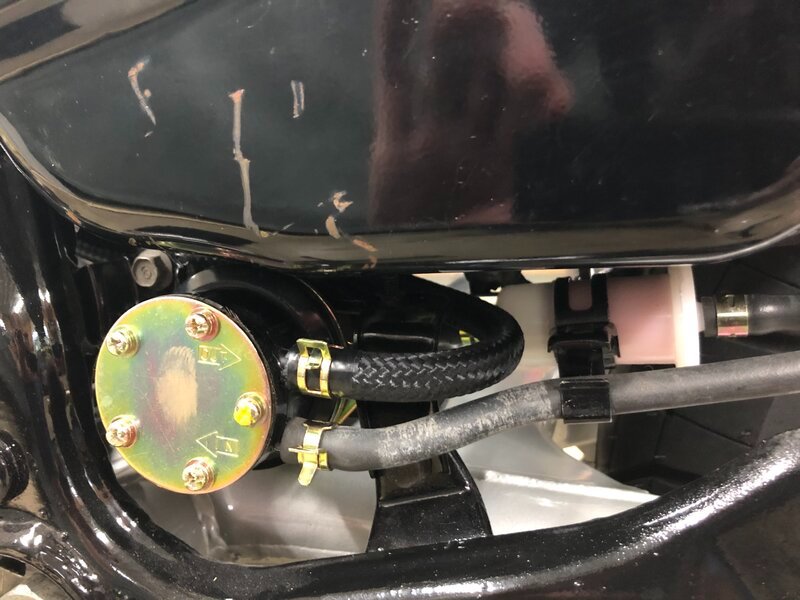
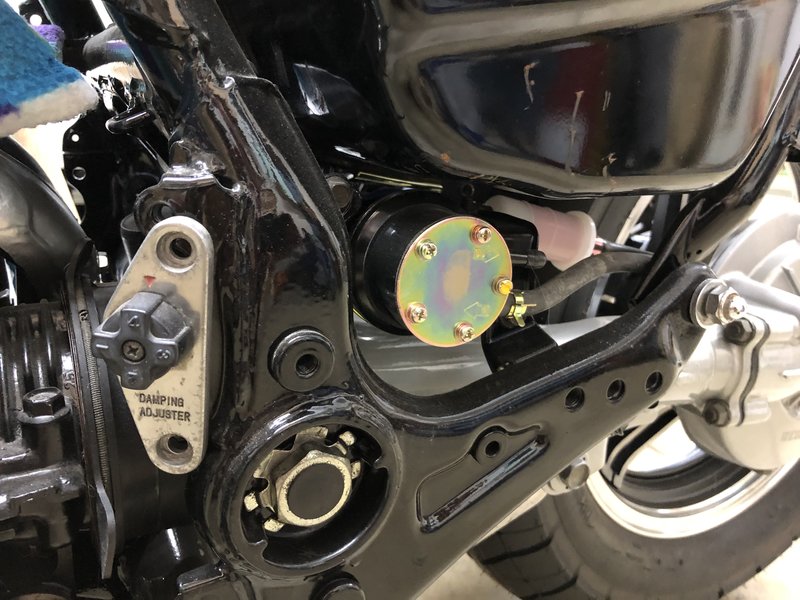
Wow, 6 weeks has passed and not much to show for it. Took a short break and started back again about a week ago. Working on the foot pegs along with the shifter and foot brake lever. Also started on the cooling system. I cleaned up a few of the hoses, I thought I had them all, but dug a few more out of the shed tonight. Cleaned and painted one of the fittings for the coolant system, along with the spring clamps. And finally got the fuel filter bracket installed, along with a new nylon braided fuel line going to the carbs. Here are a few pics.
-
Thanks Patch. It's what I love to do so although the time spent so far is a lot, it's all been worth it. Getting the chance to ride it will be the culmination of the effort, but the fun is in the build. Thanks again...........
-
It's probably the best $30 spent so far. Thanks for sharing your experience with your upgrade.
-
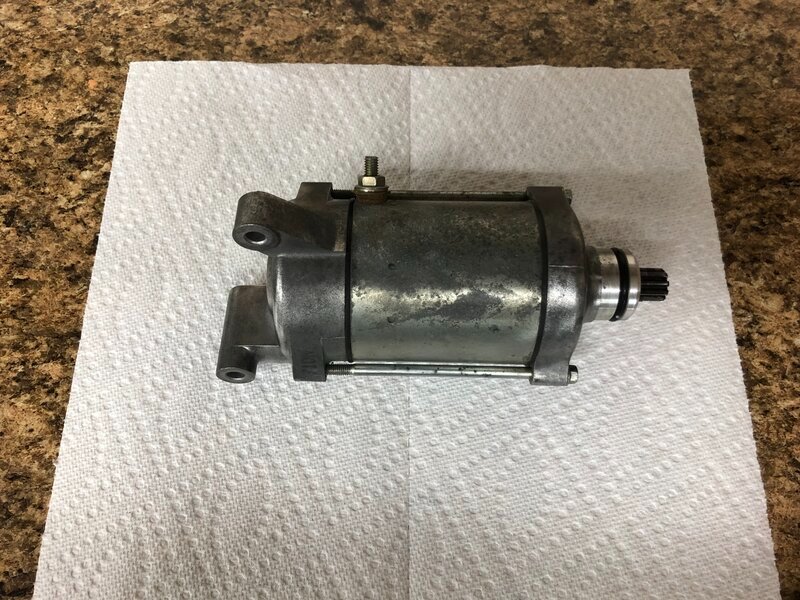
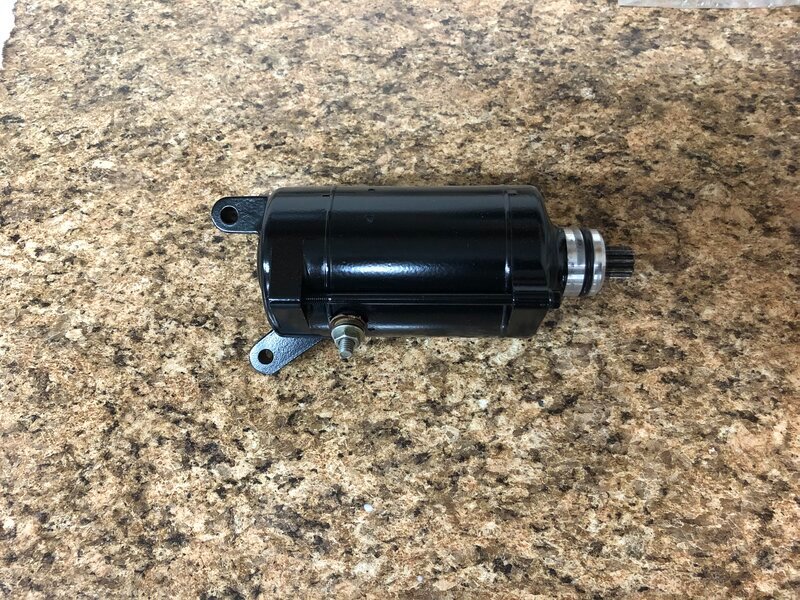
Got a few more pics to post. Picked up a four brush starter, cleaned it up, painted it and now it's mounted on the bike. Also got the rear caliper installed.
-
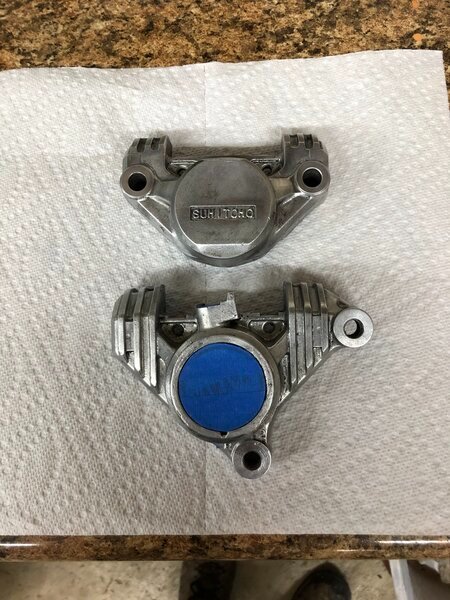
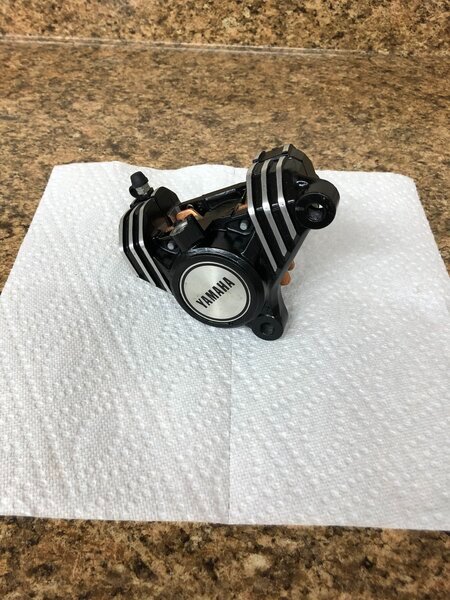
Finished up the rear caliper rebuild this afternoon. Here are a couple of pics.
-
Yes, I think that is the way to go, so definitely planning on de-linking.
-
Rear brake master cylinder rebuild is done. Waiting on parts for the caliper before I can continue.
-
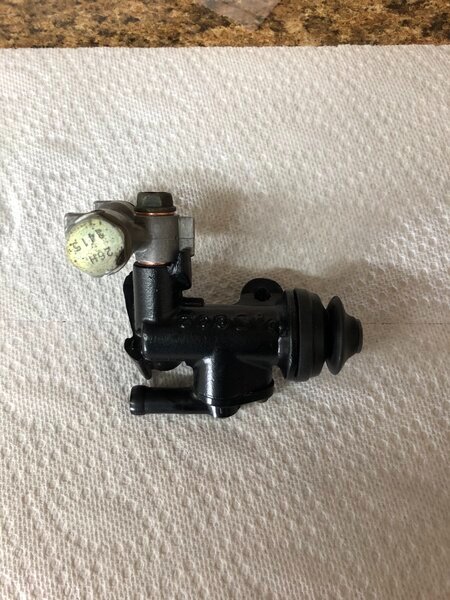
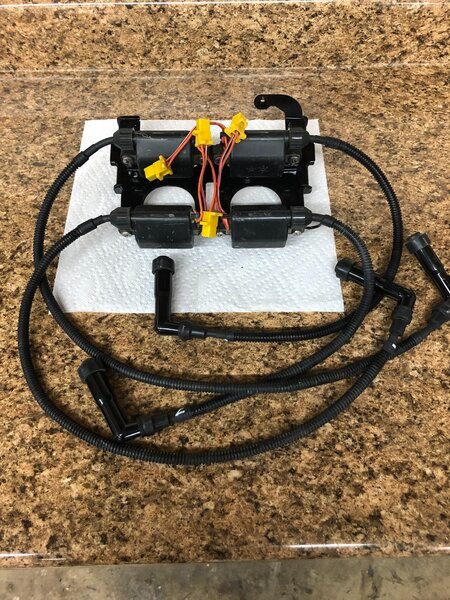
Finished up the coils this morning. I had one coil test bad so I had to replace it. I cleaned up the bracket and painted it. I also added new wires and plug caps. Now to mount it back on the bike.
-
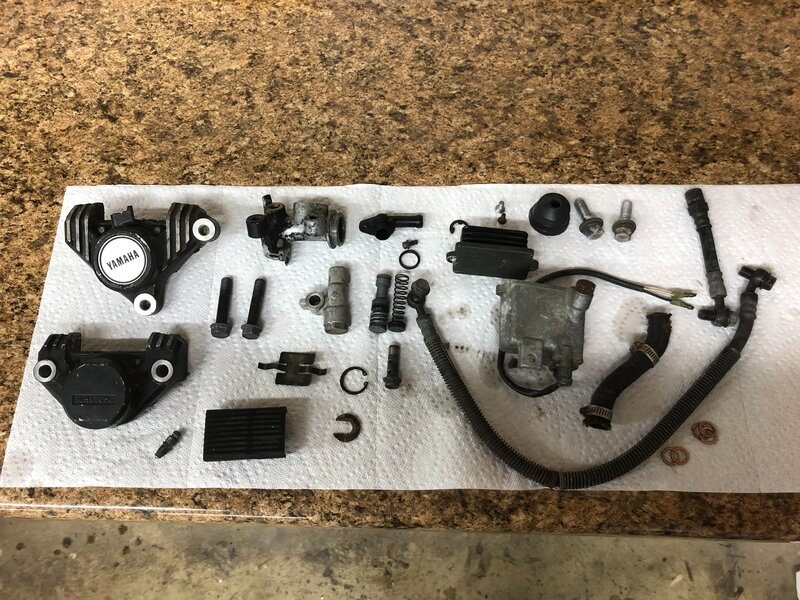
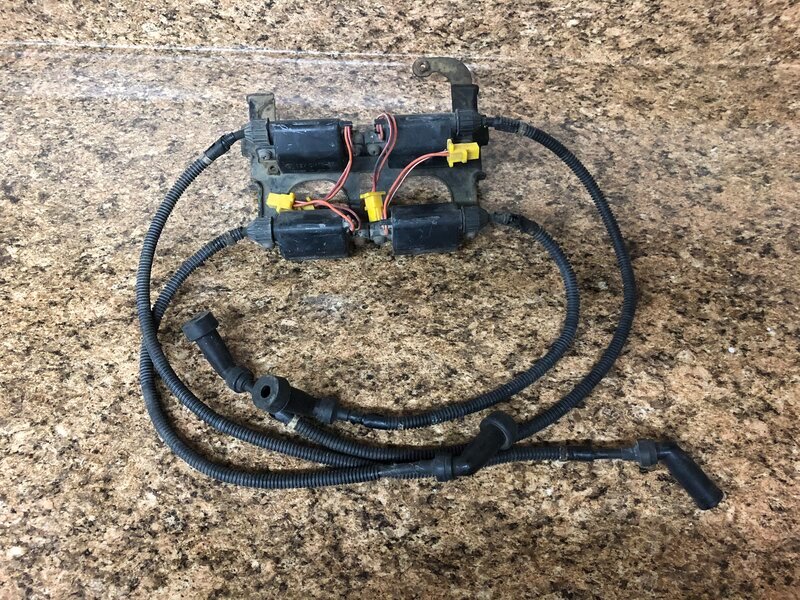
Not quite a year since my last post and we are finally back. Really excited to start working on this project again. I actually started this past summer looking for replacement plastics. Nothing on this bike is in that good of condition and so I have been working on finding crack free parts. I only have a couple more pieces to find and I will have a complete crack free body to put on later this summer. Right now I have two smaller projects I am working on. First up is the bank of coils with the plug caps and wires. New caps and wires were ordered last week, and I am working on getting the coils removed so I can clean up the metal bracket and get it painted. I'm also working on the rear brake components and have everything pretty much disassembled. Most of the parts needed to do the rebuild were just ordered. Lot's of work to do this winter so stay tuned for more as the progress continues.
-
Well my wife found out tonight I was putting it up for sale (wasn't going to tell her) and she quickly said "nope, not going to happen". She wants to see it finished, so she must be thinking the same way you are Condor. So disregard my previous post looks like we are going to see this one to completion whenever that will be. Sorry for the confusion. Haha!
-
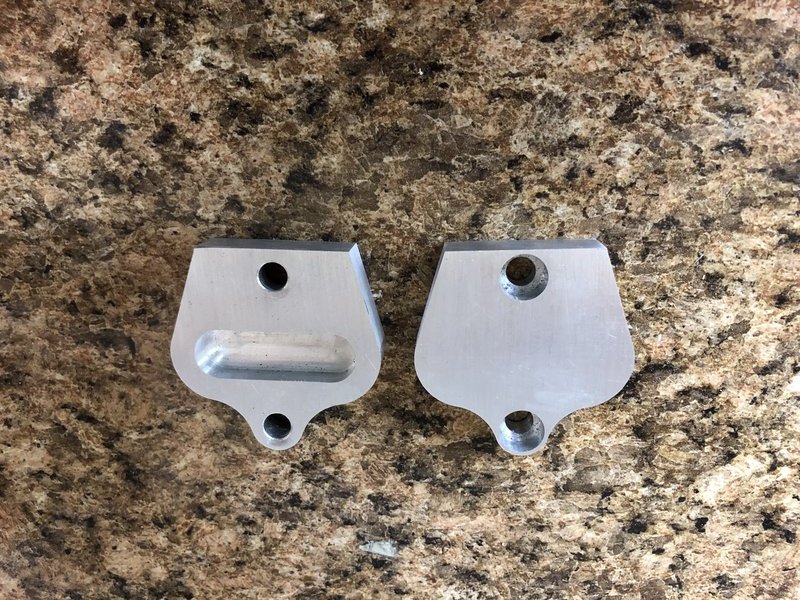
I have decided to put the project up for sale. I have to be realistic and understand that this could take several more years to finish and I would rather have the room it is occupying. I don't expect to break even on my investment but will be taking a loss which I am fine with. If anyone is interested of if you know of someone who would like a good project to finish up send me a pm. If I can't sell it then I will keep working on it when I get some time, but I don't see much time in the future to work on it. Since the last post I did get the R6 brake discs mounted on the front. Had a set of block off plates machined for the forks. This time with a channel for the oil to transfer through. And a new fuel pump installed.
-
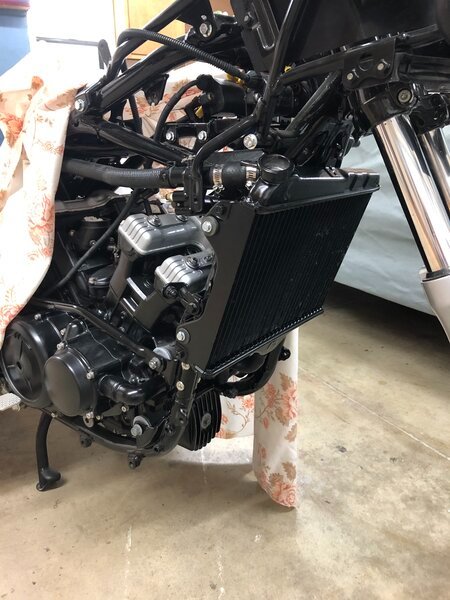
Just a quick update for the week. The milk crate it's been sitting on was struggling to handle the weight so I had to quickly mount the front tire and get it back on it's wheels. So now both wheels have new bearings, seals, and valve stems. The tires are mounted and back on the bike. I will have to take them back off for balancing once I get my wheel weights in. USPS lost them for 8 days but now it looks like they will be here this week. I decided to back off on polishing the side cases and am going with black instead. The clutch cover and the stator cover will have the chrome inserts once I get them sent out and re-chromed. For now you can see the water pump is installed along with the clutch cover minus the center plate. I put in a new fuel shut off valve and have the fuel tank back in. That's where we are for now. I will get some more pics later of the details, but here is one of the bike as it sits. On a side note, once I finish up the restoration and put some miles on, this will be going up for sale. Most likely late next summer. Just wanted to give everyone a heads up in case someone might be interested.
-
Nice catch venturesome! Looks like I need to start over on the blocking plates, and make some with a channel between the holes. Thanks for pointing it out, that saved me some big problems down the road.
-
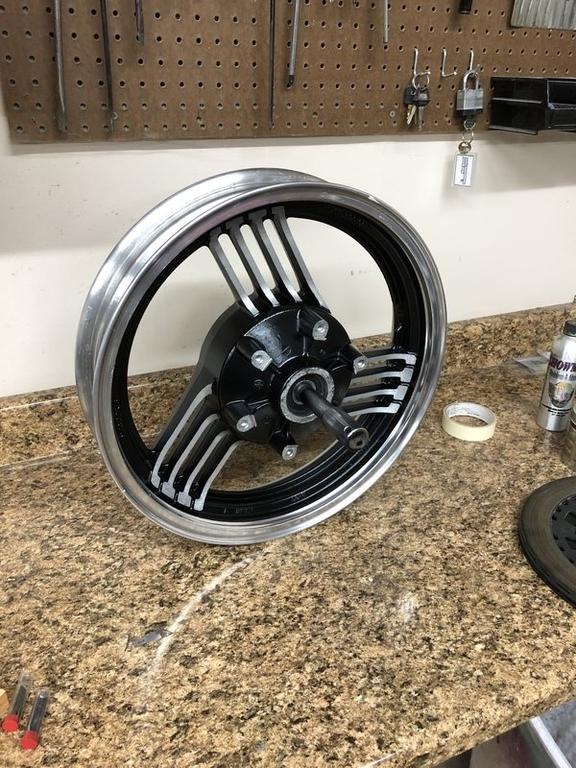
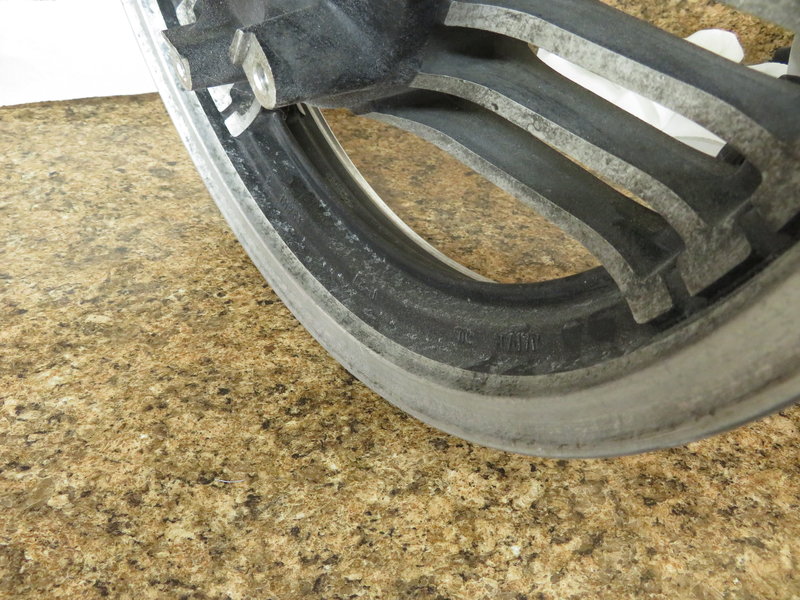
Well it's been longer than I had hoped for, but I was finally able to find some time to work on the back wheel. It didn't take as long as I thought it would. Here are a few pics from this weekends efforts. As you probably remember the before pic And now the after Completed wheel, ready for a new valve stem and tire
-
I finally found my collector and can give you the measurement. The rear exit where the mufflers connect to is 38.10mm, which is just slightly under 1.5". That's the outside diameter.
-
Just to compare I took a look at the part number for the clutch hub on the XVZ12 and the part number has been subbed, and is the same as the one you show. So there is a chance the dampers would work also since the hubs are the same. I don't know why they wouldn't sub the part number for the dampers though. The problem for me is the cost, at $22 each and needing 6 of them and then add in the cost to powder coat the wheel, it's getting a bit expensive. I'm going to take a shot at cleaning the wheel and if that doesn't work then it may be time for plan C. Thanks for the suggestion Du-Ron, I appreciate it.
-
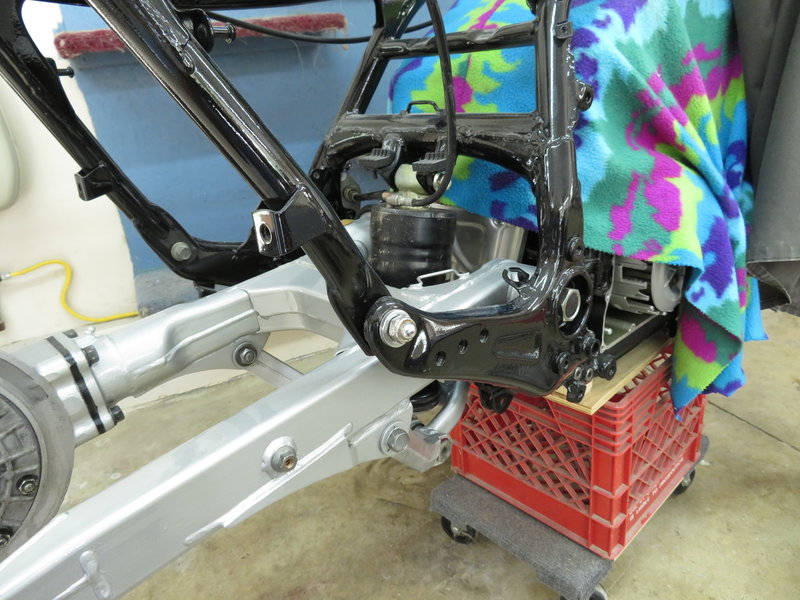
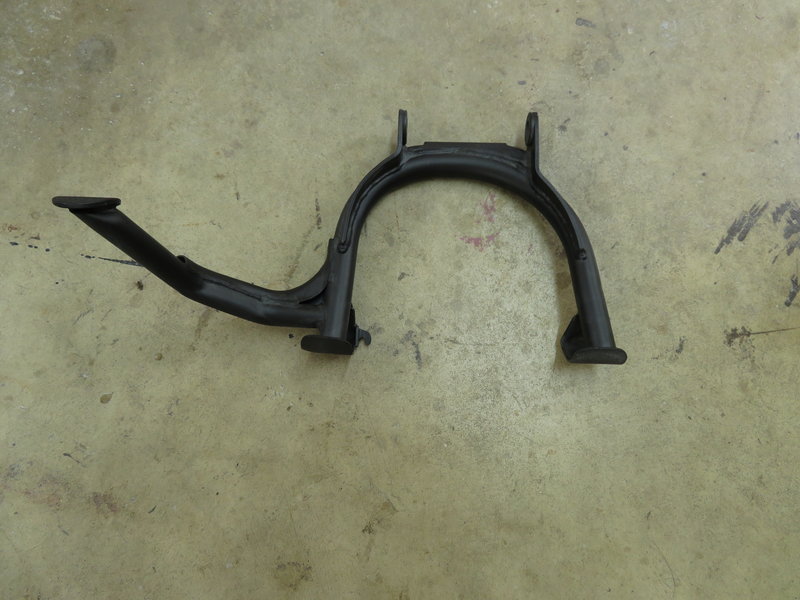
Here's the shock mostly installed. Cleaned up the center stand and put a fresh coat of paint on it. Ready for install. Next up is the rear rim. This one is pretty rough so it's going to take a lot of work to bring it back. I'm going to sand down all of the aluminum and then polish it and then repaint the black. Stay tuned should have another update in a few weeks.
-
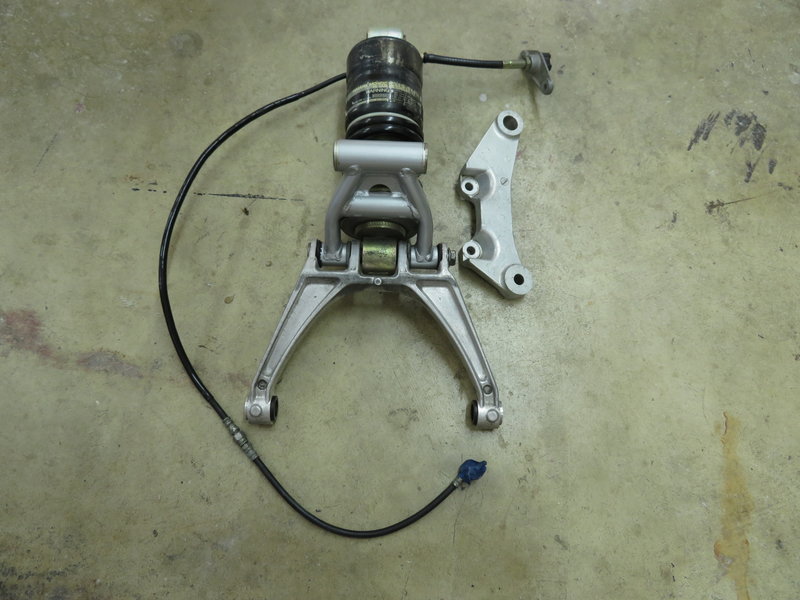
Here's the after pic of the shock and brake bracket. Disassembled, cleaned, greased and reassembled. I painted the small steel relay arm but didn't do anything to the shock other than a good scrubbing. No value in taking the time to paint the shock.
-
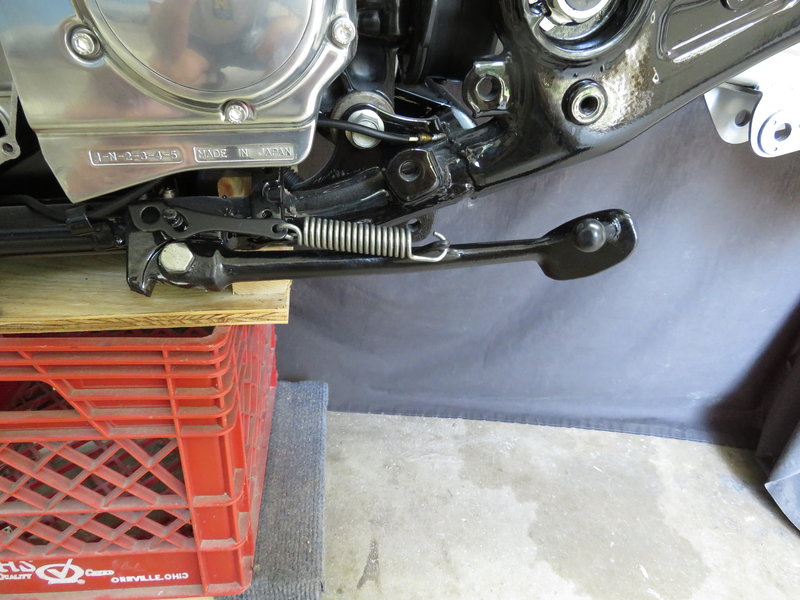
One part at a time. Another week goes by and little progress but at least we have some progress. Finished up the rear end by installing the rear axle gear case. Cleaned and painted the side stand and have it installed. Next up is the rear shock and brake caliper bracket. Thanks for taking a look, hopefully another update next week.