Leaderboard


Popular Content
Showing content with the highest reputation on 06/03/2023 in all areas
-
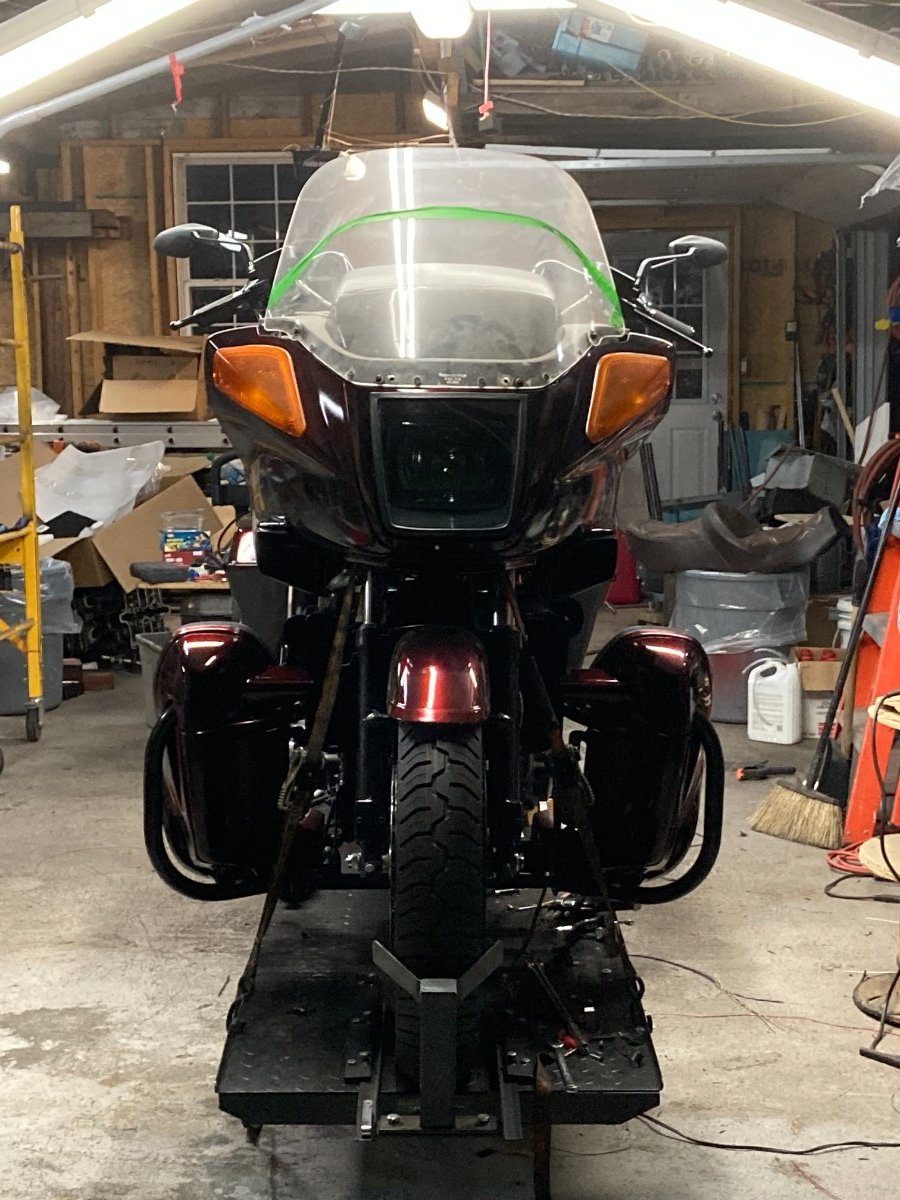
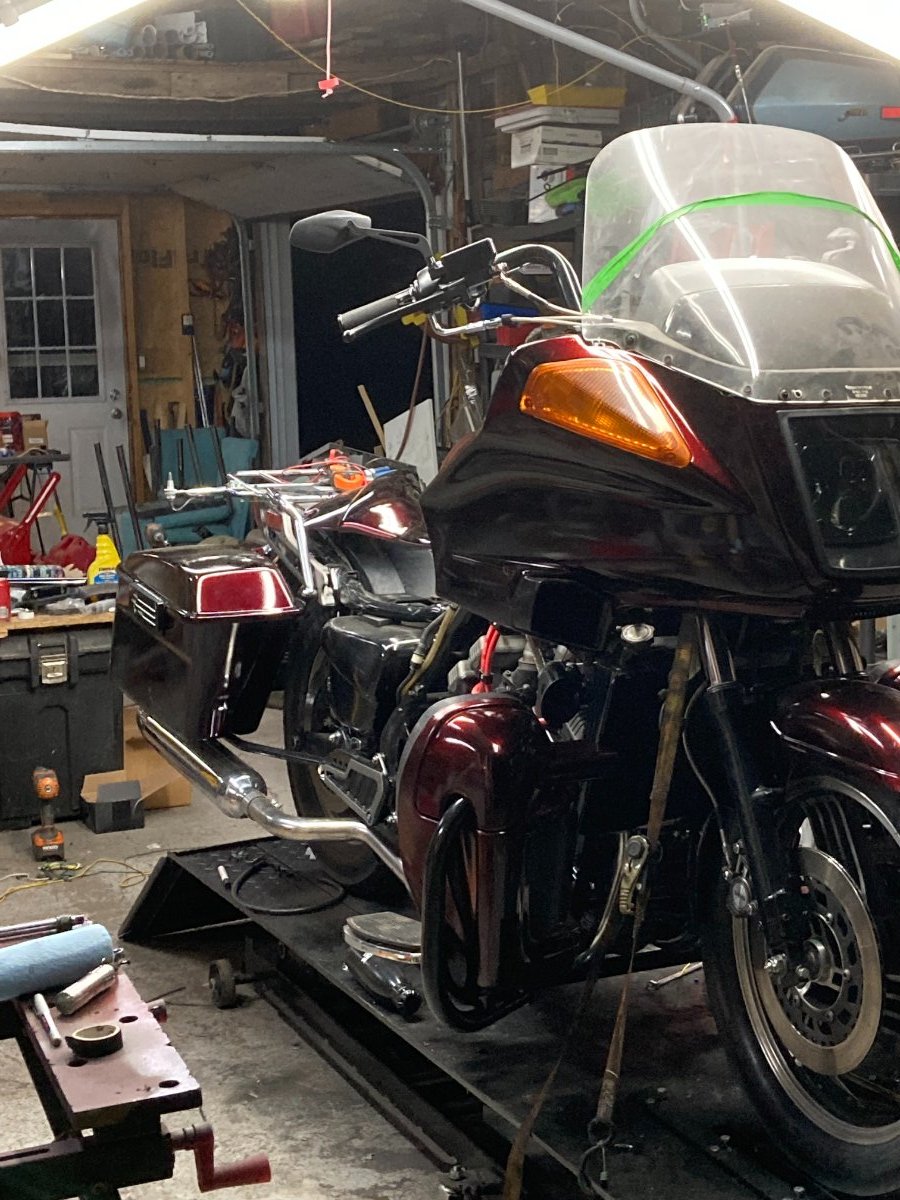
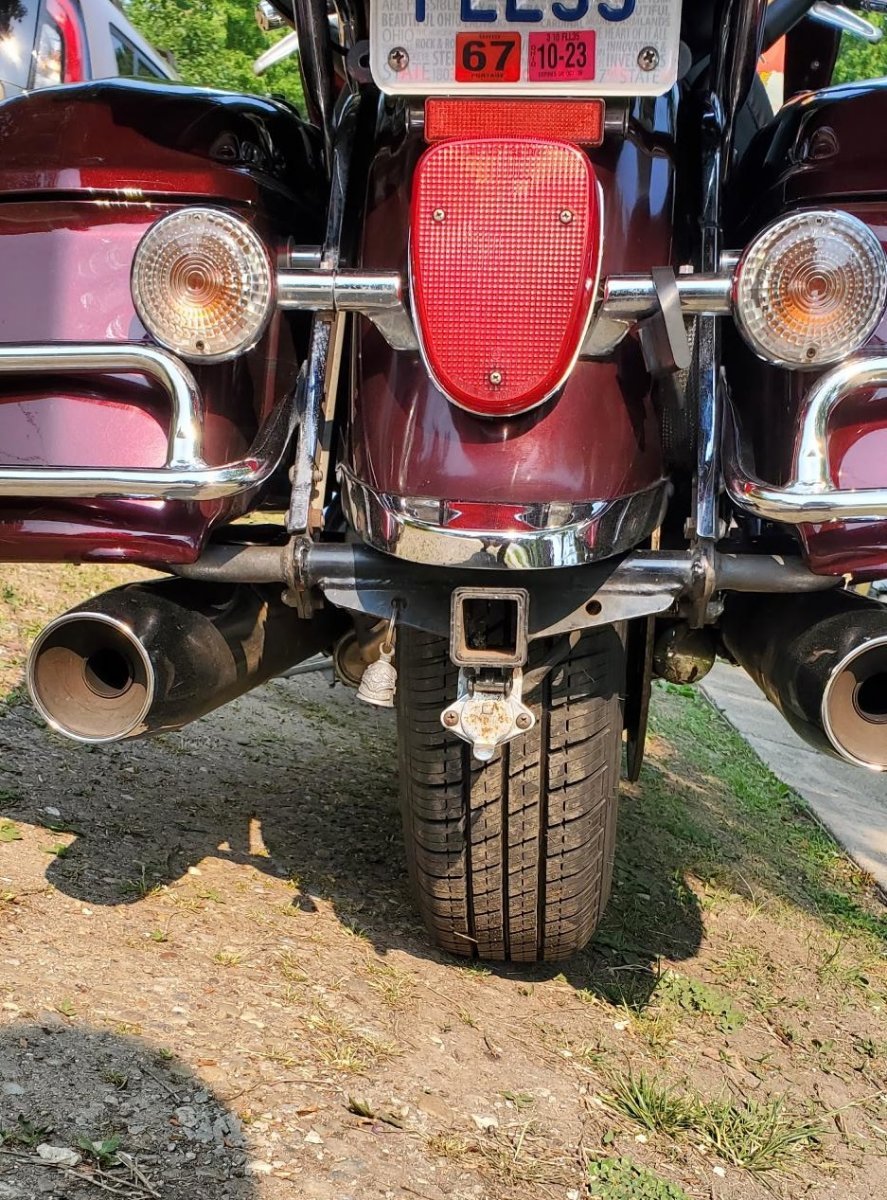
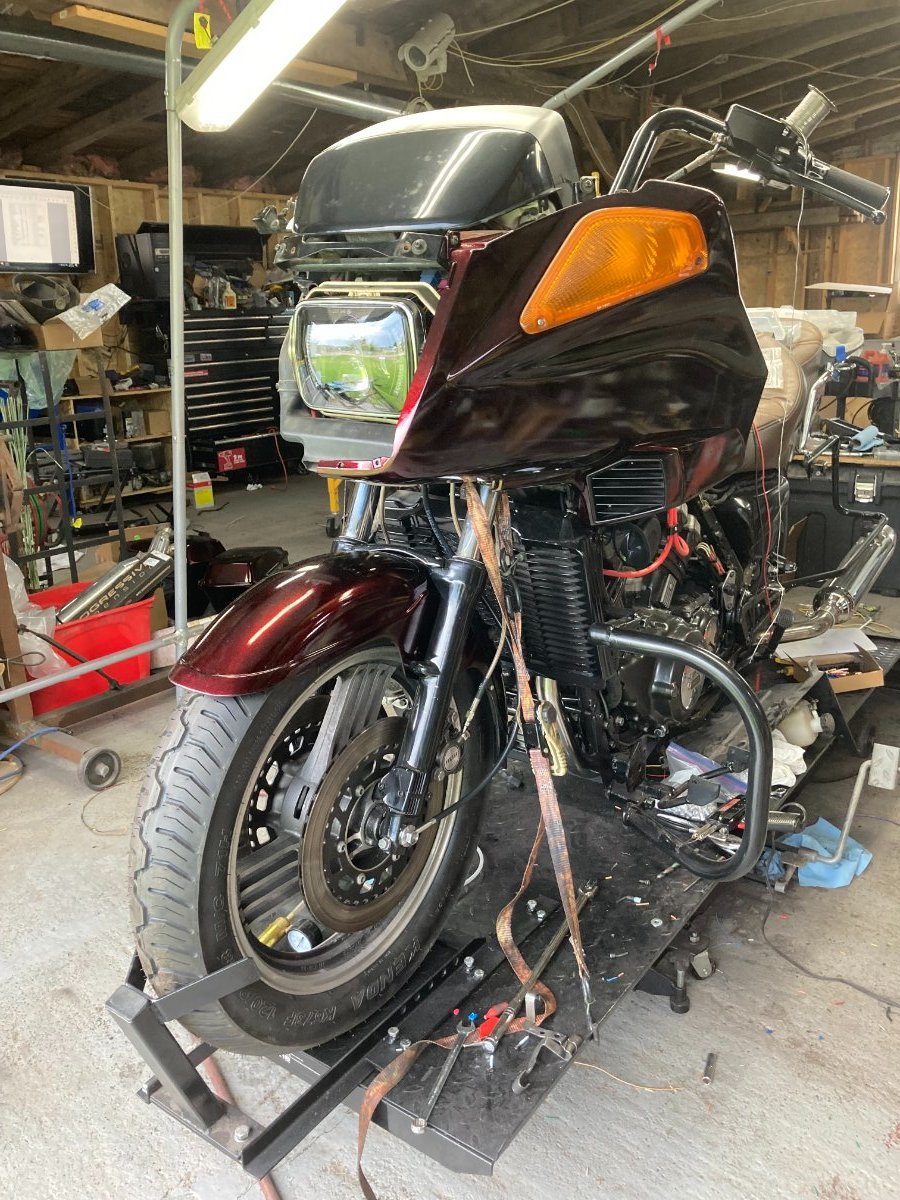
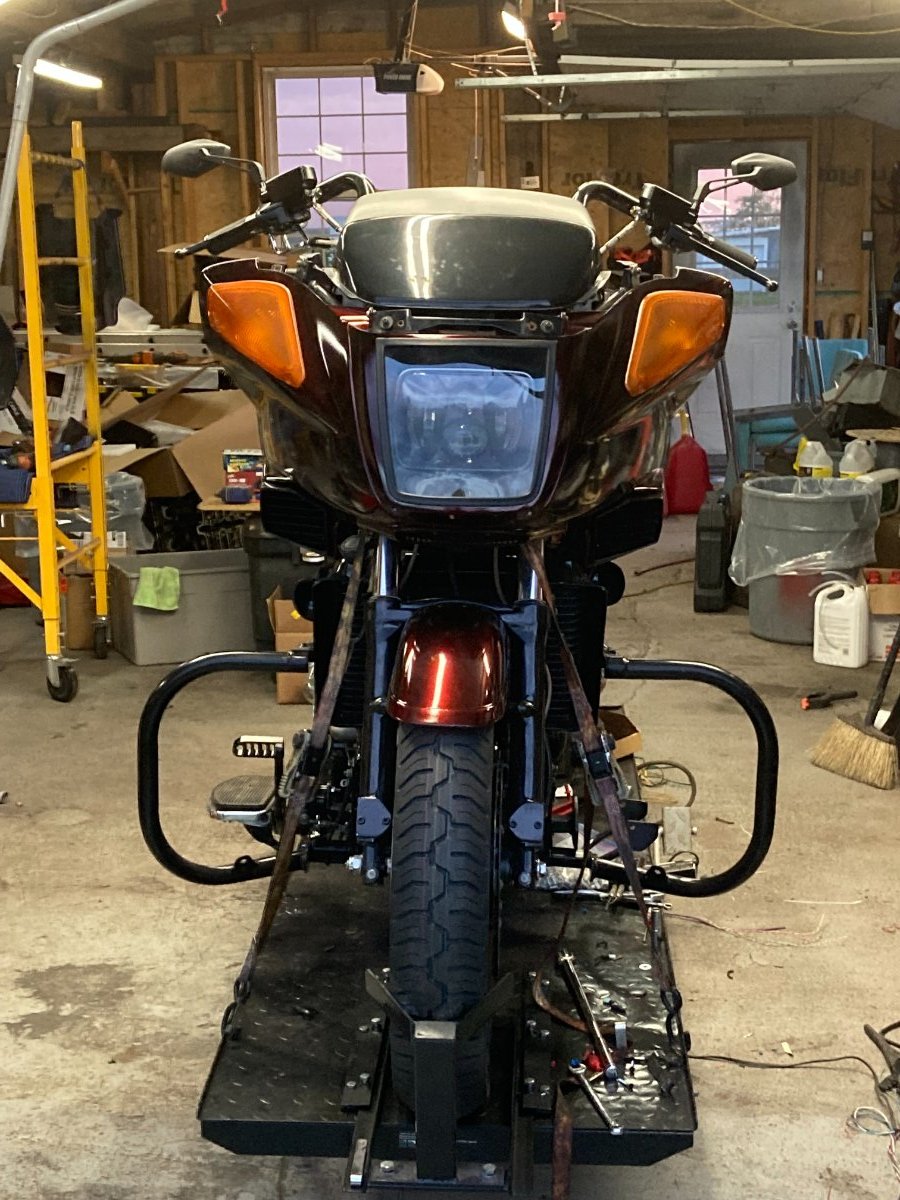
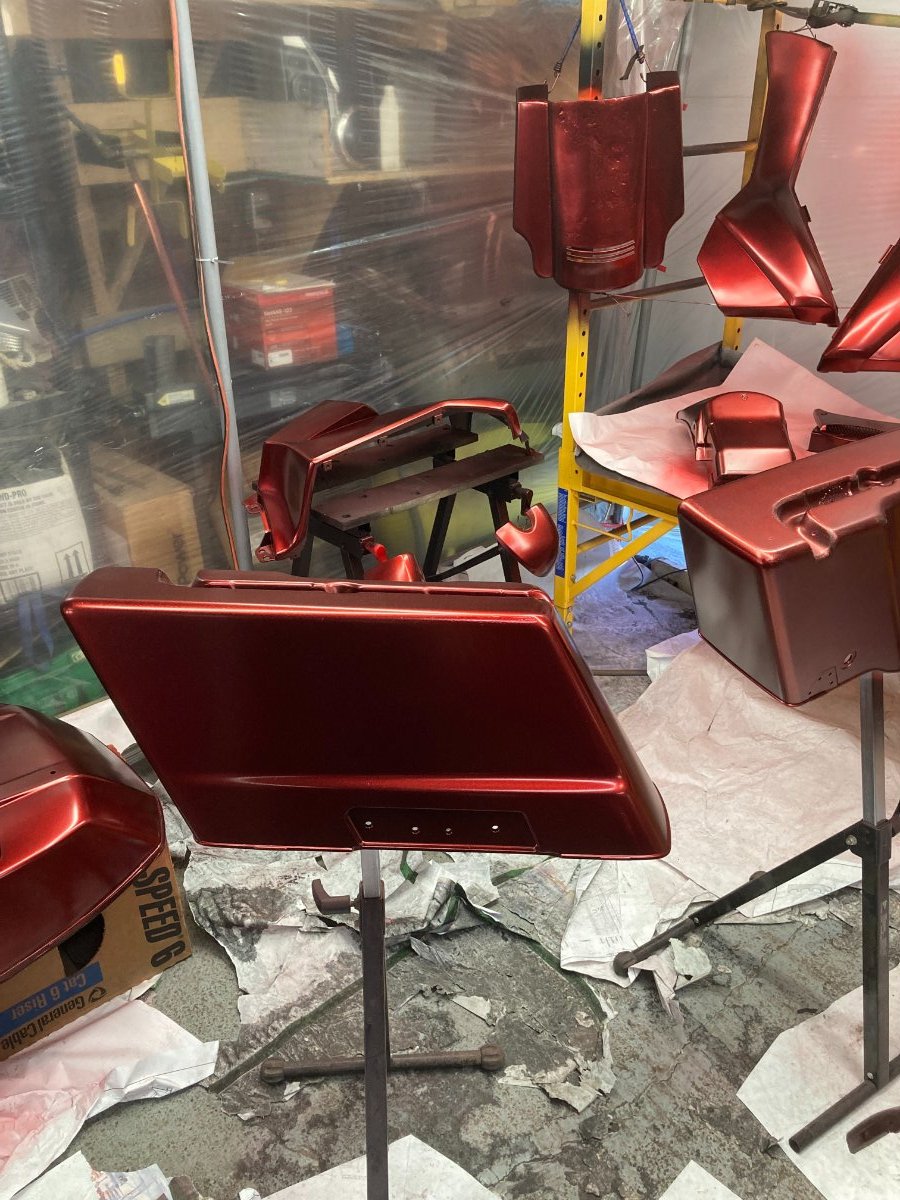
Hi Everyone Made more progress on Tuesday Nite and the bike is really coming together. We installed the lower fairings to complete the front end, then went to work on the rear, installing the rear fender and the new Rear filler panel between the HD saddlebags including new LED Lights for Park/Brake/ signal. Also installed the saddlebags. Thursday evening I finalized where I was going to cut down the windshield and Cut it and finished the edge then Polished both sides with 5000Grit wet sanding. Also removed the Front Signal Lights then sprayed these and the inside of the Windshield with Black candy paint. Back out in the garage after supper tonight to Wet sand the Lights and Windshield and applied a second coat of Black Candy, I will spray the clear tomorrow on both sides of the windshield and the lights, also sprayed some gloss black on the inside of the Trunk to freshen it all up. A couple photos to show the progress. Shifter Linkage and Fairing dash pieces tomorrow, finish wiring up the rear lights and final adjustments to the Trunk mounting, also Mount the windshield and re-install the Lights. Have a good nite Herman
 3 points
 -
Black Cherry went to the dark side today. A new Nexen tire mounted and installed today. Thanks Ronnie! (he talked me into it without knowing it). For anyone out there who is mounting their own, spend the money on the NoMar mount/dismount tool. It's worth every penny. This was by far the easiest time I've had changing a tire, ever. I also installed a rebuilt rear shock. Thanks Fitz! And new rear brake pads. Thanks Earl! And a new AGM battery. Thanks Amazon! And fresh oil and filter. Thanks AutoZone! And, she got her annual bath and wax job. Thanks ME! I was also going to replace the stock rear brake rotor as it has well over 100k miles and is fairly worn, though not rough. Unfortunately, there were two mounting screws that refused to break loose. I ended up stripping the socket with the impact driver trying get them out. So, the old rotor stays another season at least. The dark side maiden voyage was a tremendous success. With new(ish) rear shock and the Nexen tire, she rides like a brand new bike. The rear shock has been dry since I got her, so I had gotten used to the bounce. Not going to miss it!
1 point
-
J&P cycles to the rescue. I got my brothers H-D Road King last fall from my nephuw, my brother passed 3 yrs ago and the bike had set for 5 yrs. I was going over it and found that the tires were dater one in 08 the other in 14. the right front calliper is leaking also. The local HD can't get the calliper but wanted $89.95 for the rebuild kit.I got both tires and the rebuild kit for the brakes for under $300.00.1 point
-
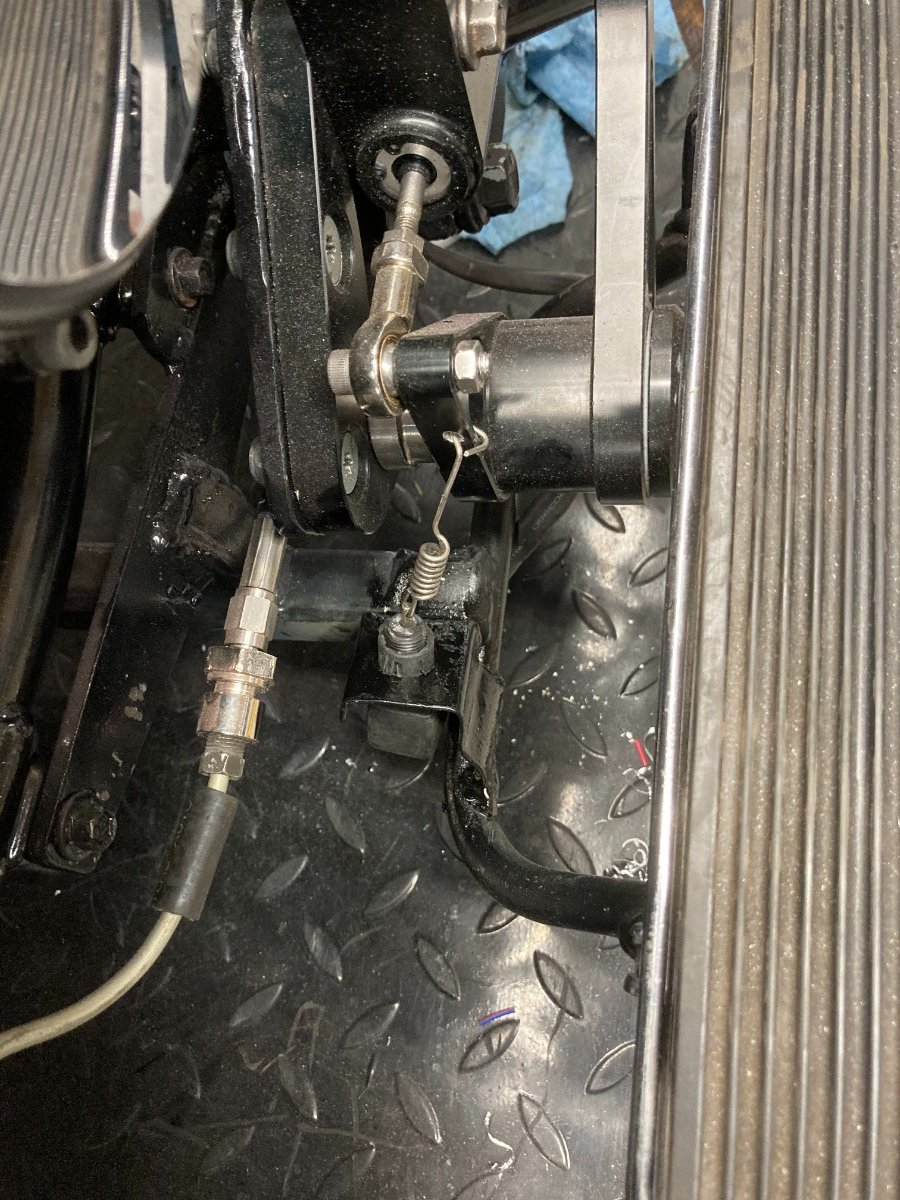
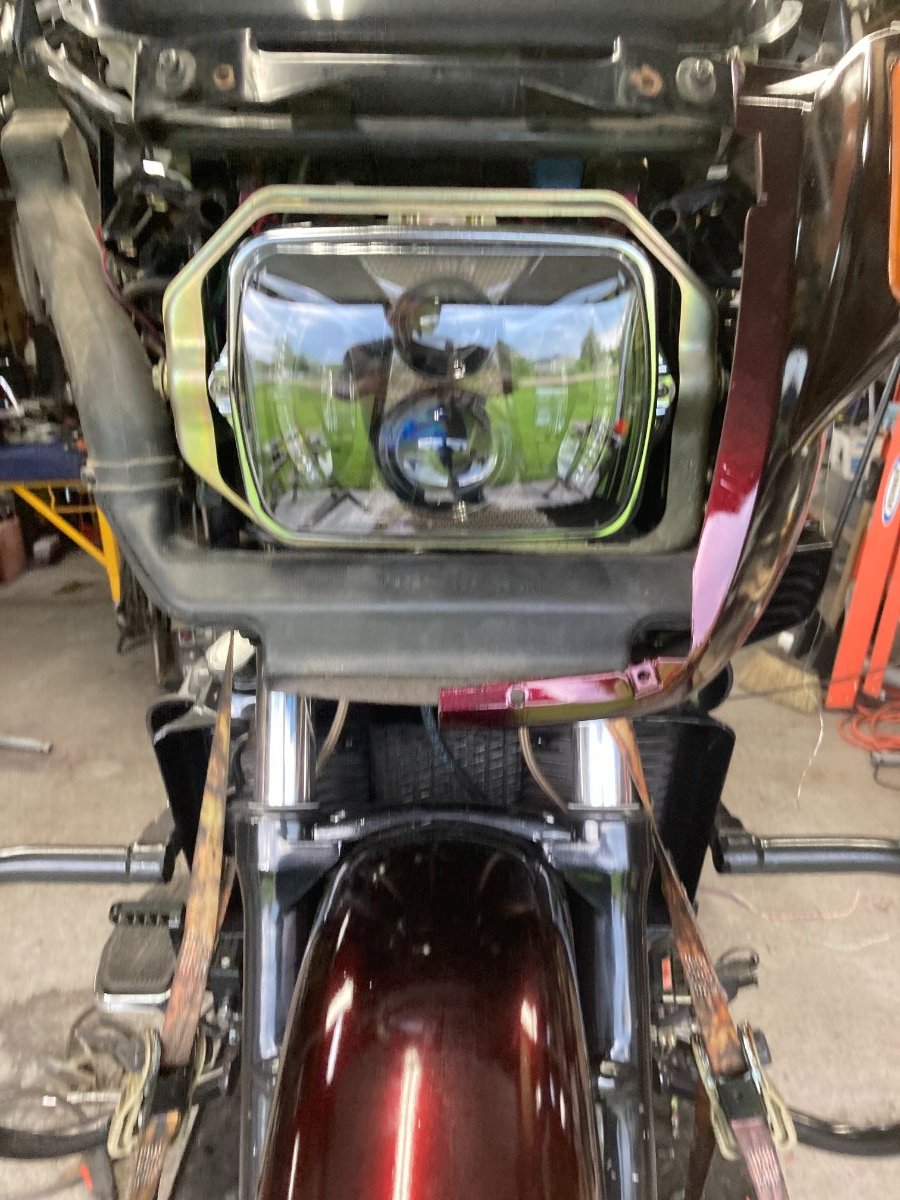
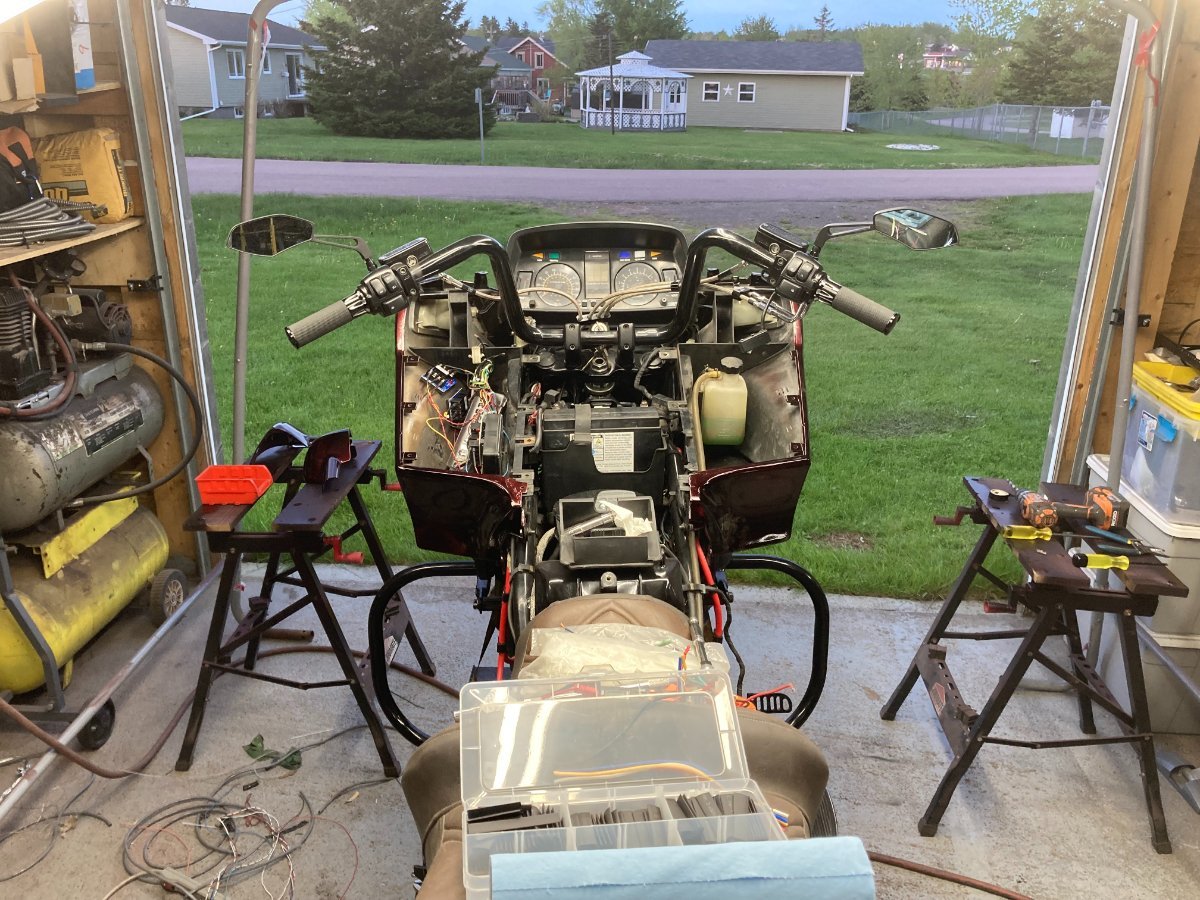
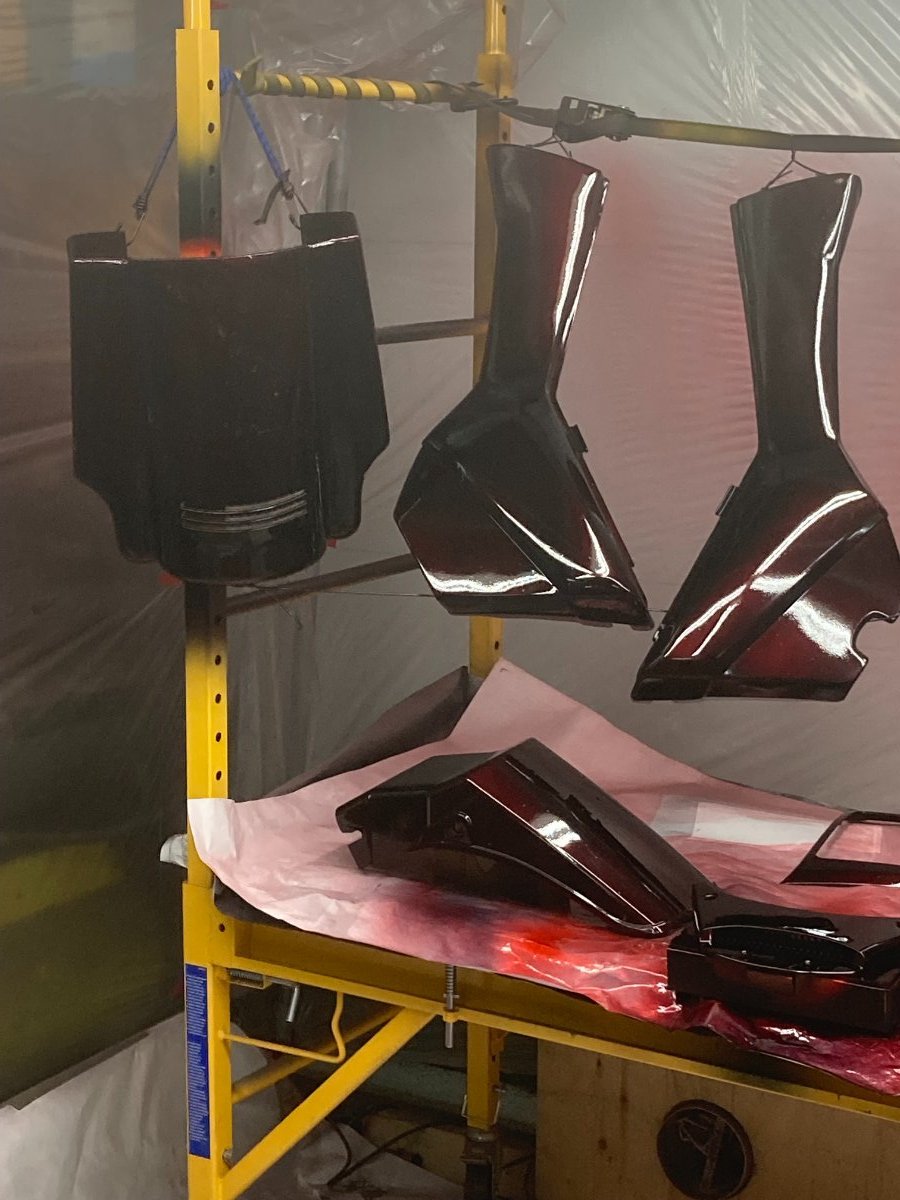
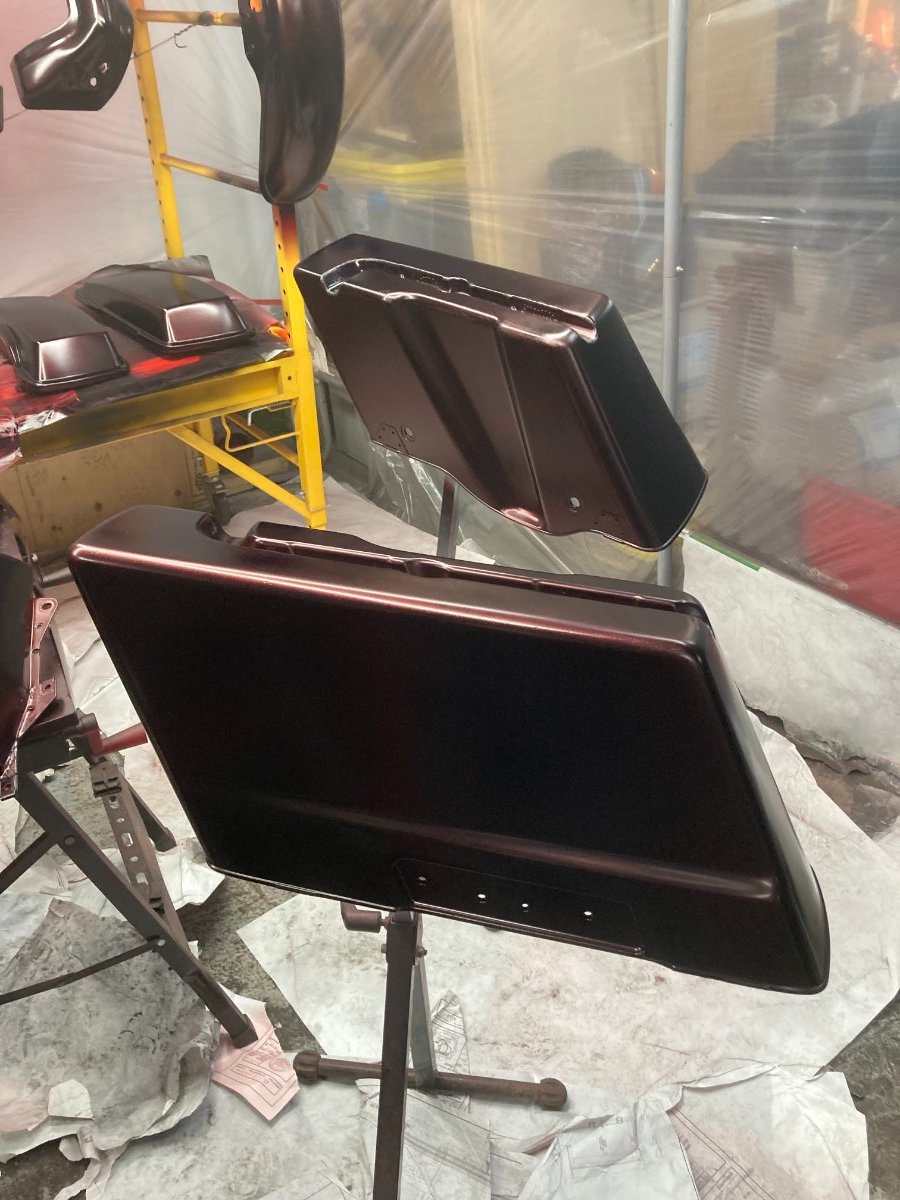
Hi Everyone It is starting to look whole again, My Buddy Brian was over on Saturday to assist with the Brake bleeding as well as the clutch, all is bled and functional and no leaks. We also did the final adjustment of the Handlebars. I completed all the wiring and built a mount for the Rear Brake switch for the new Forward control brake peddle, while Brian re-assembled the Jigsaw puzzle of the Trunk and the saddlebags . After Brian left I continued to Work on getting the Fairing installed and the Front Fender, my LED headlight was covered in minor scratches from being moved around the shop so I gave it a wet sand with 5000 then sprayed on some gloss clear. After getting the fairing done the Signal Lights were sticking out like sore thumbs, I temporarily covered these with some Limo Black Tint (too dark) so I am gonna spray some Black Candy since it goes on transparent this way I can control the Tint level The Lights are still fairly Bright even with the heavy Limo tint so somewhere in between should suffice just to blend them in with the Black Cherry. Brian and I are set to work at the Bike tomorrow after work, so we should be able get the rest of the Bike together and knock a few more items off the completion List. More pictures and updates as I work at this project Good Night all Herman
1 point
-
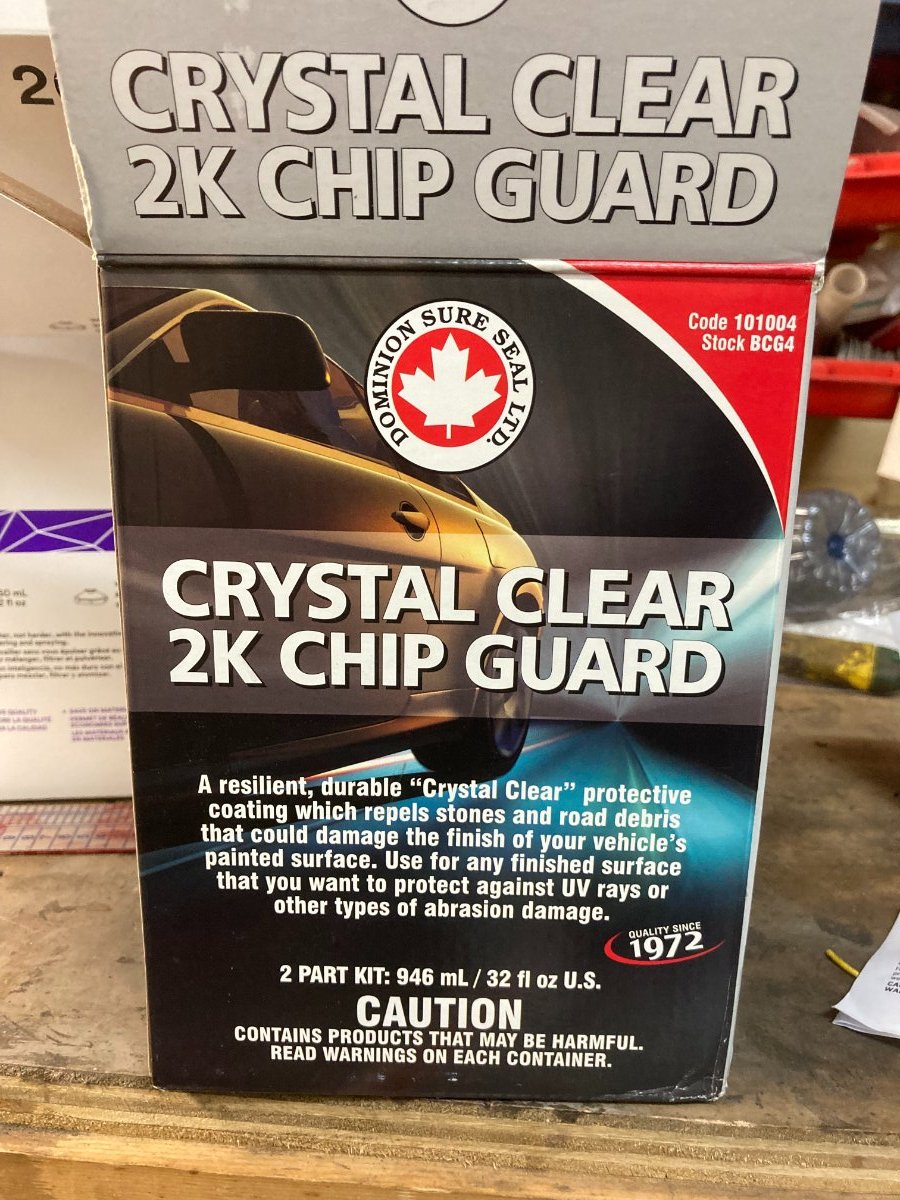
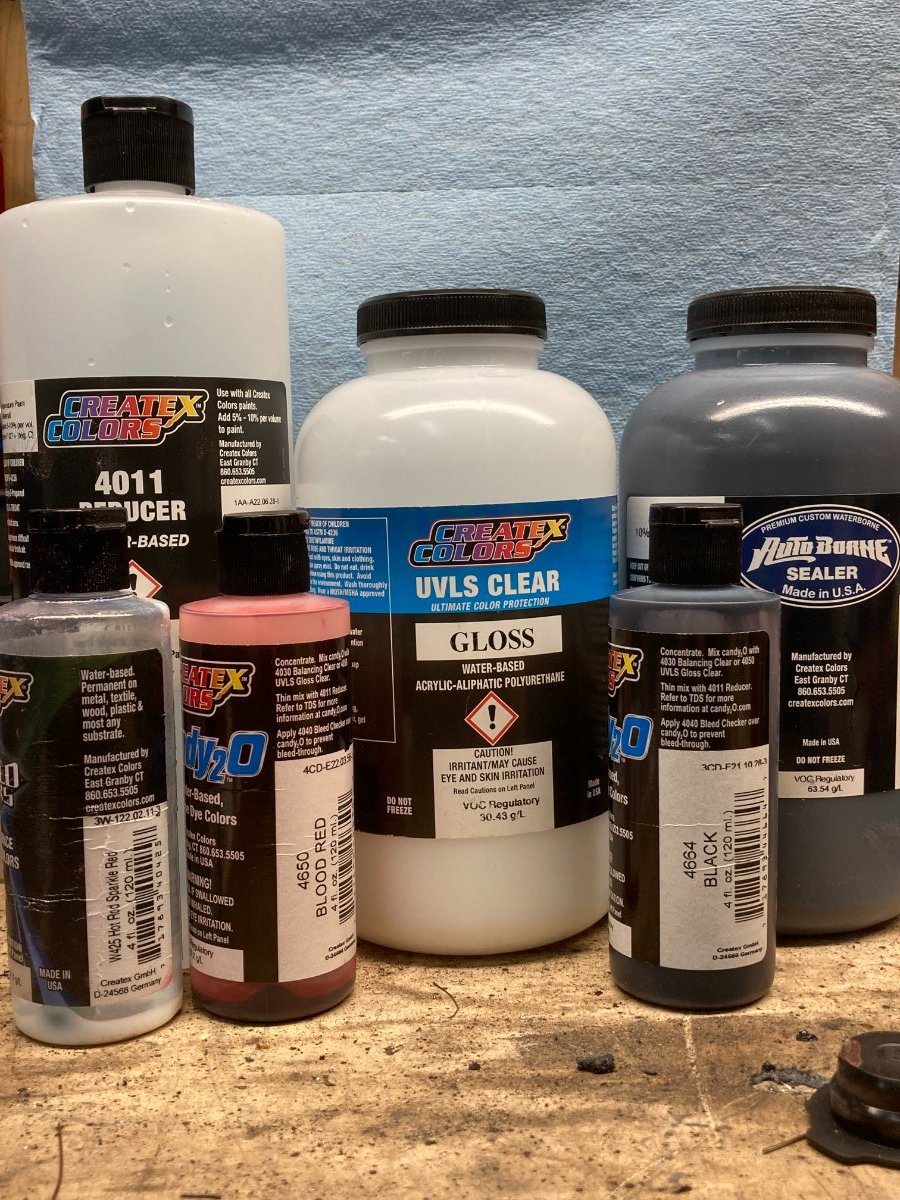
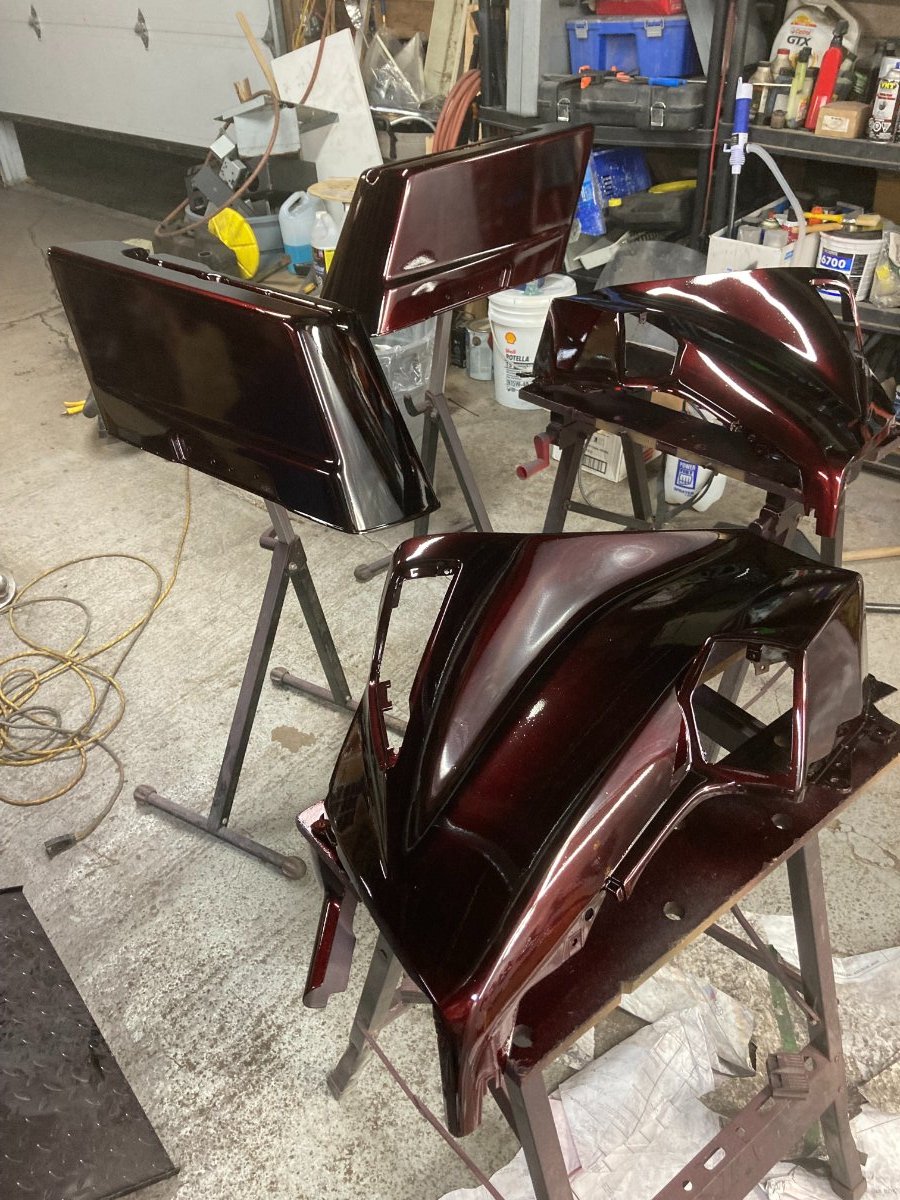
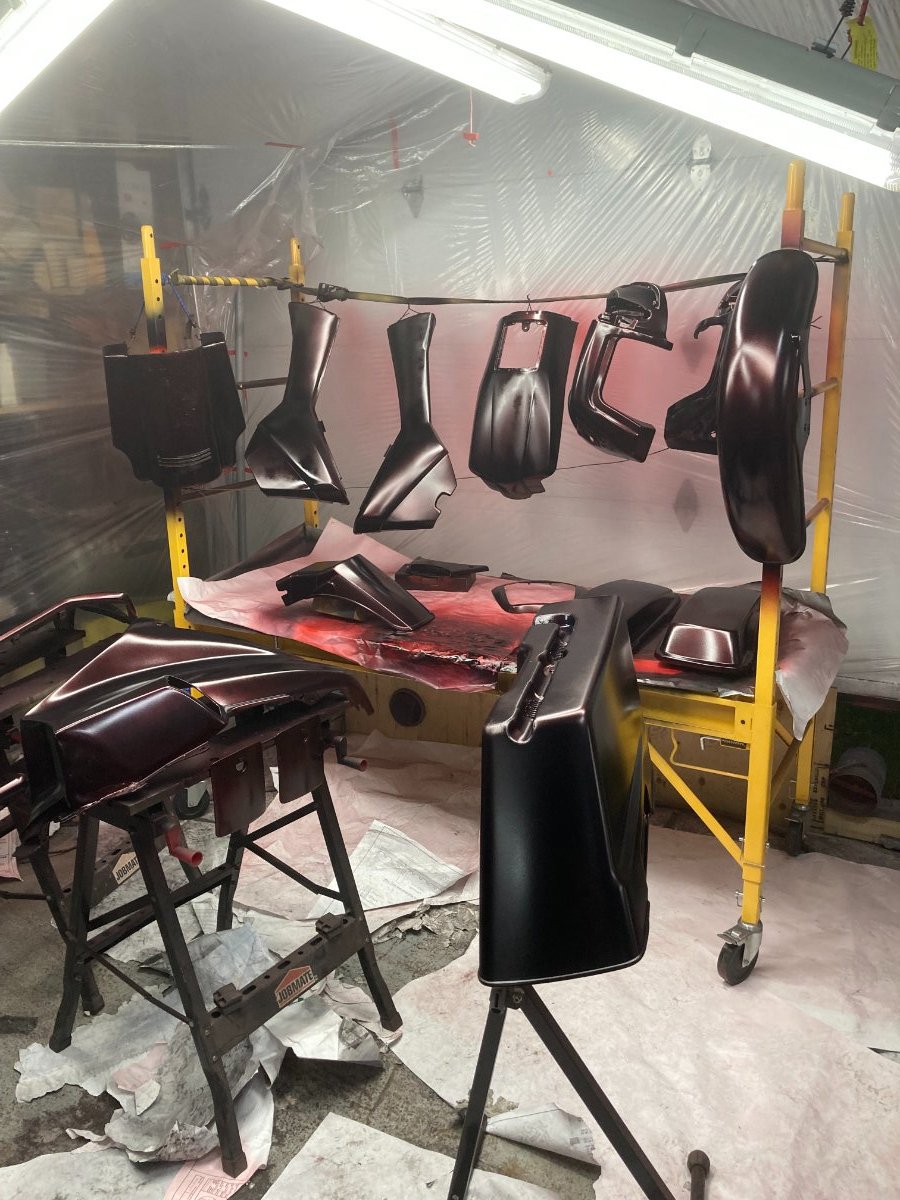
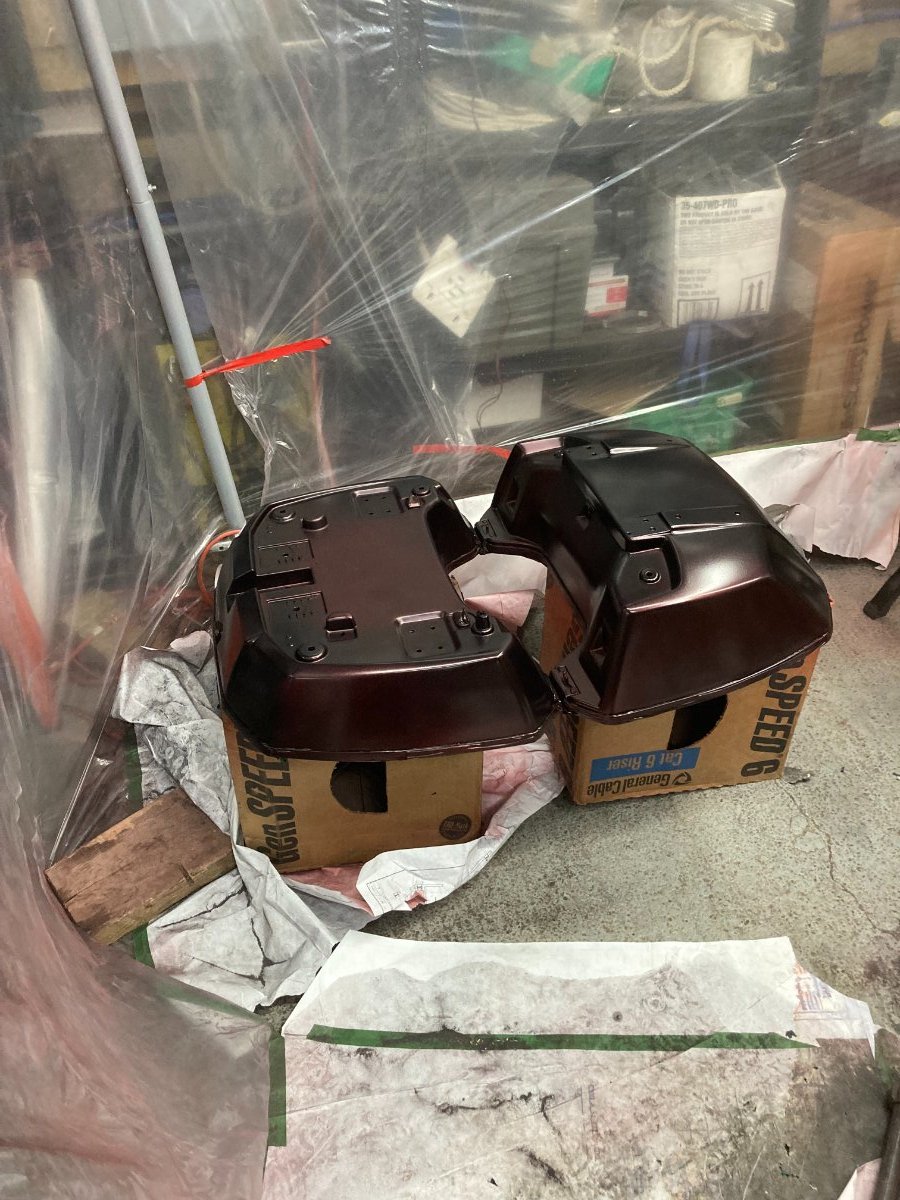
Hi Everyone Here is the finished Paint with 2k Clear, I am very pleased with the end result, I have included pics of the Paint used as well as the 2K Clear. The finished paint color is called Murdered Black Cherry Candy and originally demonstrated on Createx You tube Channel by Chris Arpin from Createx, he is a very good presenter and explains the steps and procedures very well. I will be continuing the Re-assembly this weekend and hoping to have it completed next weekend. More pictures and updates as I work at this project Good Night all Herman
1 point
-
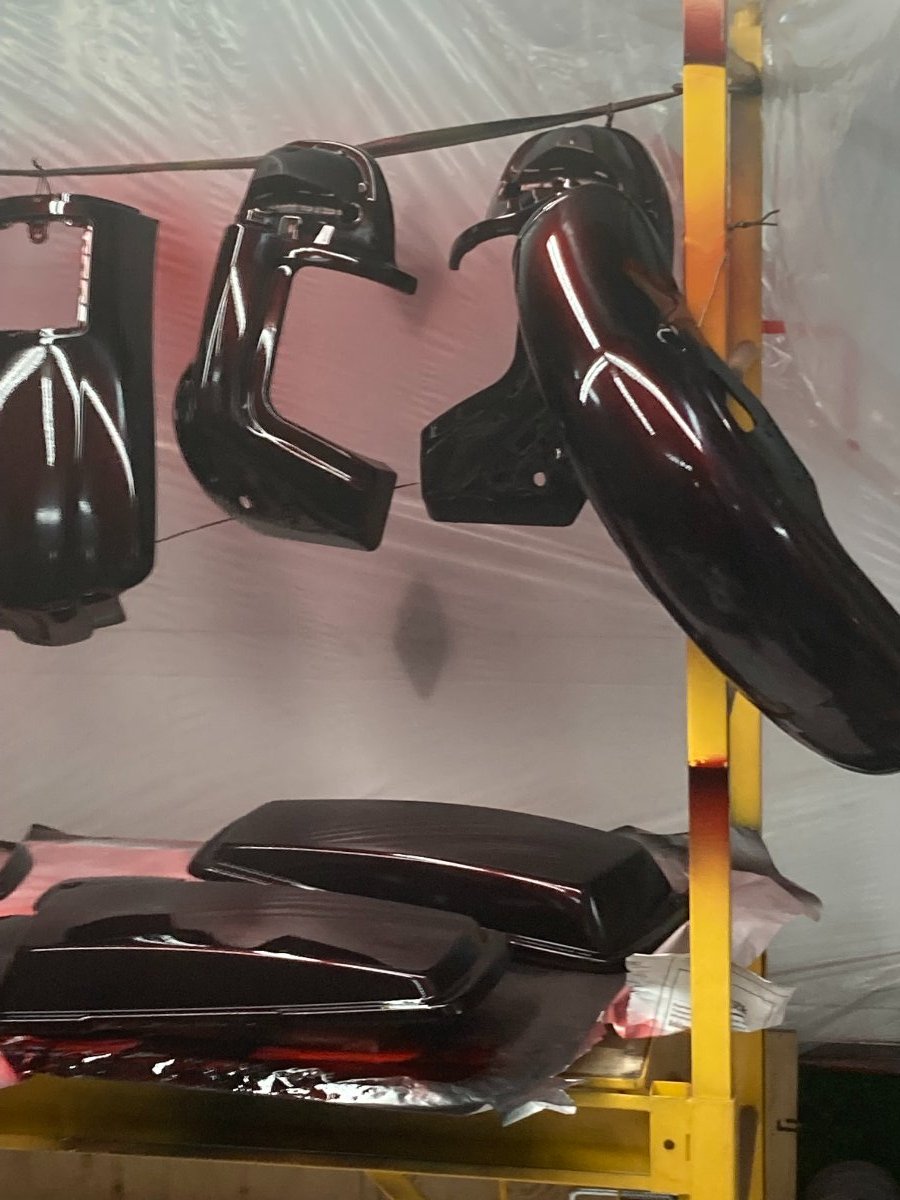
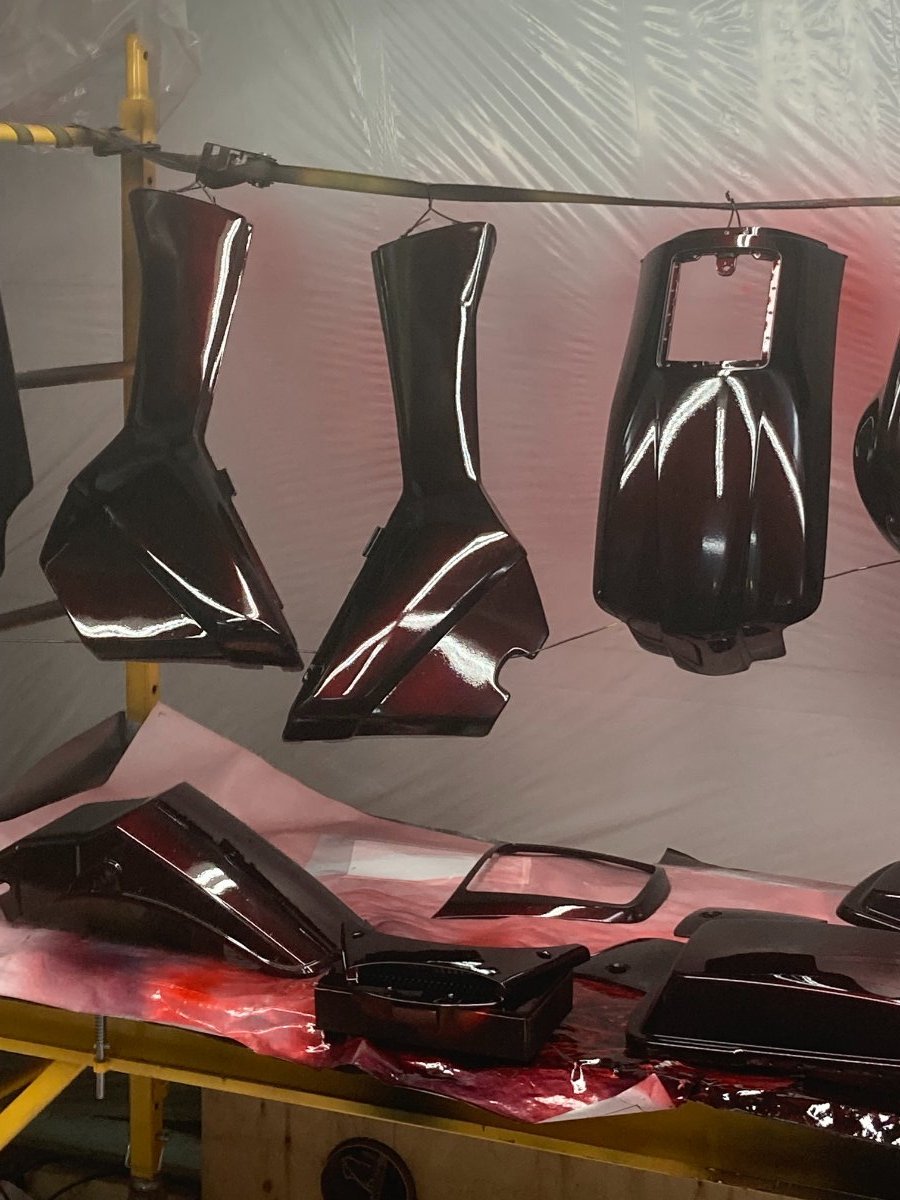
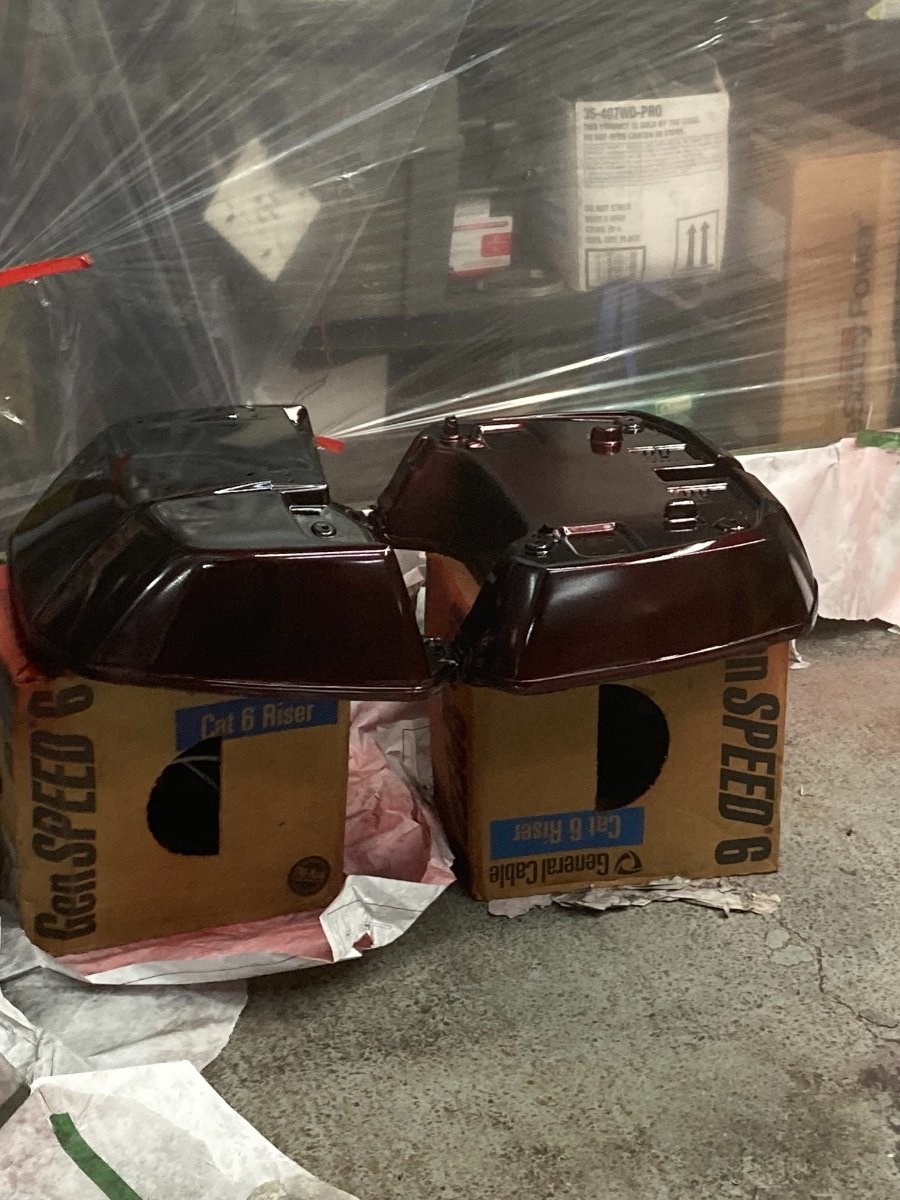
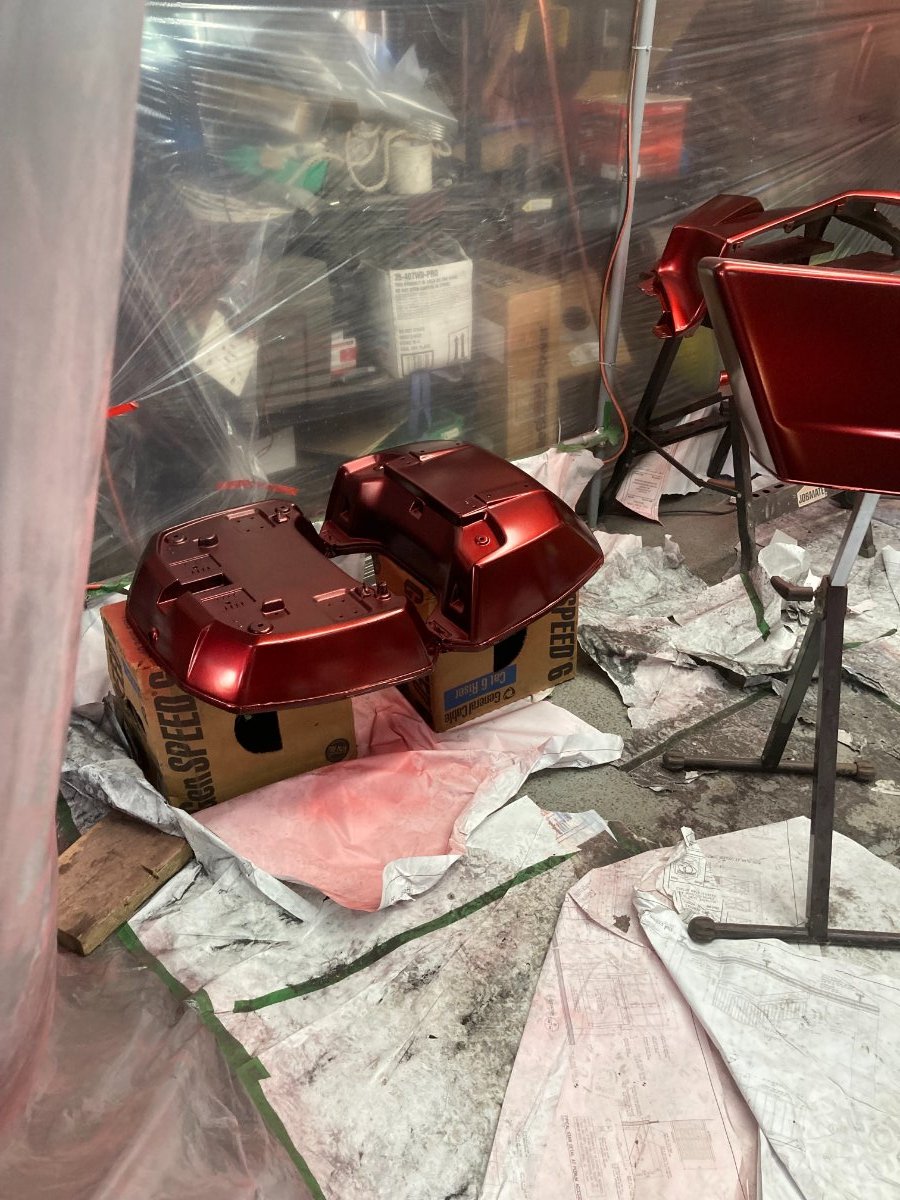
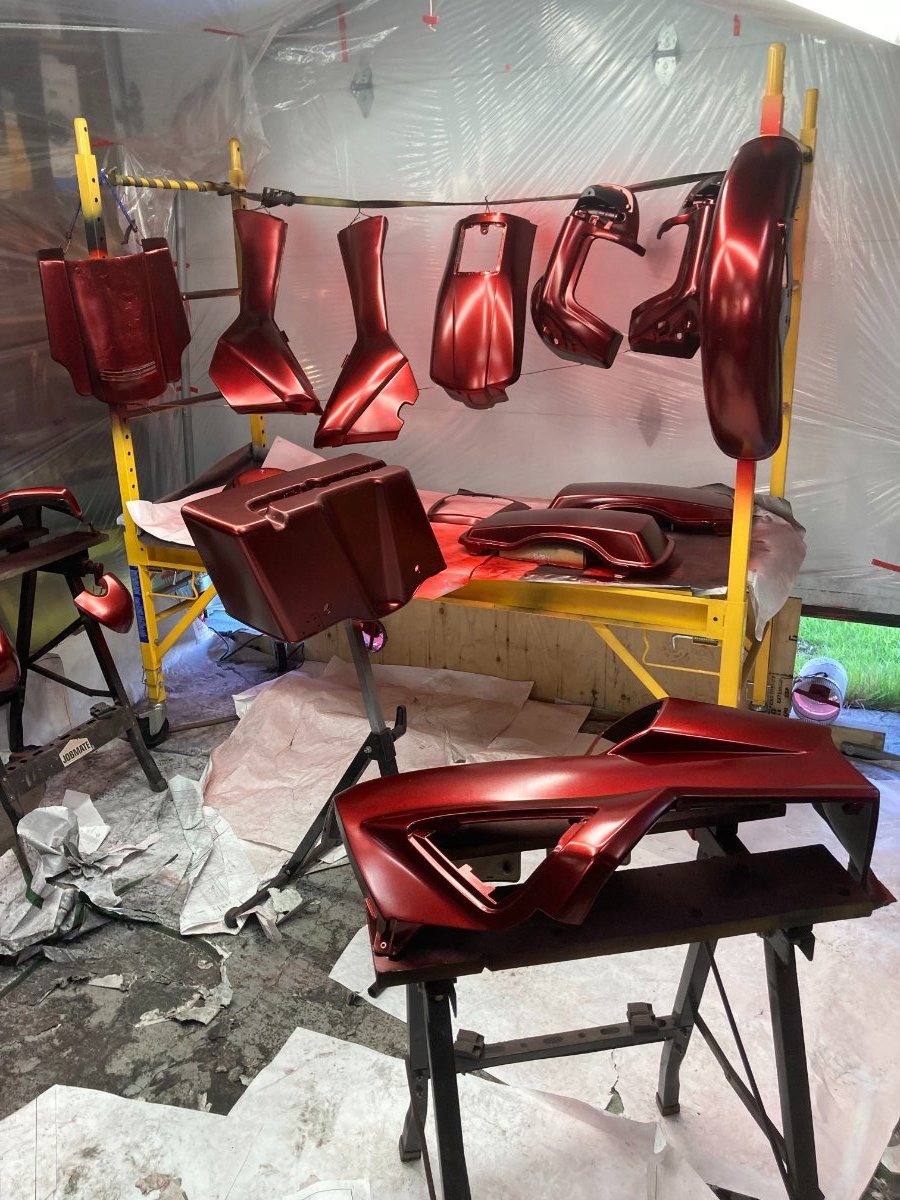
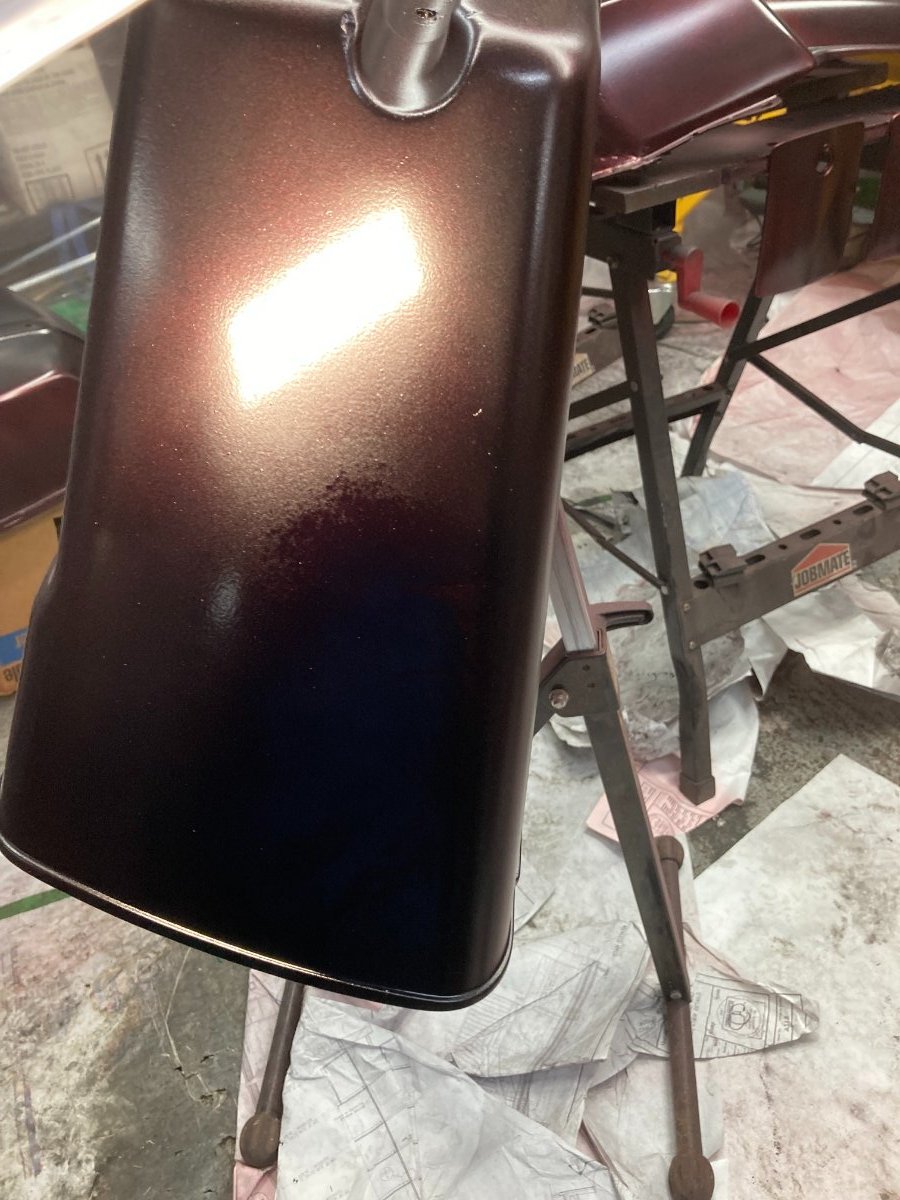
Hi Everyone Second coat of Blood red Candy went on this morning this really brought out the dark Cherry color, then the Final coat of Black Candy went on tonight to bring out the Final color of Black Cherry. next step to Buff with 1000 to knock down some dust bumps then apply 2 coats of 2K clear. more pictures to come once the clear is on Herman
1 point
-
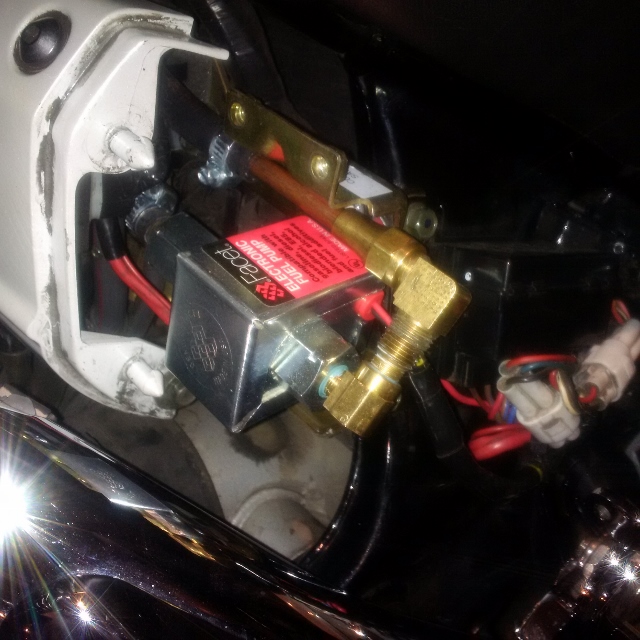
I got rid of the OEM fuel pump back in '17 and haven't looked back. This little electronic Facet fuel pump as proven to be very dependable. The following is from the original thread back in 2017. If you search the forum there are quite a few posts about this pump. Replaced the stock pump with the Facet 40178. I drilled and tapped an 8-32 screw to mount, isolated with rubber on back. Screw is located behind the flare nut. As an FYI, NAPA carries this pump under their part number BK 610-2403. Took it for a 50 mile test Saturday and bike ran fine. On my arrival home, I immediately pulled the side cover and the pump was cool to the touch. On a side note, I have a Koso digital volt meter. With the Garmin 550 and XM radio on, I always ran a consistent 13.9 VDC. With the new fuel pump, I am at a consistent 14.0 VDC.
1 point