Harddrv1
-
Posts
49 -
Joined
-
Last visited
-
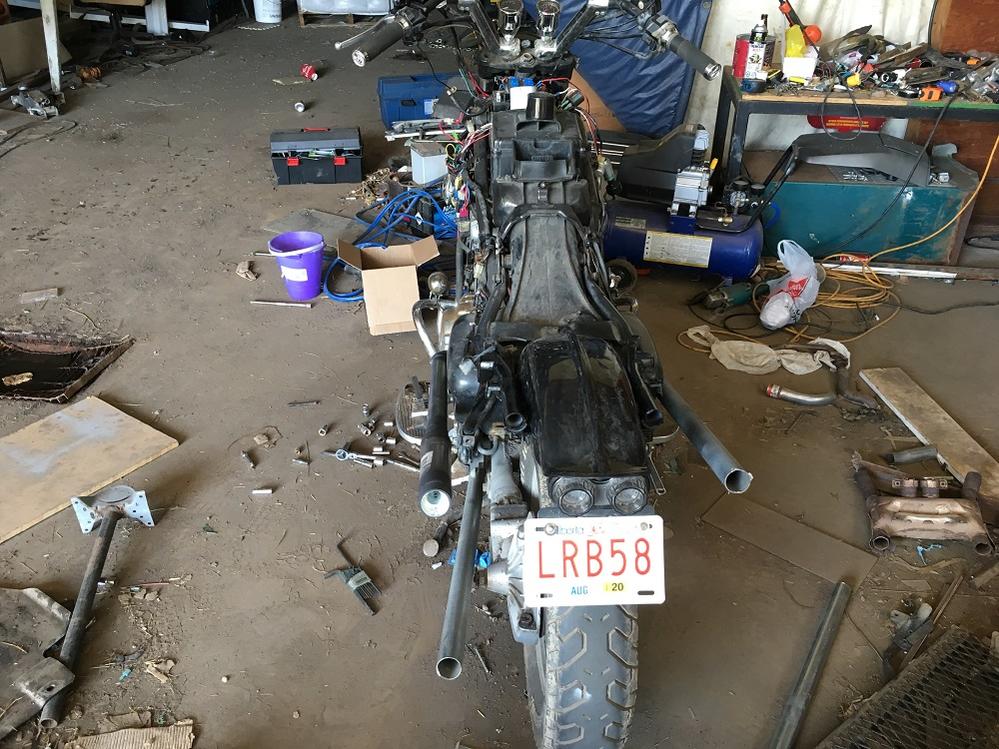
Like I said not too much to see but here is a pic of yesterdays progress Probably not gonna get anything done tonight but figured id post Its a bit of a mess but sounds ok also I ran out of wrap so 1 pipe is still pretty bad looking lol

-
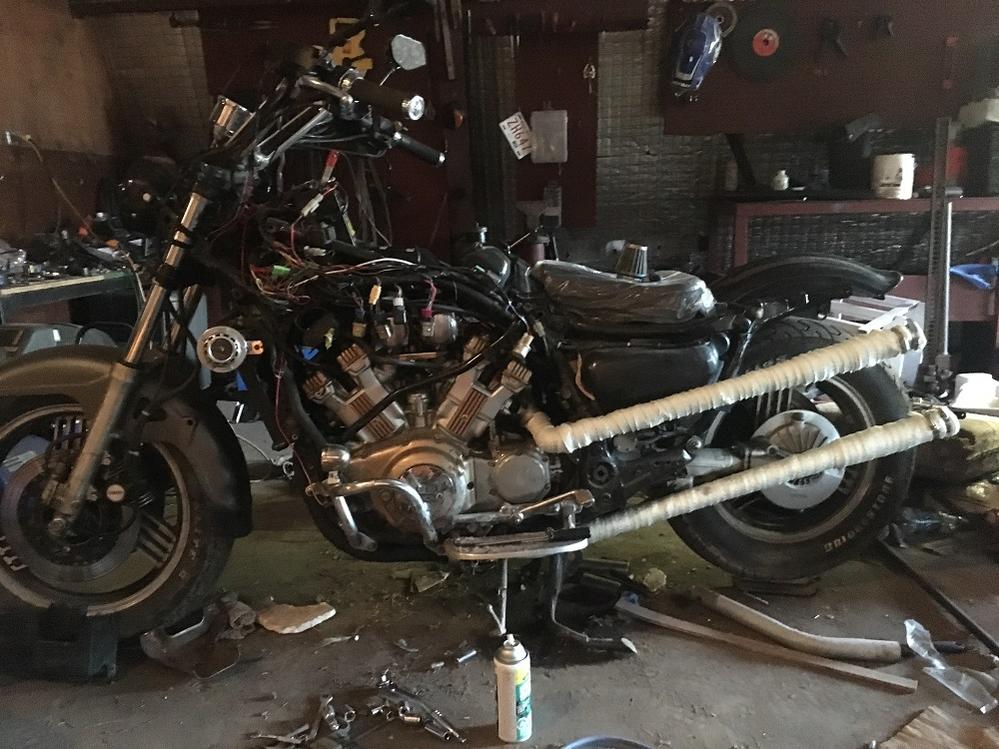
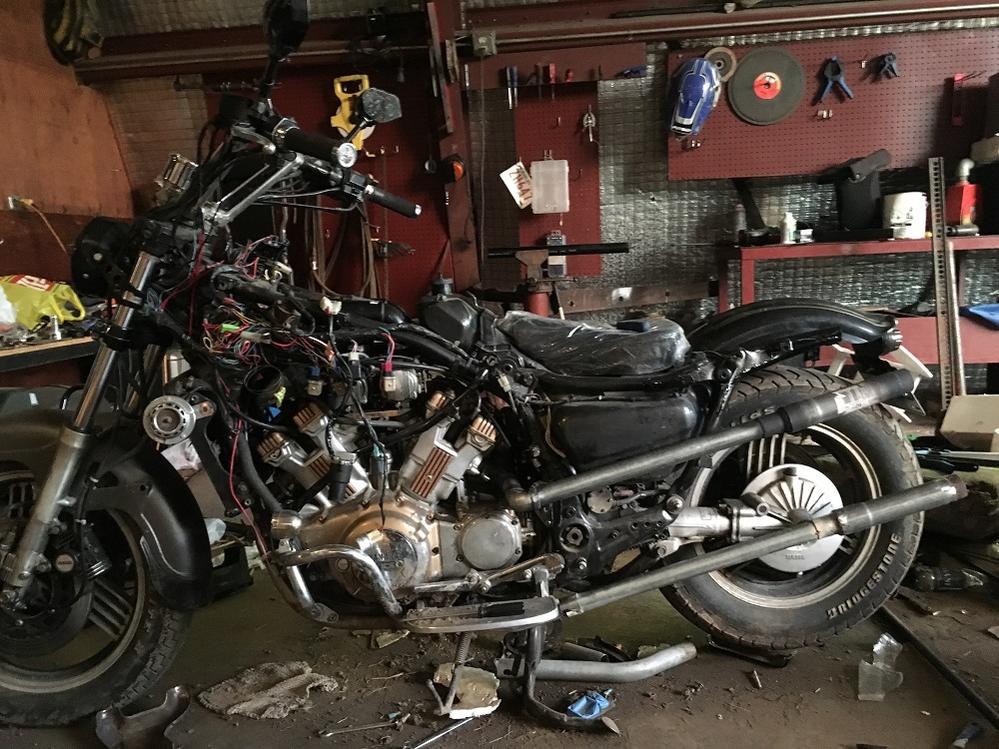
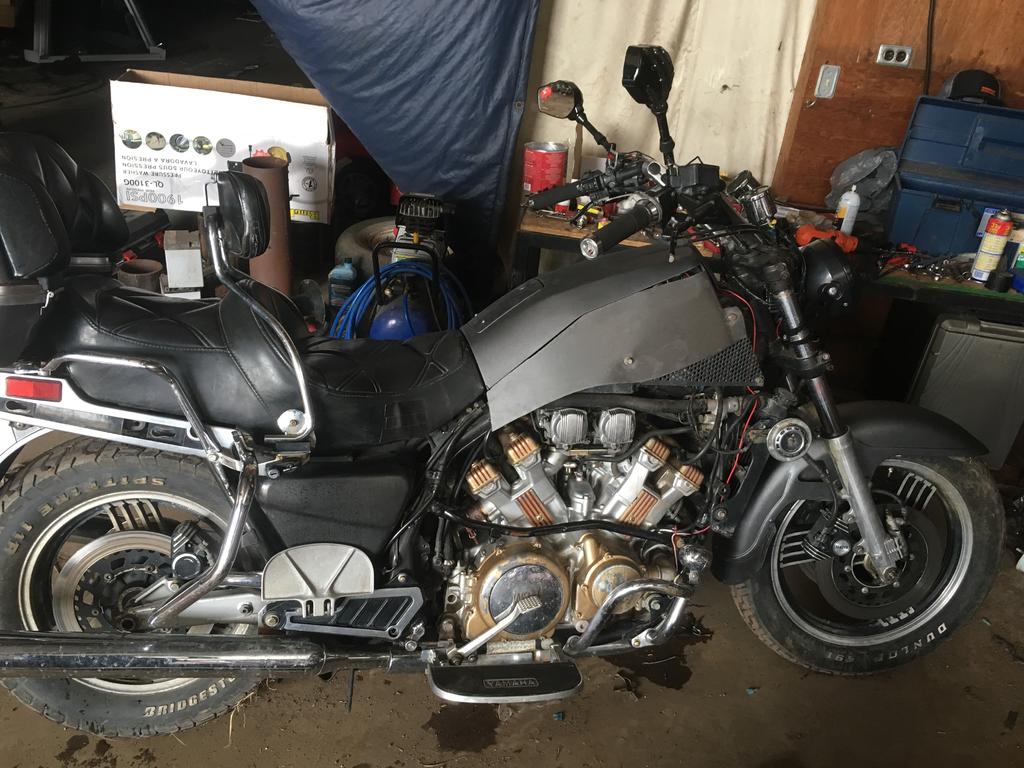
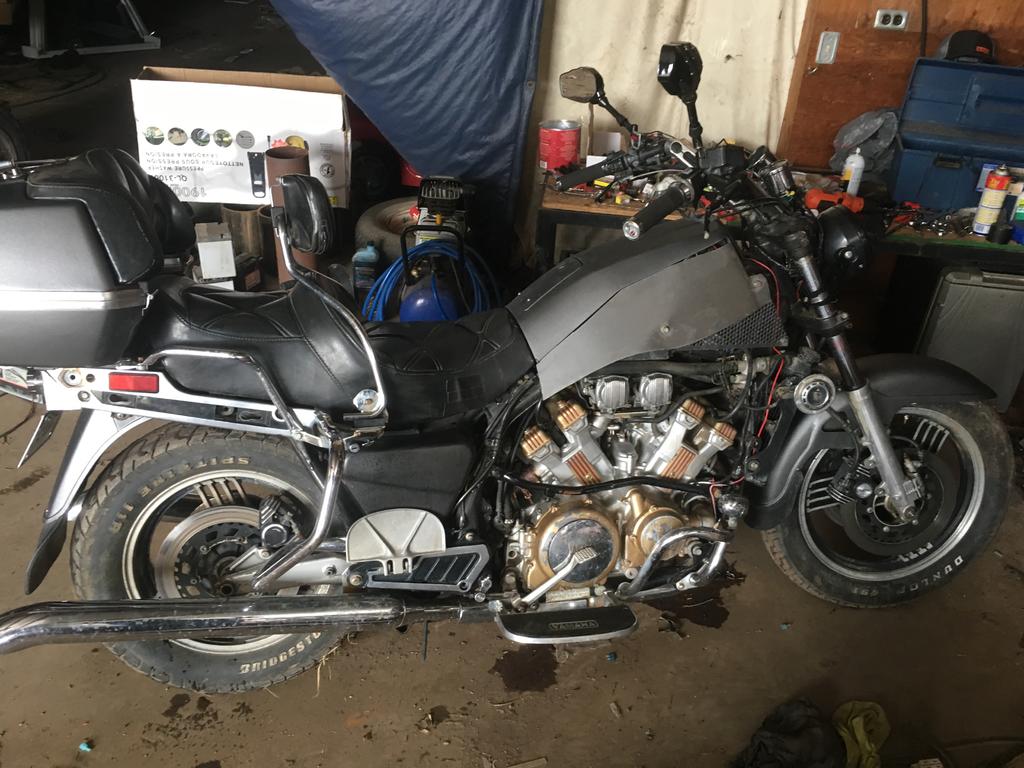
Got a bit more done on bike today no time for sizing photos but not much to see anyway, finished welding exhaust, wrapped the exhaust (I ended up using boiler/tubing wrap from work as the exhaust wrap I ordered wasn’t near enough to do the bike). The draw back is it’s white I’m hoping painting it will work? So seems new exhaust and air box work fine had the bike running to dry the wrap, backfires a bit but it did with the old exhaust ass well. Still gotta redo some wiring for the tail lights and a few other minor wiring jobs, still have to remount the battery hopefully get that this week gotta remount ignition also because it was in the way of the new air box. Think of a way to tidy up the front end a bit. A lot to do but I think it’s coming together not to bad. I also still don’t much care for how the rear fender looks so may fix that up a bit
-
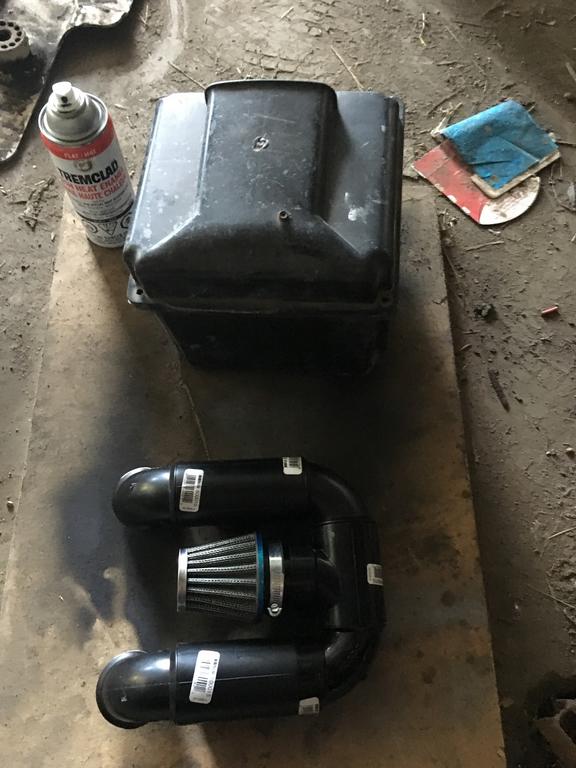
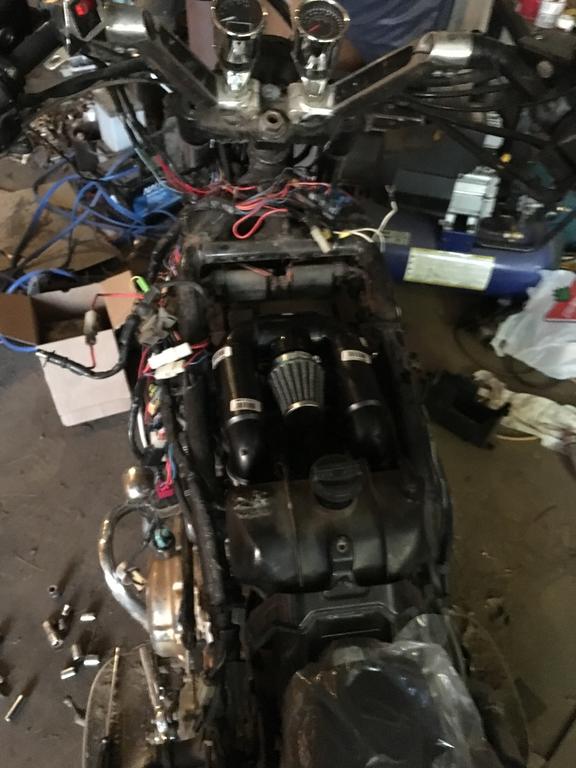
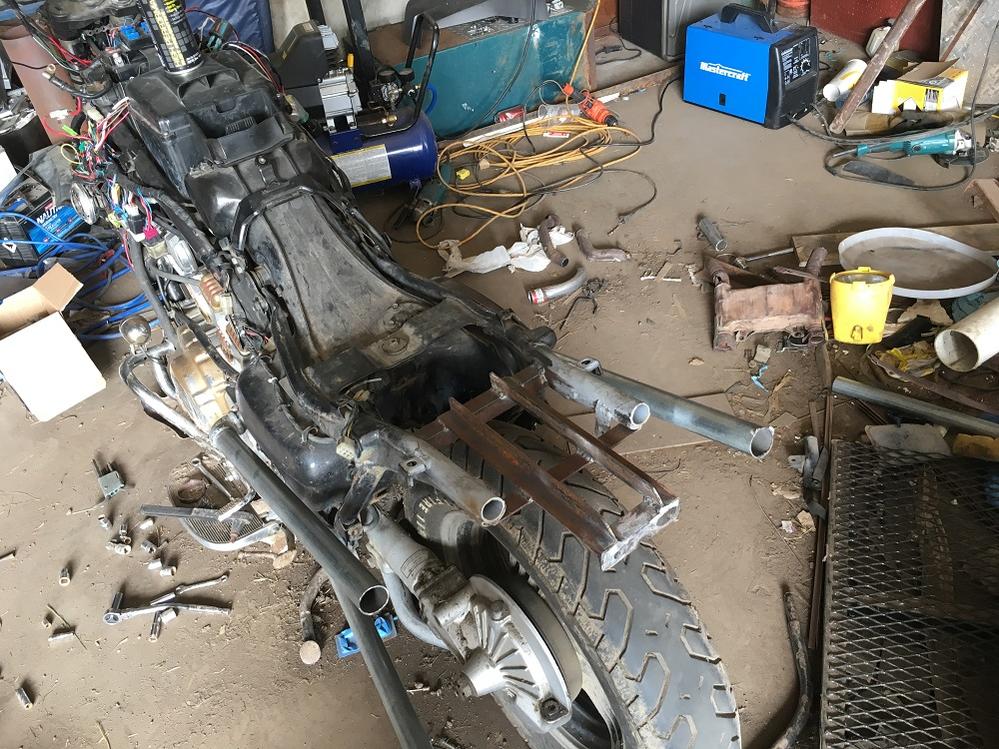
tired of welding today so I decided to build my new air box Here is a comparison of new and old here it is mounted I may mess with it some more to try and get it to sit a bit lower here is the side view I still have to mount the battery see what tomorrow brings Special Thanks to MotorcycleTim I borrowed his idea for the air box Thanks Tim http://kloppenberg.us/chopper.html
-
Lol oh come on it’s not that bad is it it’s my first build 👍
-
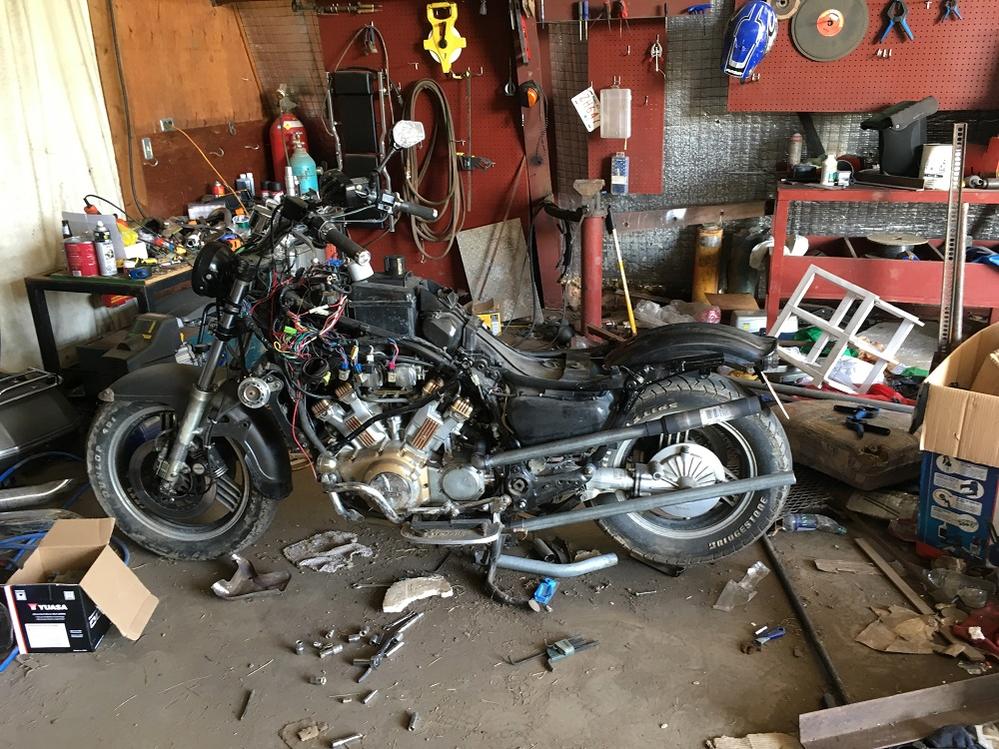
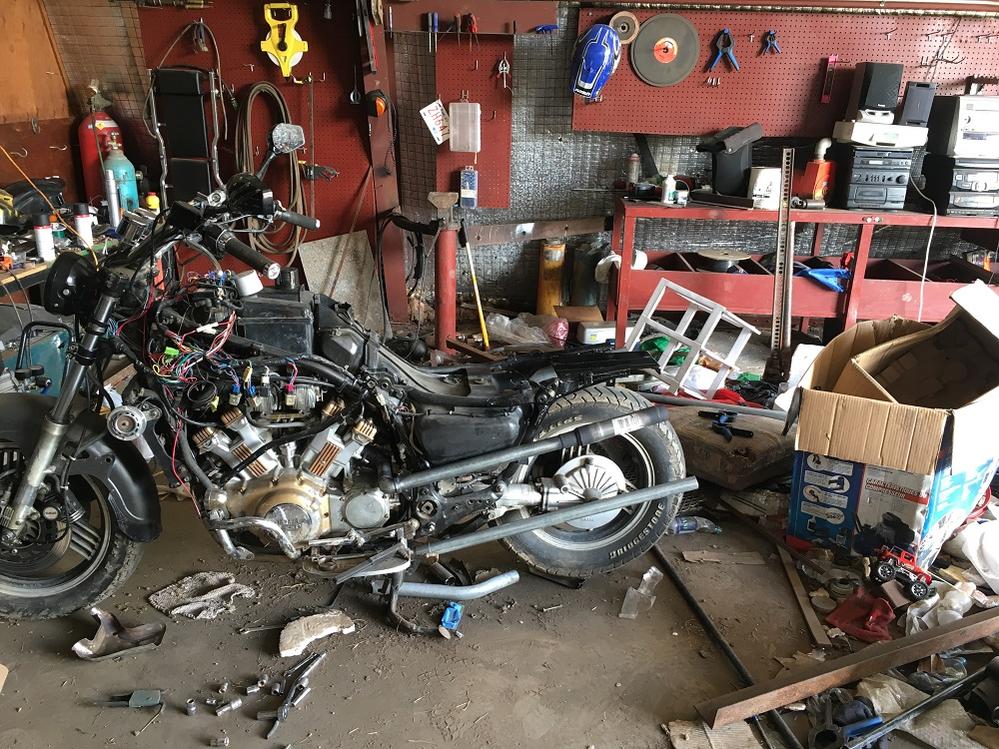
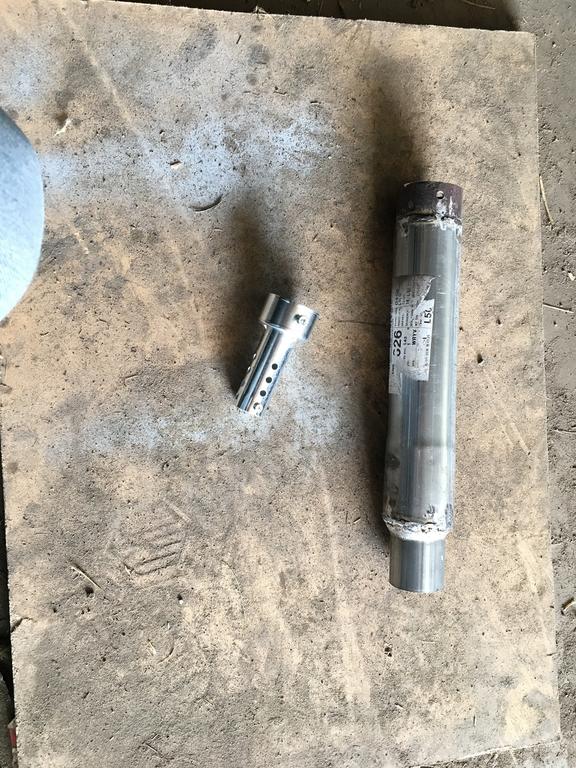
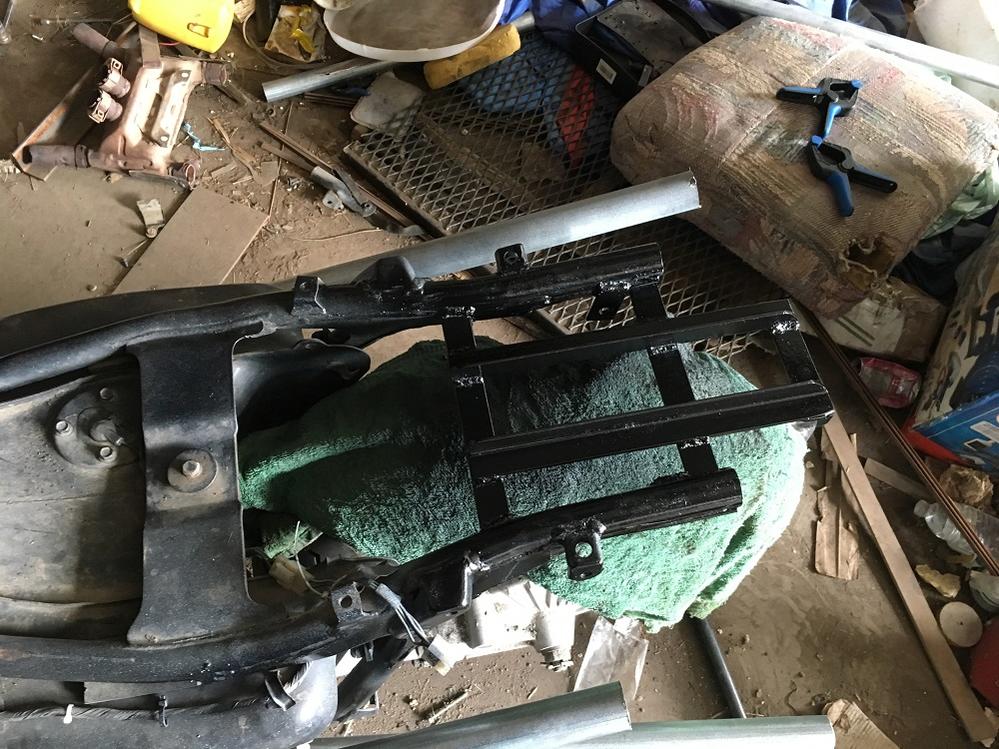
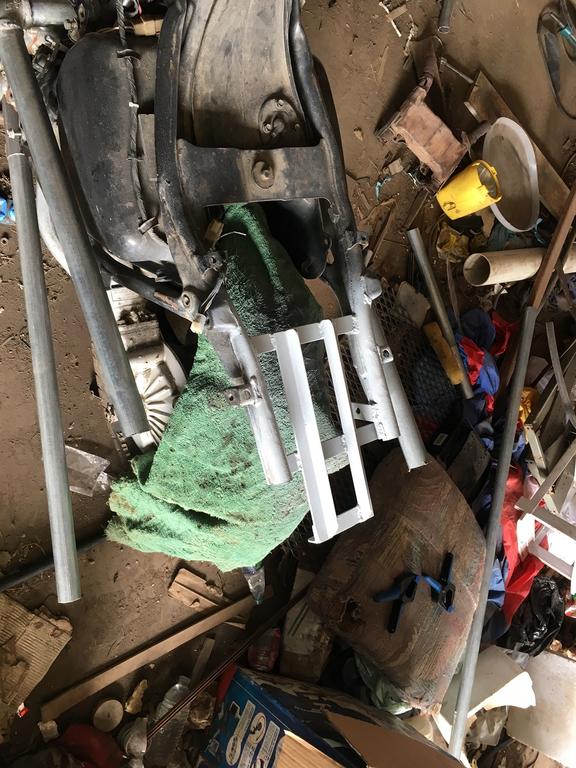
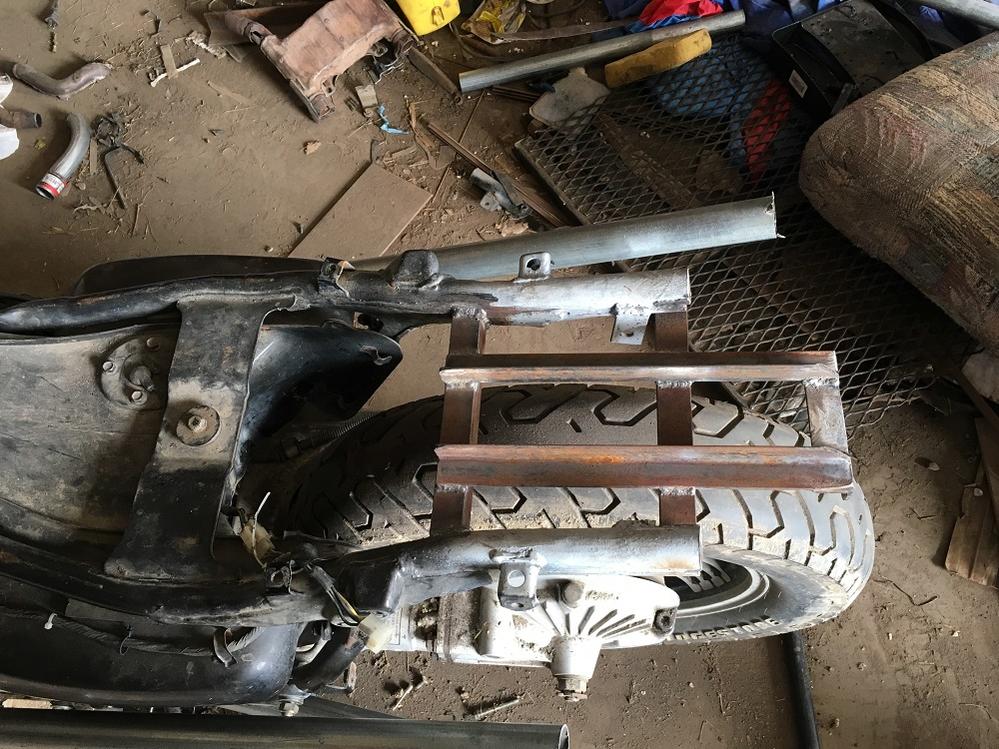
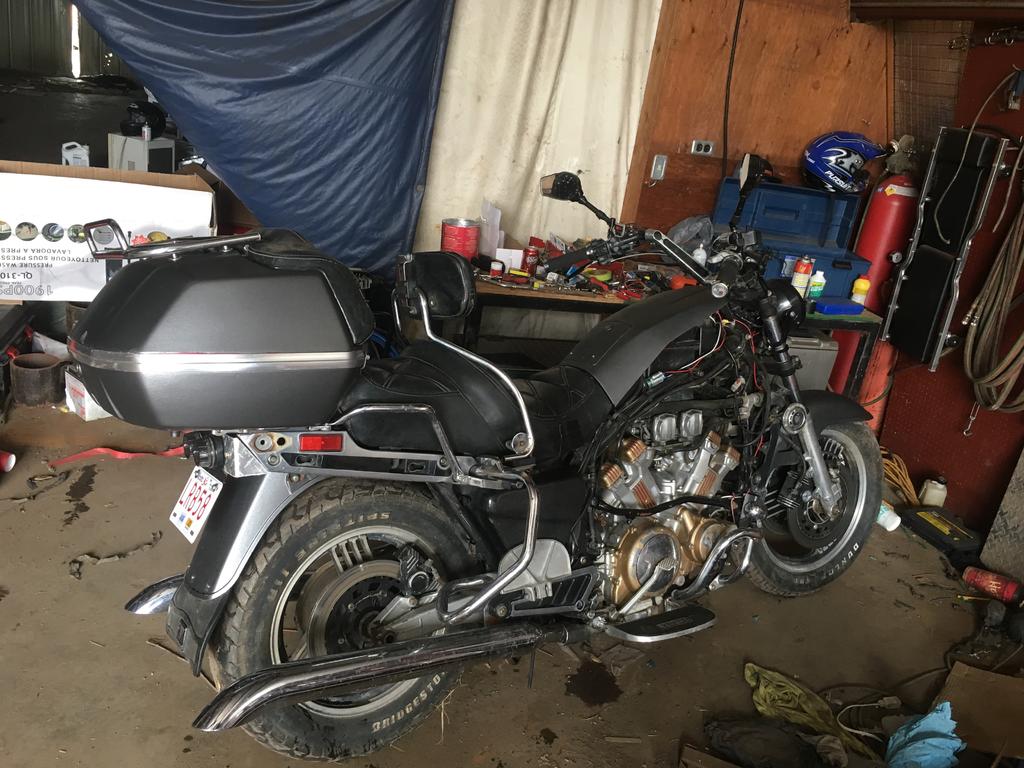
lol a bit out of order now but it worked Heres rear fender and lights mounted test fit of seat I think the rear fender is still a bit high not sure what im going to do to fix this yet frame for rear fender and lights welded up Primed my replacement clutch reservoir rear end painted Diy muffler with cheapy ebay baffle (not tested yet) exhaust welded and welds painted to try and prevent corrosion (I have some wrap I hope to wrap exhaust tomorrow if i have time after work) also you may notice my supreme red-necking lol I ended up using plumbing fittings to get the angles I wanted various other test fits etc PS as always don't mind my shop I'm a slob I know also I do plan on capping the frame where I cut it off just haven't got to it yet
-
Nice Thanks alot Puc hope this does it
-
Just an update/teaser haven’t posted in a while but I have begun the next phase exhaust has been rerouted and welded I have purchased a new seat (not a fan I’ll probably end up replacing it) modified the rear end and added an new rear fender ( or working on it), I have also replaced my clutch reservoir. And dammit pics won’t upload lol to be continued... hmm tried from pc says my files are too big took photos with phone guess I’ll try again tomorrow maybe after I get the fender/rear lights mounted and exhaust finished. Canadian tire ran out of reducers and I need a chunk of 2”, guess we’ll see what tomorrow brings. Good night guys if anyone’s still following this lol.
-
 Sorry must have missed this post but I ended up getting it done
 -
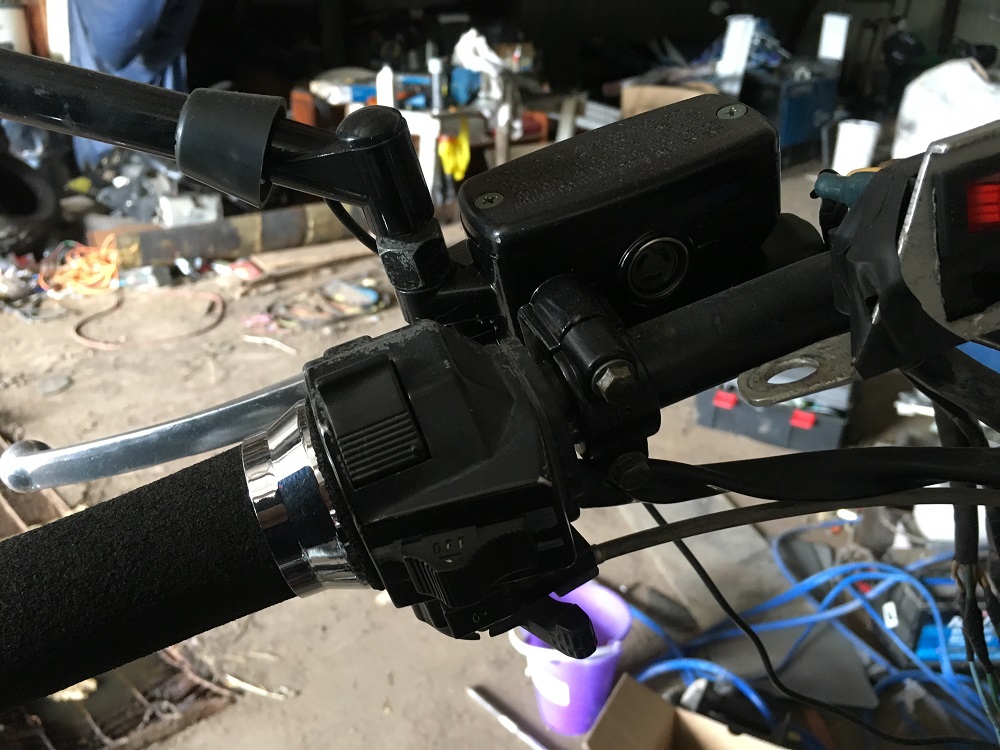
Finally got signal lights working properly . Still gotta mess with the tach, I think I’ll do the same as I ended up doing with the signal lights just scrap it all and start again I ended up reusing some scrap wire to finish bike and the “wrong” colours were messing me up, meh live and learn works now lol
-
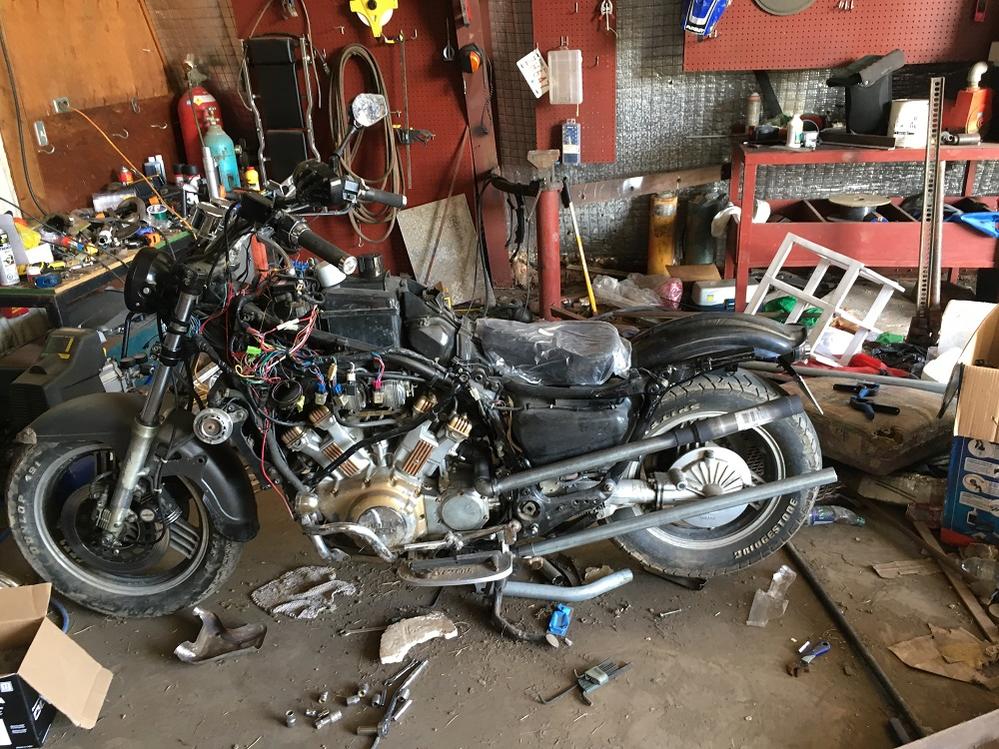
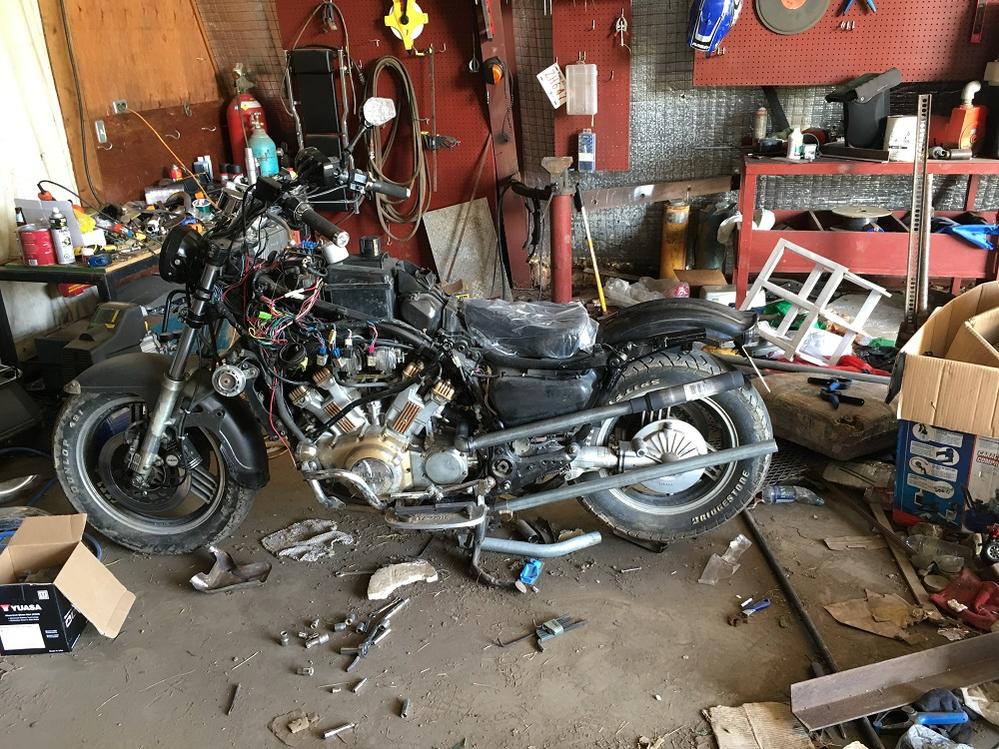
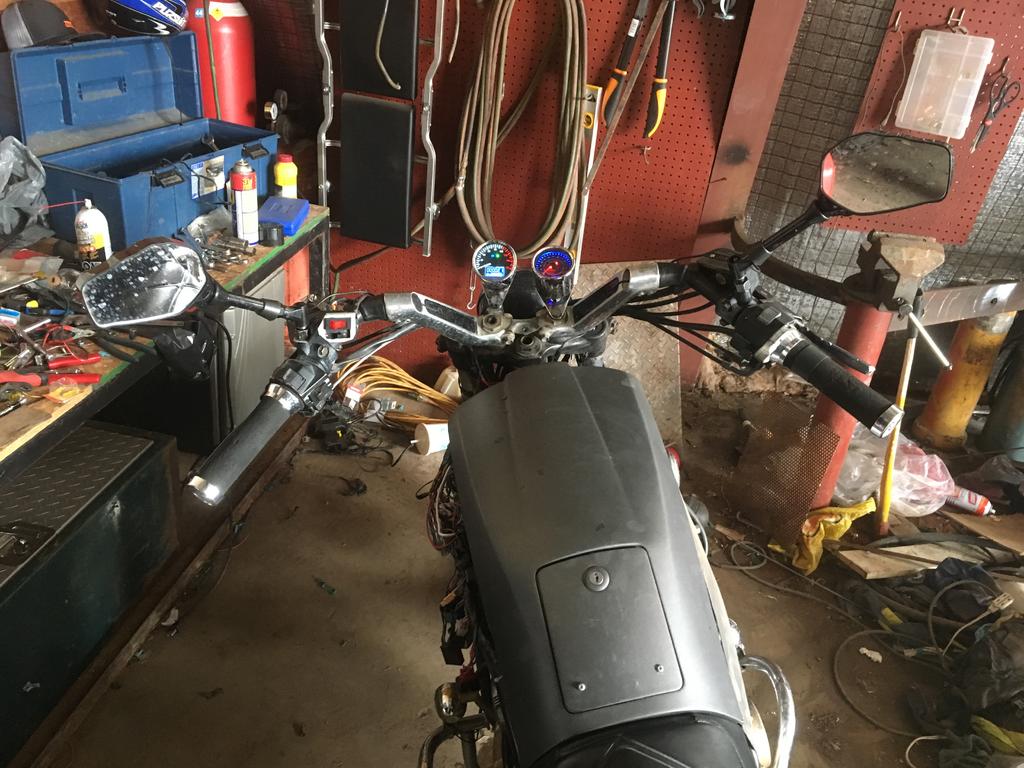
Pictures. Of current progress painted today and finished reassembly, known issues: tach still not working can’t figure it out signals only work when high beams are on ?? gotta mount and move ignition properly (eventually lol) things I still want to do: exhaust once exhaust is finished remount battery below eliminate air box Eventually: rake forks perhaps play with a leading link rewire from scratch to eliminate more @Rats nest” add rear fender redo seat Photos of current phase 1 (elimate old broken plastic move trays and general rewireing leds new headlight etc.)
-
Now for something entirely different
Harddrv1 replied to zagger's topic in Venture and Venture Royale Tech Talk ('83 - '93)
Yes I’m still fighting wireing issues redoing it would have been the way to go perhaps this winter I’ll do it again for now I just tried shorting them which turned out horribly but will get me going this summer with any luck, I am learning allot with this project I’m defiantly no master builder lol I’ve just been trying to get a bike for years and the price was right on this 1 and restoring it just wasn’t an option so doing the best I can to learn I seen in your pic where your leading link was only tacked did you build this out of pipe? Or is that solid stock? Is the leading link attached to the original fork tubes or did you have those made as well. -
Another setback today I had ordered a led flasher relay the other day which didn’t work at all, so today a received some resistors and got all my signals working buitifully or so I thought. After reinstalling the headlight it seems the hazards work when ever but the signals only work when the high beams are on??? At least I got them flashing I guess lol, guess I’ll have to stripe er all down again and see where I goofed this time. I also painted the front fender and cleaned the rear fender in prep for paint. I may also paint the trunk and reinstall it until such time as I replace the rear fender. Pictures to come I didn’t snap any today but starting to look like a bike again. Still a bit of a mess with wires but I’m ok with that for now. Also removed my ignition which is simply just shoved up under the fake gas tank for now so leaving 1 panel off to reach the key, I do plan on moving the coils to the sides (like zagger) and relocating the battery to the bottom of the bike (also like zagger) however to do that I must first redo the exhaust which I’m not setup yet to do. at that time I’ll move the ignition and other hard to place relays electrical etc in the cavity where the coils were.
-
Now for something entirely different
Harddrv1 replied to zagger's topic in Venture and Venture Royale Tech Talk ('83 - '93)
Yup I’m still around been busy at work I try to update here https://www.venturerider.org/forum/showthread.php?140688-Harddrv1-bobber-build&highlight=Harddrv1 when I can as you can see it’s a work in progress taking it 1 step as a time as I can -
So not a lot done today I did rip out the Fried cancelling unit as well as the reserve lighting unit, I may reinstall it at a later date but for now it’s otta here there was just simply far to many wires in the front end. I am already scoping out other places to shove wires and relays. Long day at work but who knows may get back out there today. Hopefully I’ll get her back together soon at least phase 1.
-
Ffs really that figures 😭