ToyOdie
-
Posts
384 -
Joined
-
Last visited
Content Type
Profiles
Forums
Gallery
Events
Store
Everything posted by ToyOdie
-
A friend of mine just picked up a 1996 KZ 1000p (Police) that has been sitting for several years. He wants me to do some carb work. It will start and idle but when you try to advance the throttle it dies. I suspect that the jets are clogged. I want to remove the carbs and give them a proper cleaning and rebuild. I've removed and rebuilt the carbs on both of my Royal Stars and a Road Star all with no problems. Has anyone worked on one of these that can give me insight to issues I might run into? I posted on the kawasakimotorcycle.org site with no response so I thought I would come back to the experts. I'm also looking for an "Online" .pdf service manual I can download. I have searched and can't seem to find one. Anyone have a link? Thanks for your help.
-

Batwing fairing
ToyOdie replied to gsmski3484's topic in Royal Star and Royal Star Tour Deluxe Tech Talk
I don't know anything about that fairing. However I did buy a fairing from ebay that was for a Road Star. After reading DarrinGT's threads about putting a fairing on his bike I knew I could make it work. The one I got was "Yamaha Roadstar Motorcycle Fairing 2 Speaker Batwing Gelcoat ". Do a search on ebay for "Road Star Fairing". Any of them that come up with "Gelcoat" in the description are from the same place. Very well constructed and easy to work with. You also get 2 windshields. Free and fast shipping. There are at least 3 versions to choose from. Two of them have 2 speakers and one has 4 speakers. You can see mine in my profile picture. Hope this helps. -
Scott is exactly right. There is an o-ring around the float seat. It is more than likely flat or broken. I did the same rescue on a 97 with the same issue. If I remember correctly the seat assy was @$23.00. The dealer in my area had the o-ring (no part number) so I didn't have to replace the entire seat assy. Check the rubber on the needle. I had one that was torn also. While you are in the carbs, check the float levels. There is a thread on how to do it. When you get them to stop leaking............Sea Foam.......Sea Foam.......Sea Foam.......Sea Foam!!!
-
Faring Installation
ToyOdie replied to ToyOdie's topic in Royal Star and Royal Star Tour Deluxe Tech Talk
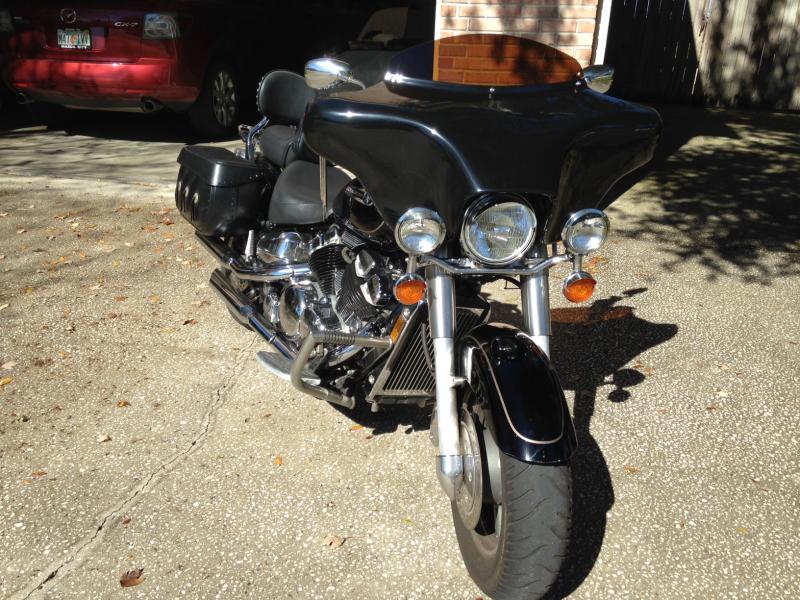
Here are some pictures of the faring on the bike.
-
Faring Installation
ToyOdie replied to ToyOdie's topic in Royal Star and Royal Star Tour Deluxe Tech Talk
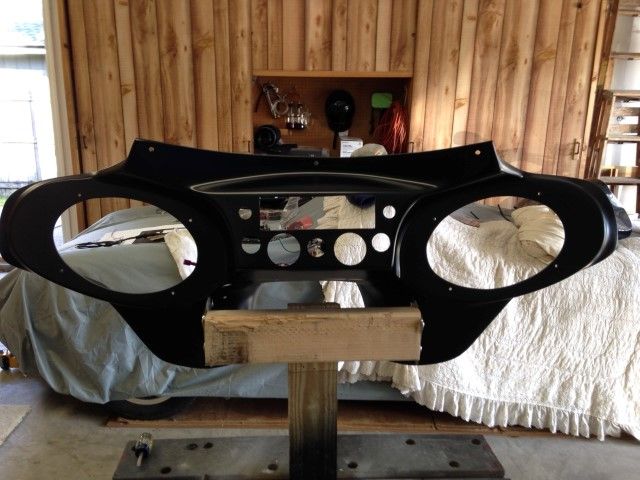
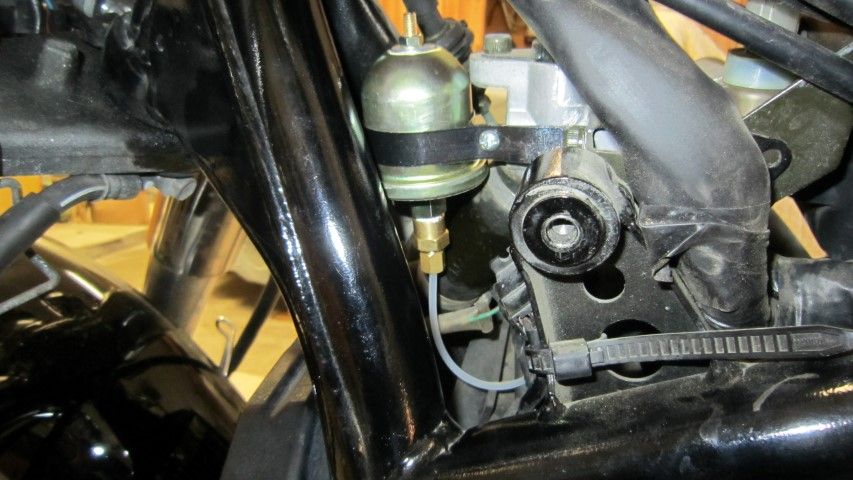
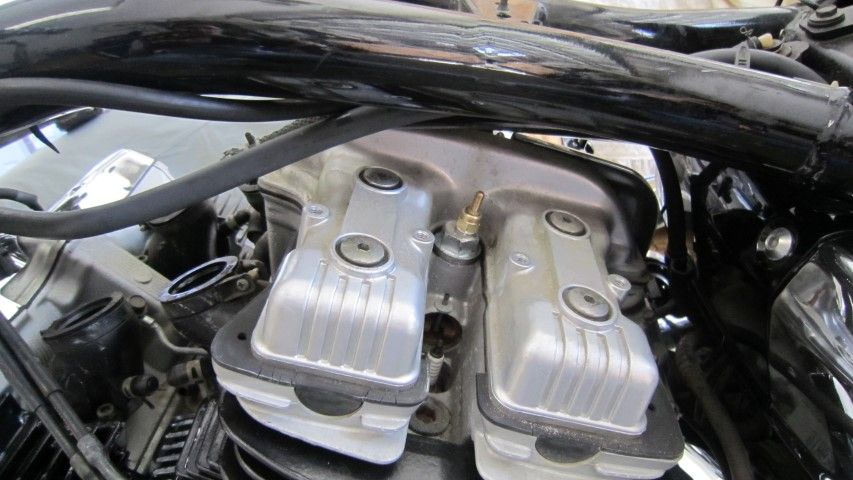
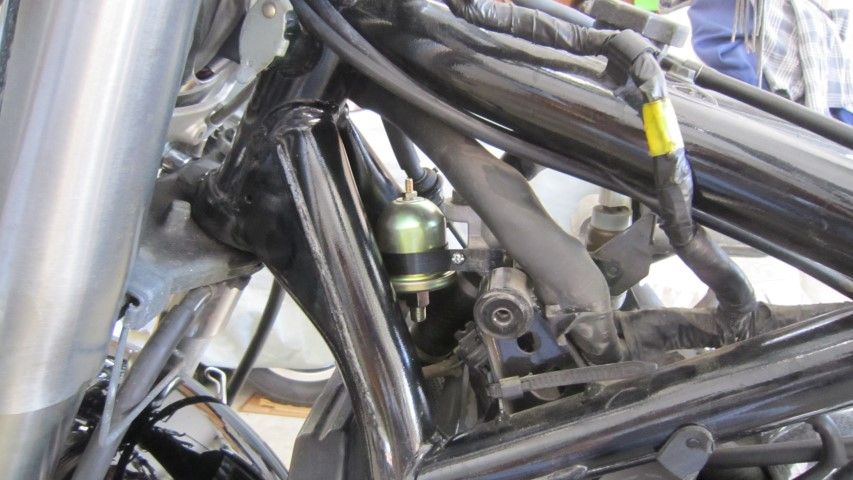
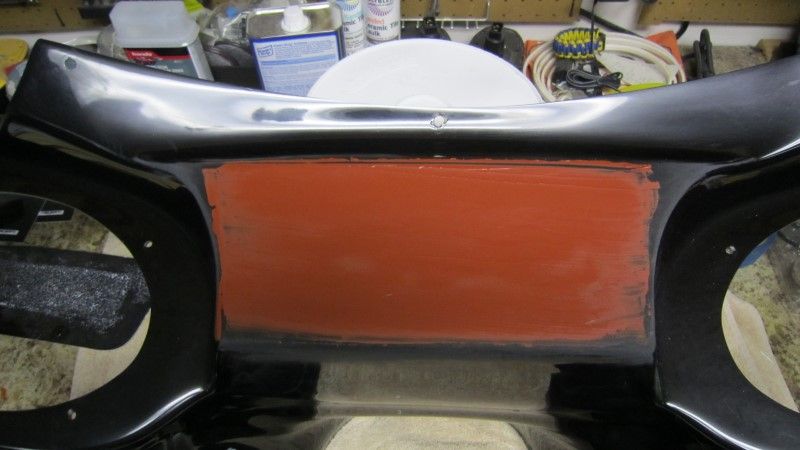
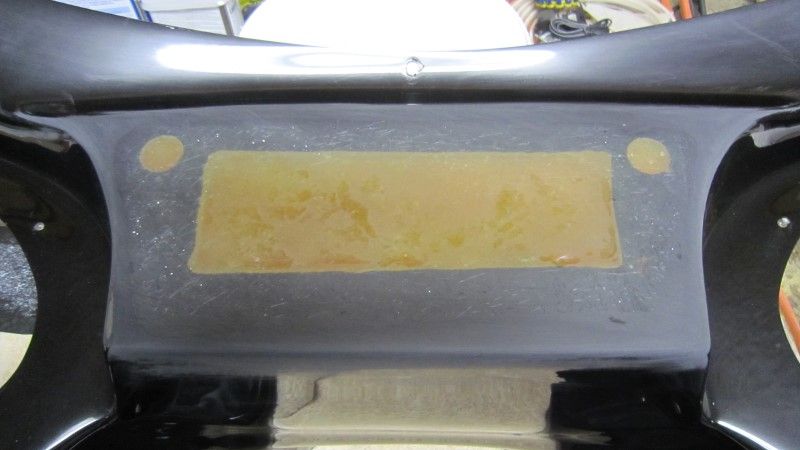
I finished sanding the inner shell and painted it with primer. About then the mail came and I got the volt meter and power plugs. I drilled the holes and painted it satin black. Final assembly of the shell is now complete. I then focused on the sending units. I had bought the plugs form O’Reiley’s Freebird recommended in his gauge post. One note to update Don’s instructions. The plug for the water temp sender needs to be ground to fit in the recess the original plug came from. I also used a copper crush gasket . I found more space under the front frame covers to mount the oil sender. I fabricated the bracket from a pallet banding strap. It’s attached to the mount bolt that holds the bracket for the front airbox mount. Only 5 wires are necessary to power everything in the fairing. (12v constant, 12v ignition, ground, water temp and oil pressure) I found a waterproof 6 pin automotive plug at the junkyard that allows me to remove the fairing like DarrenGT. I also installed 2 switches. The one on the right will kill power to the fairing. (just in case) The one on the right will turn off the voltmeter. All my lights on the dash are blue except the voltmeter. I replaced the gauge lights with blue LED’s.
-
Faring Installation
ToyOdie replied to ToyOdie's topic in Royal Star and Royal Star Tour Deluxe Tech Talk
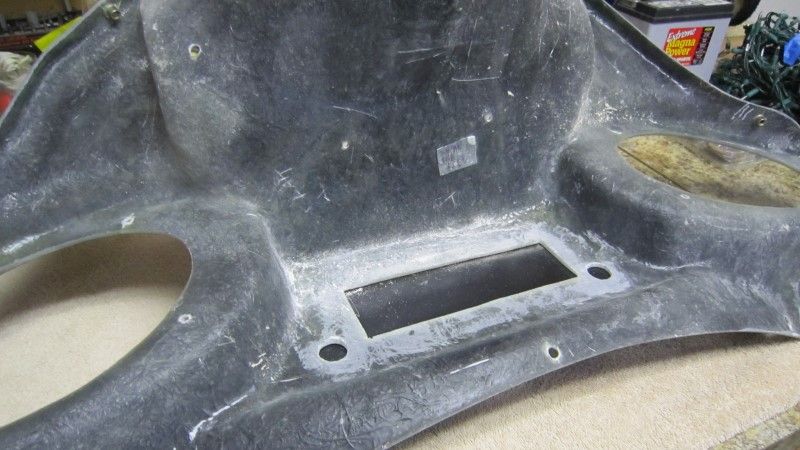
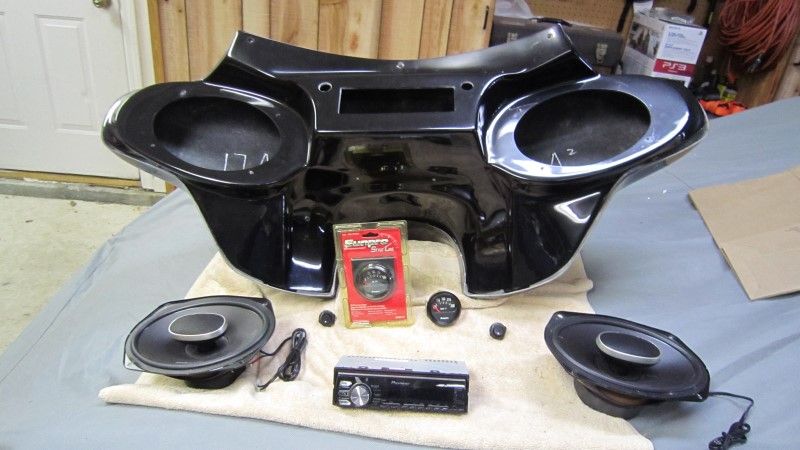
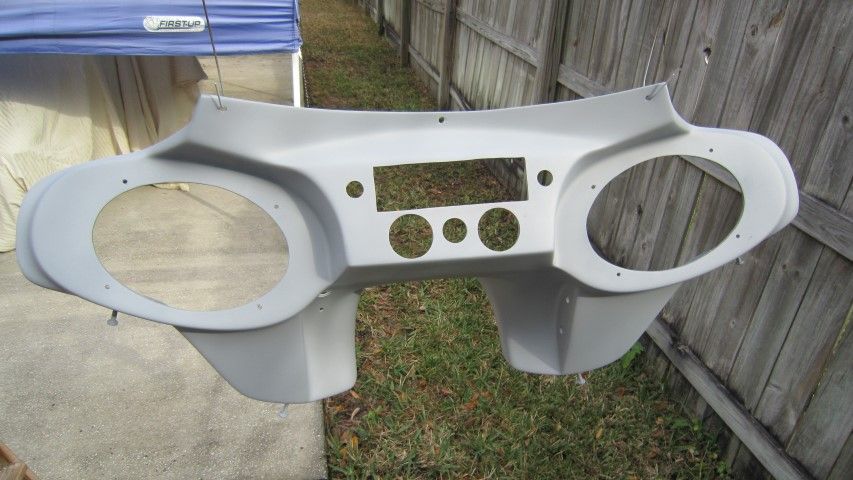
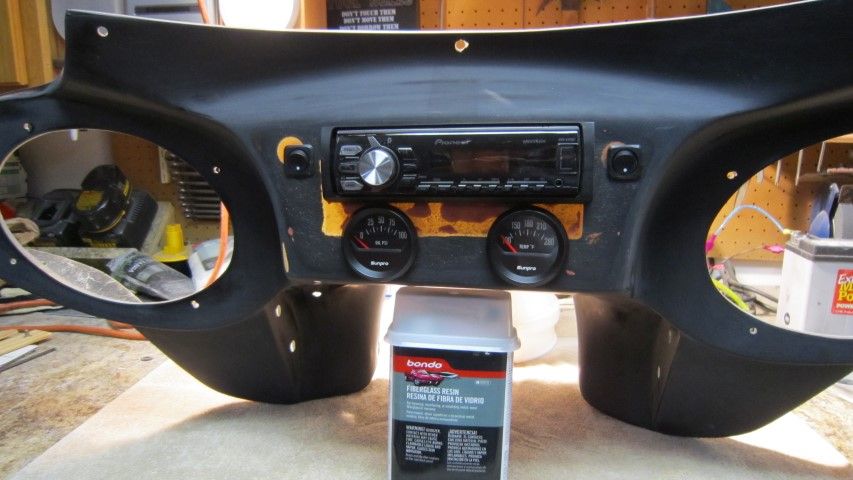
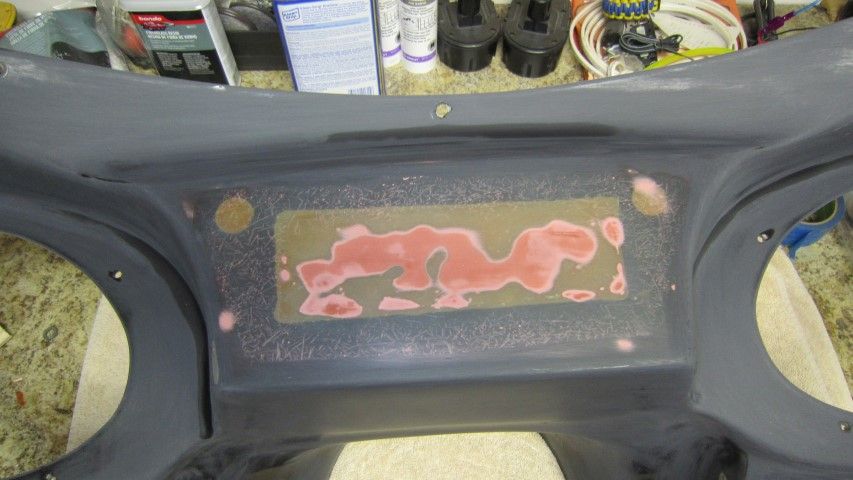
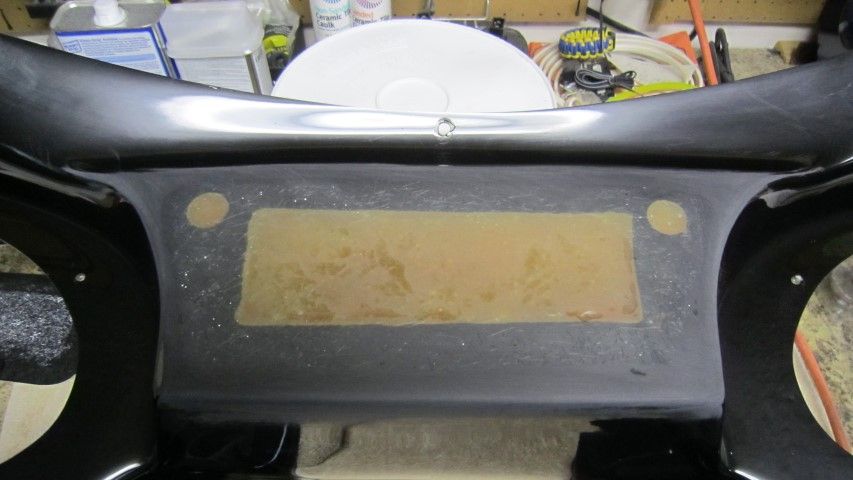
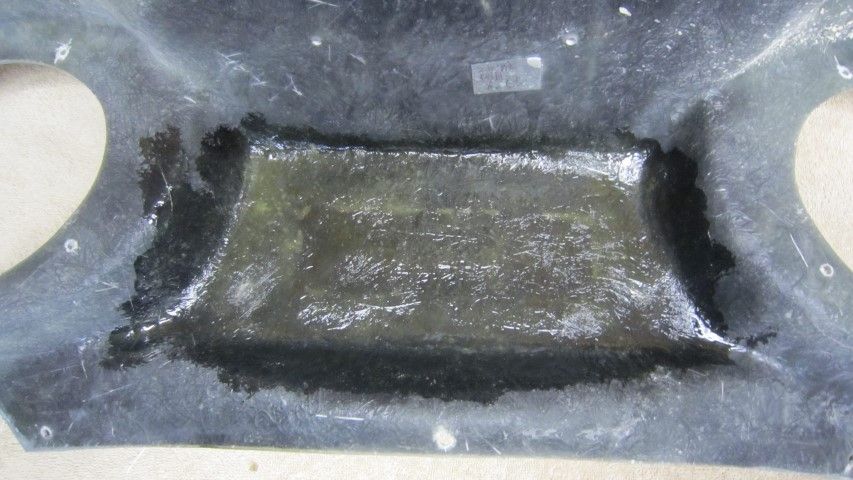
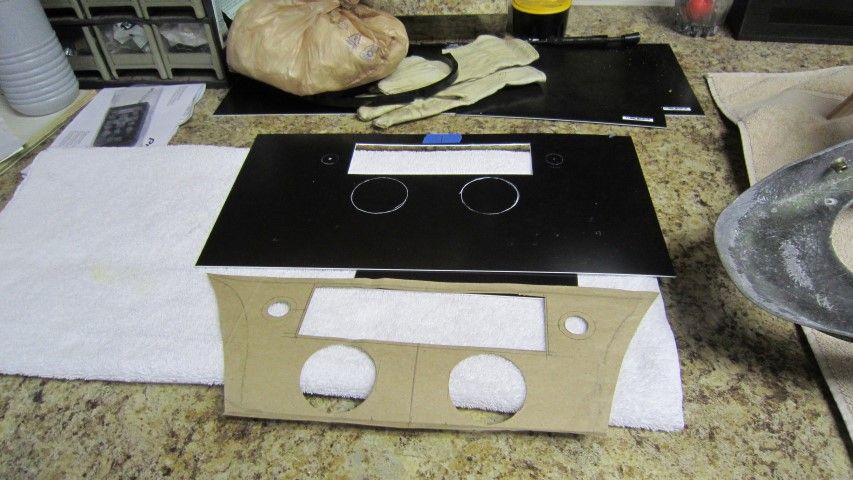
This started the second configuration. I ordered a Pioneer head unit with Bluetooth and aux input. SharkAudio was very good about the return. I just had to pay shipping. I hadn’t modified the fairing, so the cutout for the radio only needed minor sanding to fit right in. I didn’t get any pictures with just the new radio so I’ll move on to the final setup. I ordered an electric oil pressure and water temp gauges from amazon. I also ordered a digital voltmeter with 12v power port and dual USB charger. I fiber glassed the original holes in the fairing to allow space to install the gauges. The next step was to create a template to locate everything. I started with brown paper and then cut it out of plastic. I hadn’t received the voltmeter, power port or USB so those holes will be drilled later.
-

From the album: Fairing Install
-
From the album: Fairing Install
-
From the album: Fairing Install
-
From the album: Fairing Install
-
From the album: Fairing Install
-
-
-
From the album: Fairing Install
-
From the album: Fairing Install
-

From the album: Fairing Install
-
From the album: Fairing Install
-
From the album: Fairing Install
-

From the album: Fairing Install
-

From the album: Fairing Install
-
From the album: Fairing Install
-
From the album: Fairing Install
-
From the album: Fairing Install
-
From the album: Fairing Install
-
From the album: Fairing Install
-

From the album: Fairing Install
.jpg.a638ca10dd56b20a1c6b7f4b13abfae4.jpg)
.jpg.eac456e42caf59e7a3e027698a081da0.jpg)
.jpg.ba287257dba8d3645bd9db943e73f76e.jpg)
.jpg.0d891ca9a63b49d57059b8d88d78d9f3.jpg)
.jpg.7626733738886c5b9201cec03d54ab8c.jpg)
.jpg.28336d30745443dfd9564cf1591d31e3.jpg)
.jpg.69e94227e6c62b8cddb5f945ce0a9e4d.jpg)
.jpg.348a02652e9339df0a0f05ebc432a178.jpg)
.jpg.b54b21e7500f1b41615f6ad40df4e7ab.jpg)
.JPG.b9b15e39f7e12ff977d972303fdb78e7.JPG)
.jpg.46b601405b939b76e6aed455e5c85f45.jpg)
.JPG.3644e838b3a32b981a4595bb2ad5b12b.JPG)
.jpg.2fe2e630bb1aff710bf48c0443a5258d.jpg)
.jpg.c3bc3231e8466da3d041af13edd28e91.jpg)
.jpg.9f1af30a5ab3ba7318e182a3030ebbec.jpg)
.jpg.069d48fcc3c4592e186791fd451ae9e7.jpg)
.jpg.b71ddcade97867feba95321ffe74b722.jpg)
.jpg.611318d0beb31794cc9f8e0df7d38cc9.jpg)