Johnnycyclone
-
Posts
137 -
Joined
-
Last visited
-
Days Won
12
-
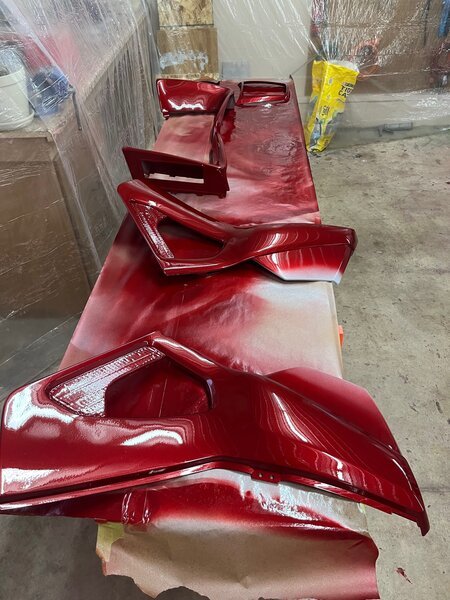
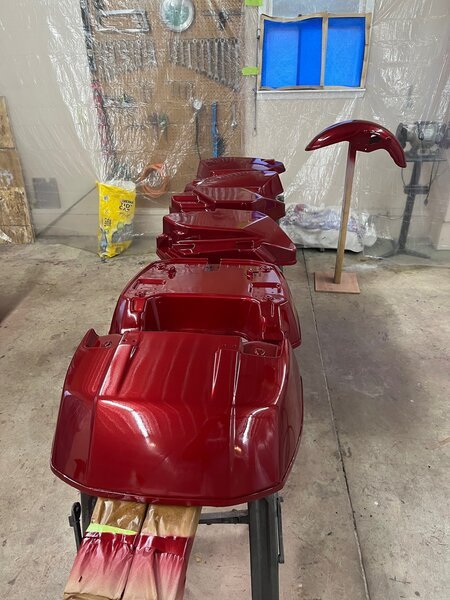
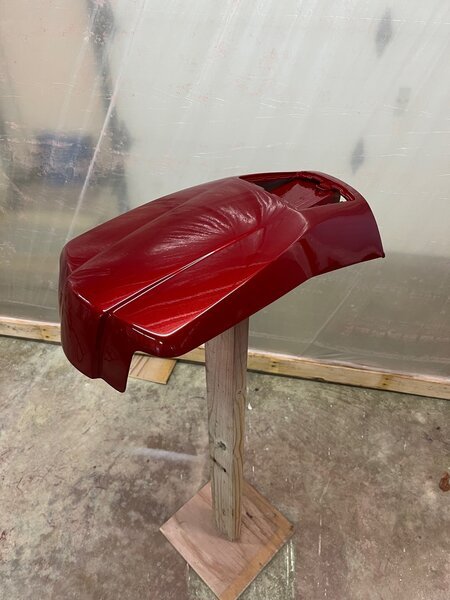
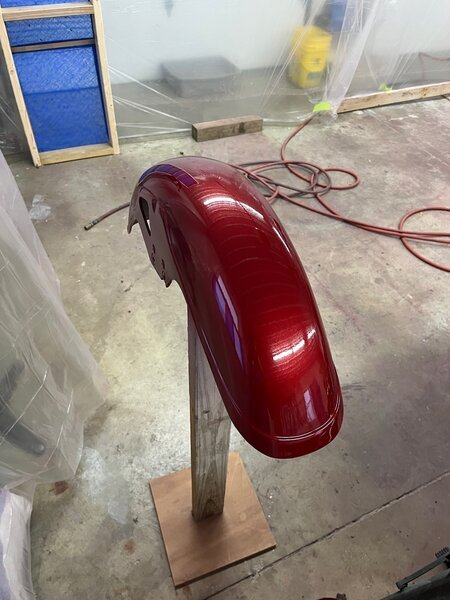
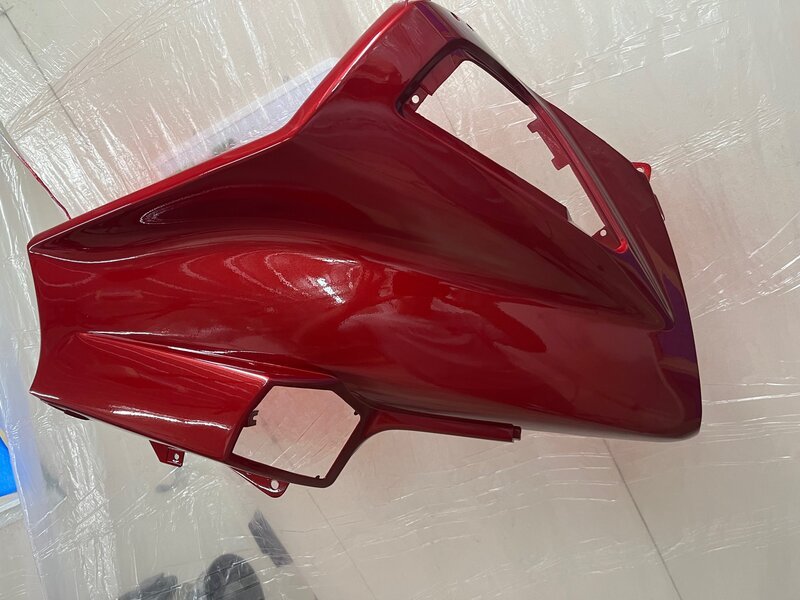
The final coat is a Chrysler color, Inferno Red. Here's a few pics after basecoat and the clear coat. I still need to do the stripping, so they aren't totally done, but I thought I would share what the overall color is going to be. I will continue to post over the fall and winter, and hopefully finish this project up for spring. Enjoy, and stay tuned.

-
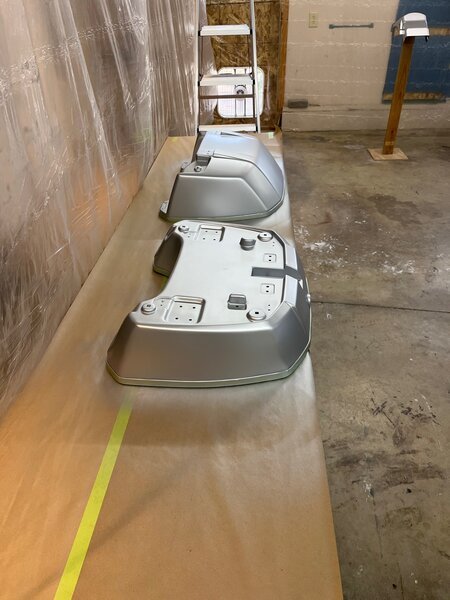
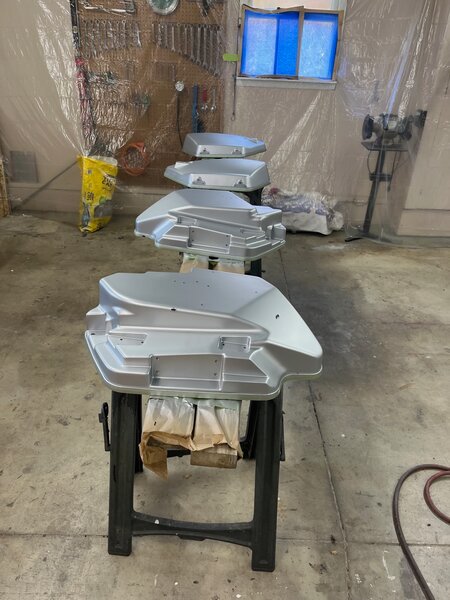
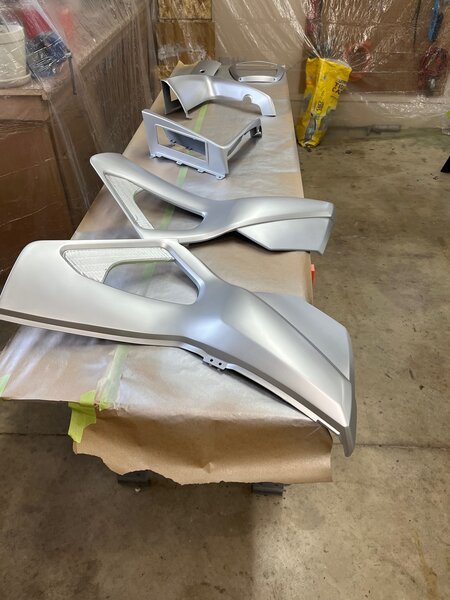
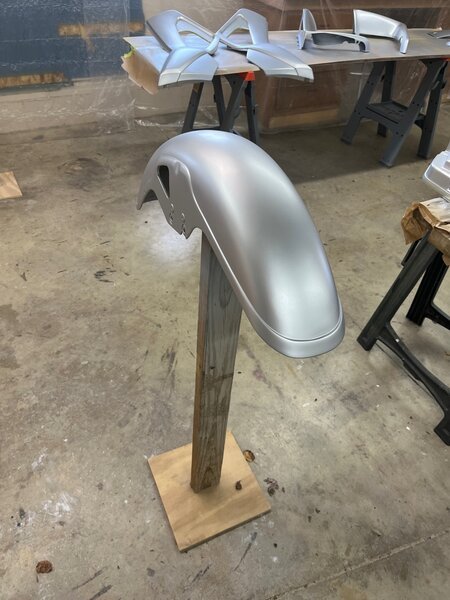
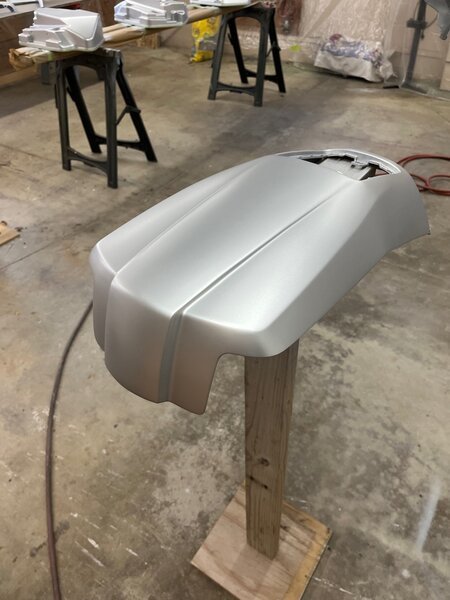
Next I sprayed a silver basecoat, Galaxy Silver, which I think is a GM color. I did a test over the summer where I sprayed a white sealer, a gray primer and a silver color. I then sprayed the final color on the test part and the final color looked much better with the silver base. So that is why I am spraying a silver base coat. Here are some more random pics after the silver is done.
-
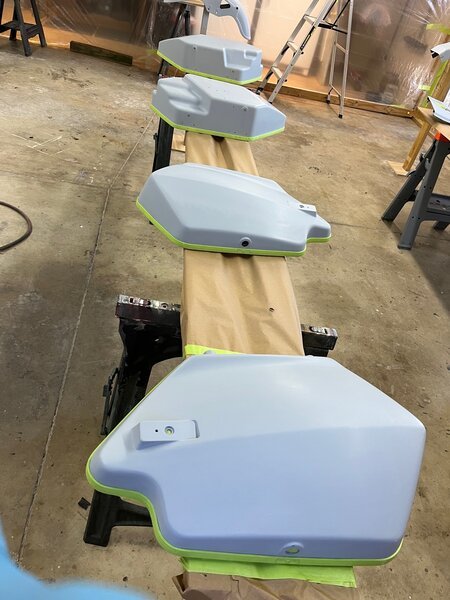
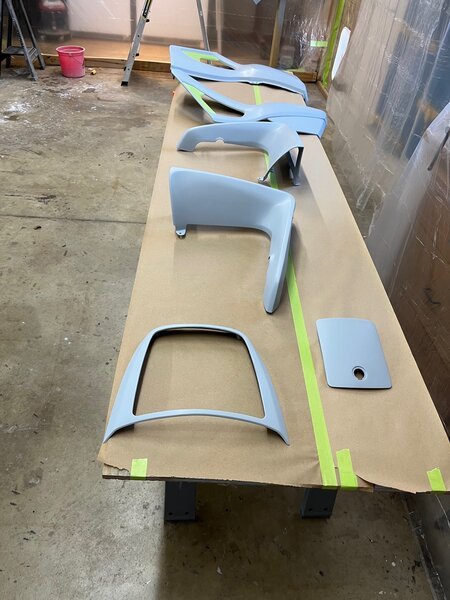
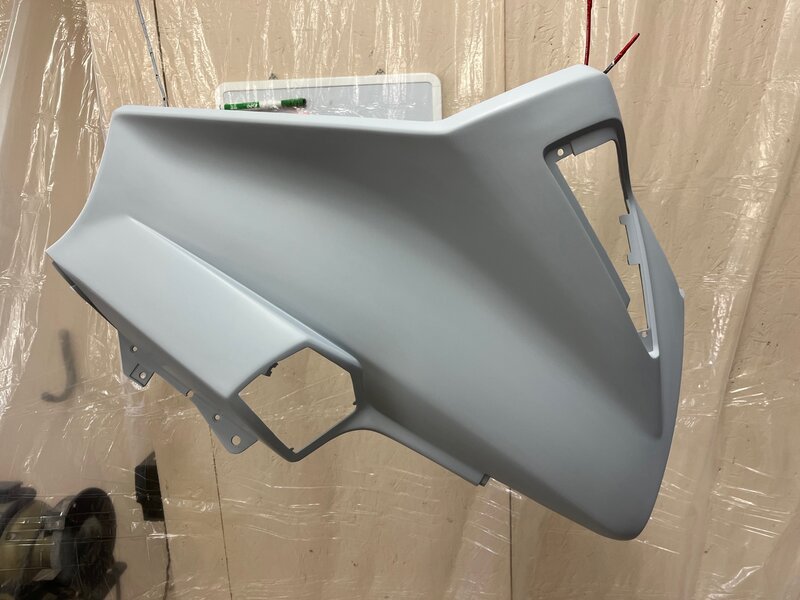
Well tomorrow will be 6 years since my first post, and the work goes on. Hopefully this will be last time I utter these words, time to get back on this project. Actually I have been working on it, buying a few more parts and working on the plastics. A lot of time has gone in to getting the plastic parts ready for paint. So here are some random pics from this past weekends work. First set of pics is of the plastics ready for paint. I sprayed two coats of Slick Sand, then a guide coat, and then block sanded all the parts. I then sprayed three coats of 2K primer and wet sanded all the parts with 600 grit sand paper. I'm not sure it this is the best method, being a novice painter, but it sure made a nice and smooth surface for the paint.
-
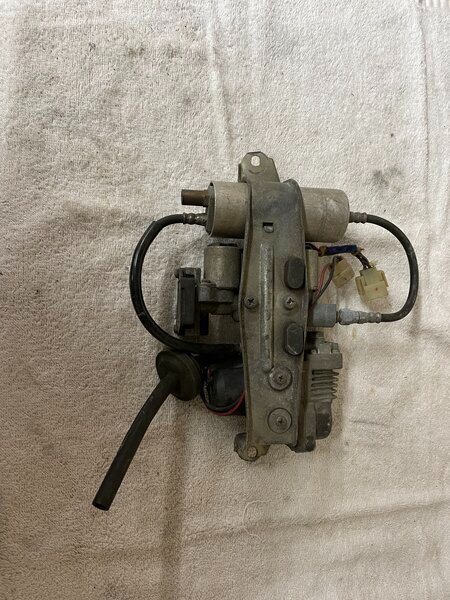
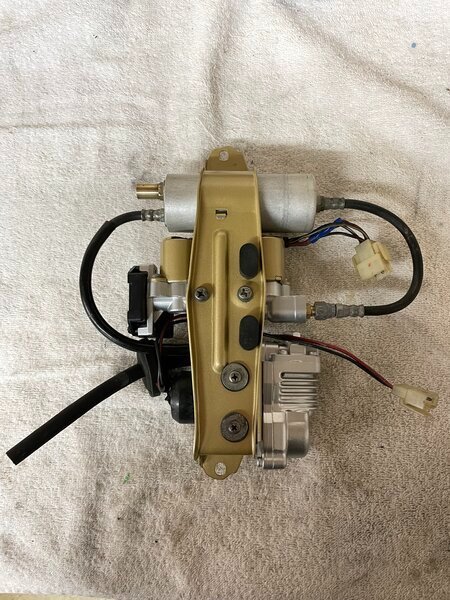
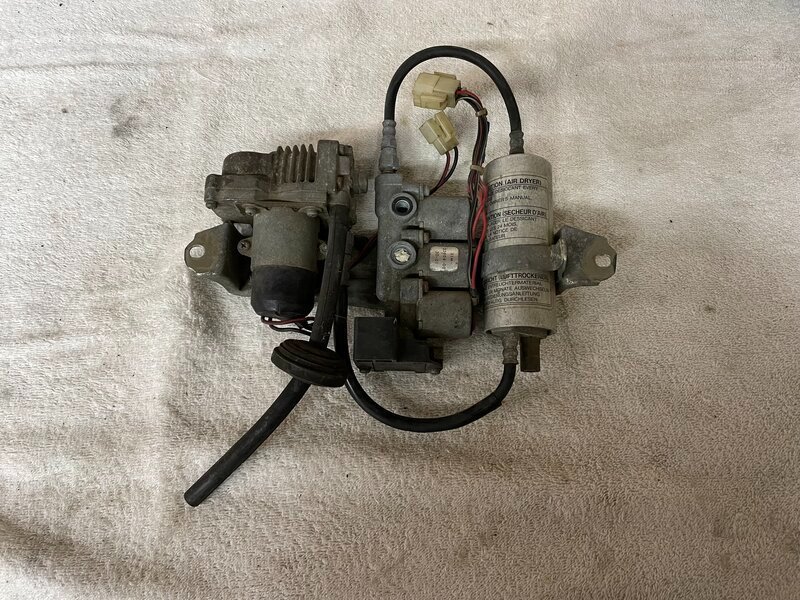
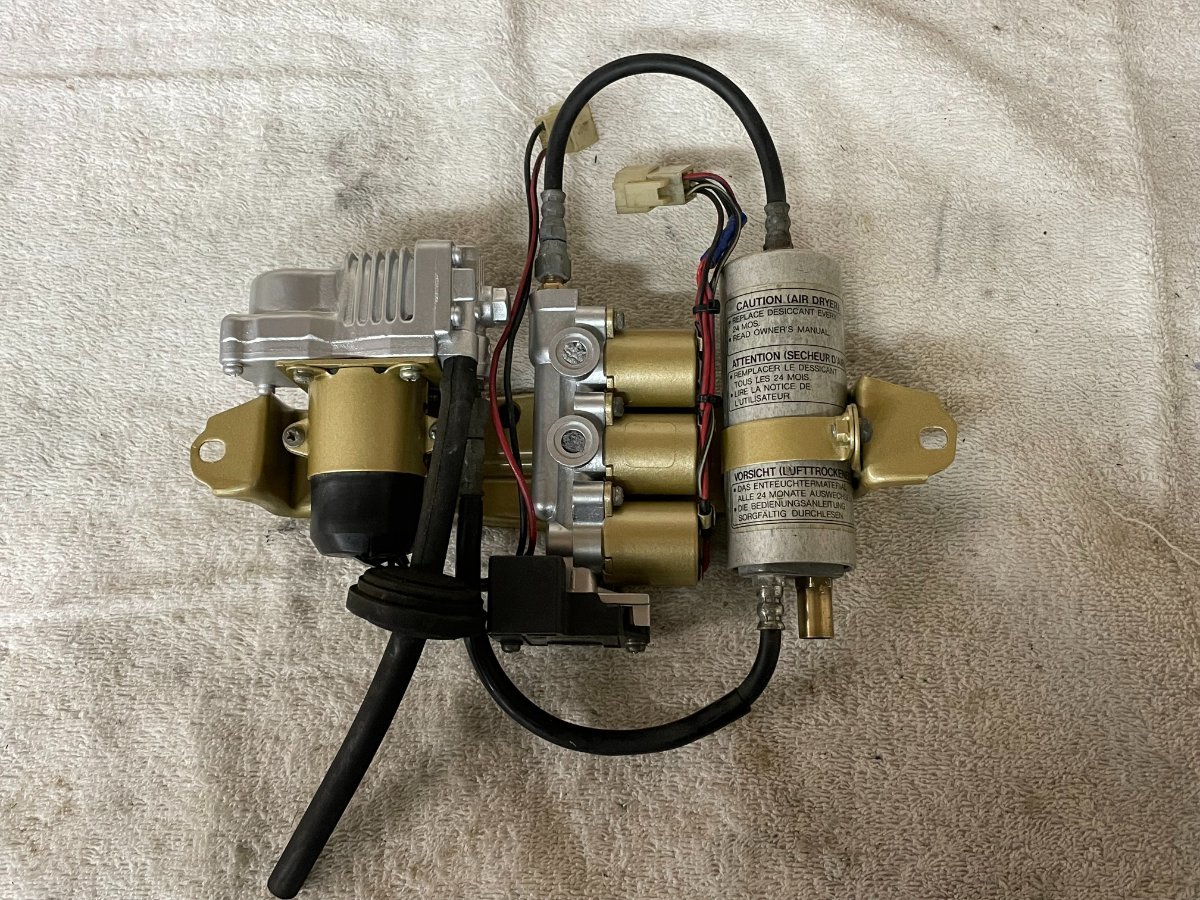
Been a slow couple of weeks but I am still making some progress. Working on the air compressor unit and I just finished it up. Disassembled, cleaned, painted and then reassembled. Also changed out the old desiccant with new. Here are a few pics. Enjoy!
-
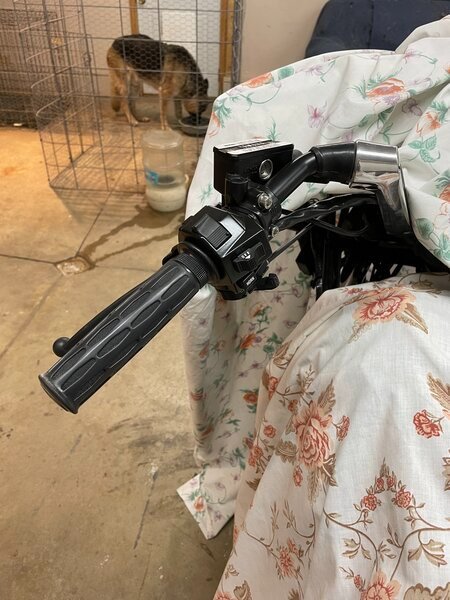
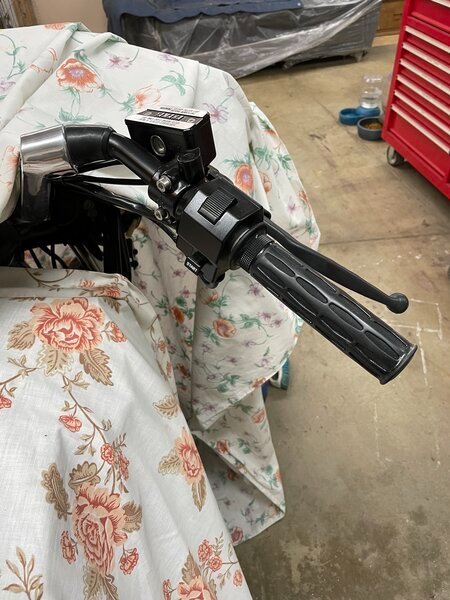
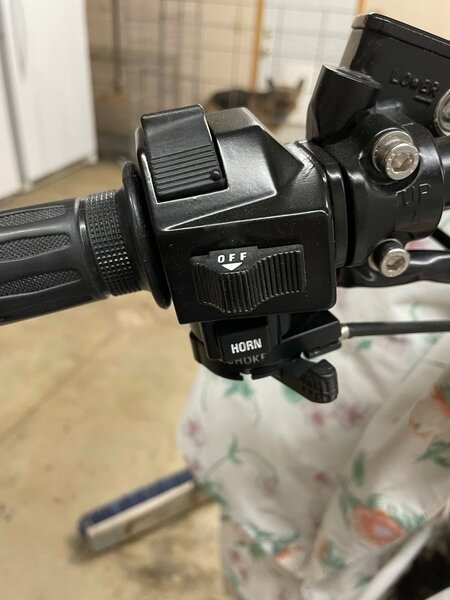
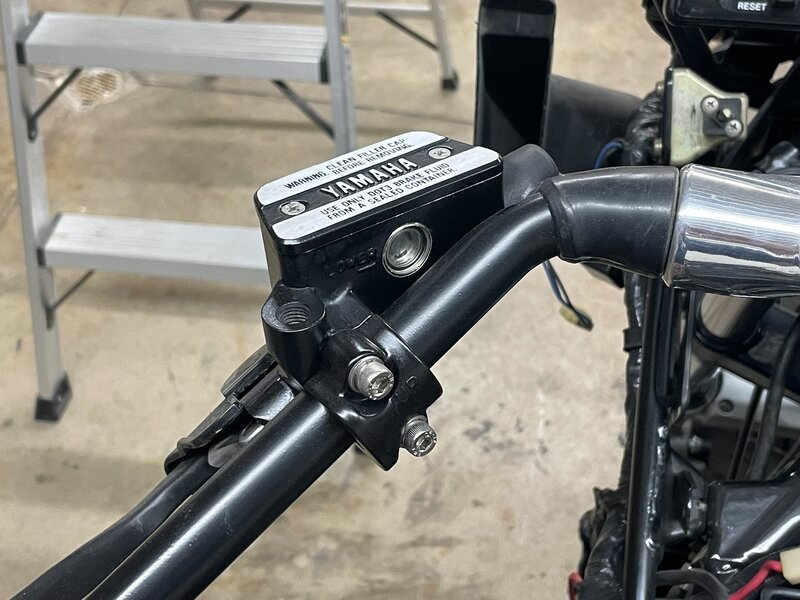
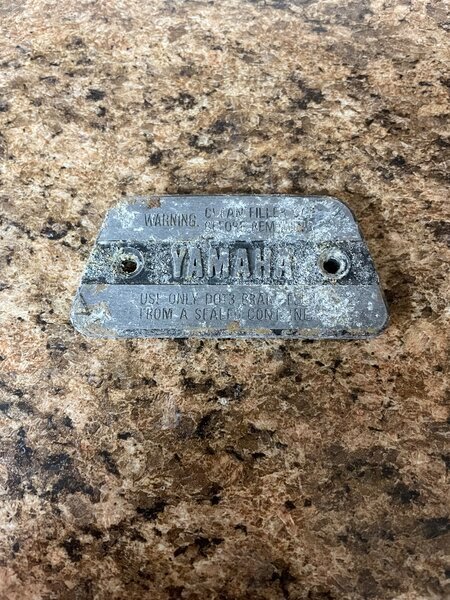
New grips from Honda were purchased. The ones for the GL1500 model look to be an exact match. Mine didn't have any grips so I can only go by what I see in pictures on ebay. I also finished rebuilding the front brake master cylinder and have it installed I'm also working with a company to reproduce the letters to go on the controls. Most are completely gone and even though the decals won't be an exact match I think they will look pretty good. I will post some pics when I get them on the controls.
-
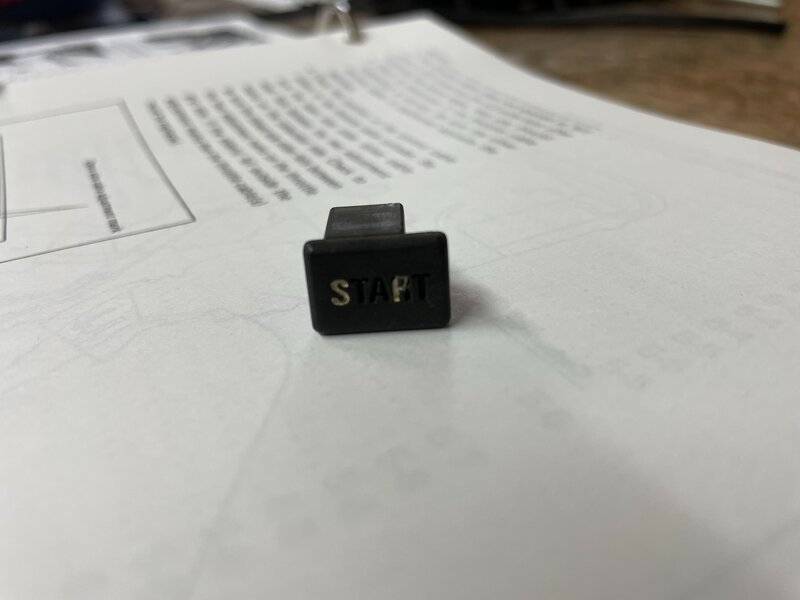
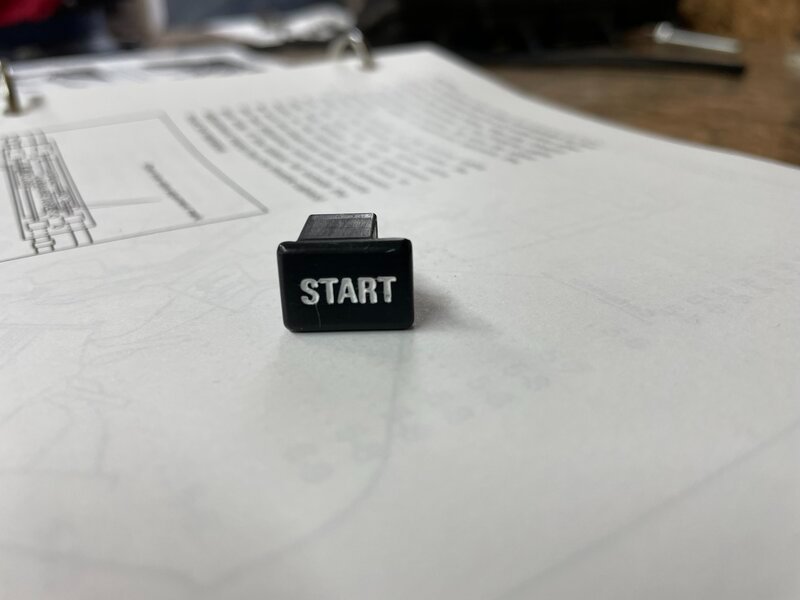
Still working on the hand controls this week. I also finished up the rebuild of the front brake master cylinder. Here is one of those small detail pics. I touched up the painted letters for the start button, along with the horn button and the turn signal switch. Here is a before and after pic of the start button.
-
These were the only ones I could find that were complete, but I didn't look very hard either. The quality seems good, but I won't know for sure until it's running again. There are certainly more options available, like the one's saddlebum has had success with. Spend a little time and do your research and then go with what you think will work best for your situation. Hope this helps! https://www.ebay.com/itm/363114187801
-
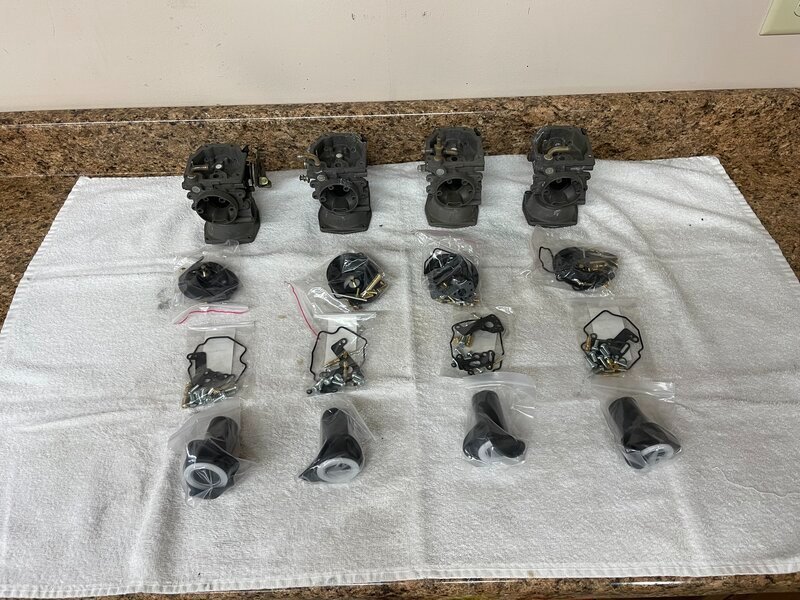
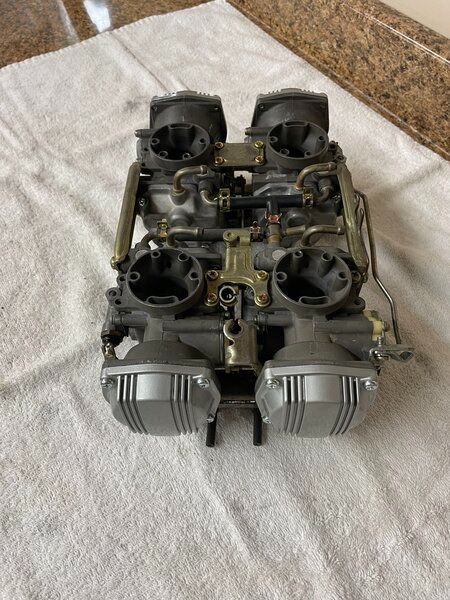
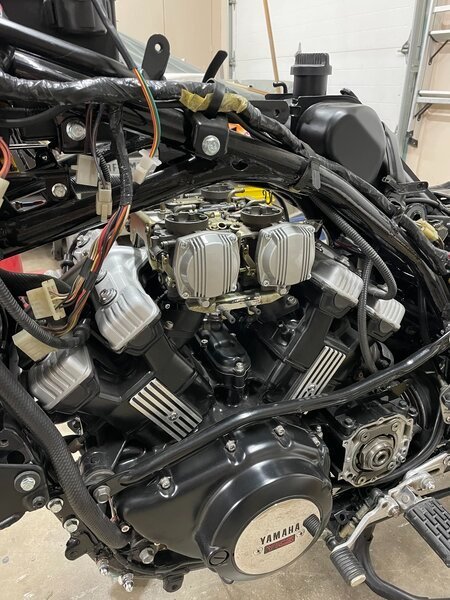
I started the carbs this past fall when I disassembled them and cleaned them. I had to purchase 3 different kits to get the parts I needed for the rebuild. I finally finished them up this past week and have them back on the bike. Here are a few pics.
-
It's just to bad this journey is taking so long, going on the sixth year. But this is the one and it should be finished mid summer if all goes as planned. I'm glad you can follow along!
-
Here is the clutch master cylinder that has been rebuilt, which included new sight windows.
-
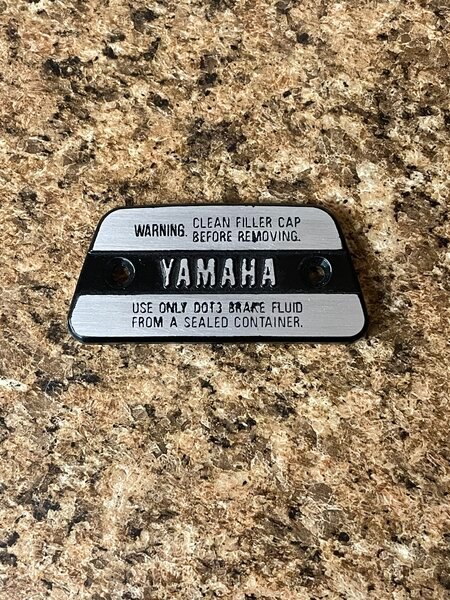
I have also been working on the handlebar controls. Reworking the covers using the same technique as the side plates.
-
I also did the upper plates this time I mixed the clear up and so the clear is less shiny and more of a matte. For now I will leave them both as is, but later I will probably redo one of the other depending on which version I like the glossy clear or the matte.
-
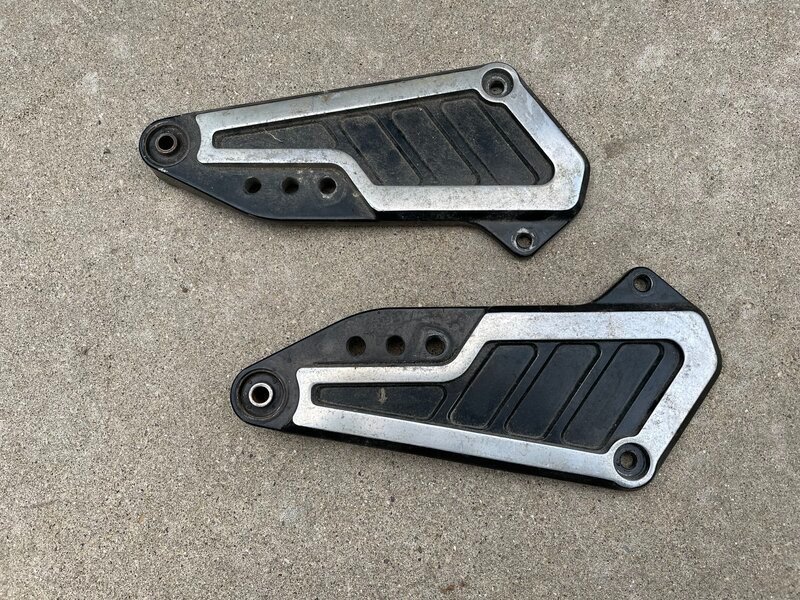
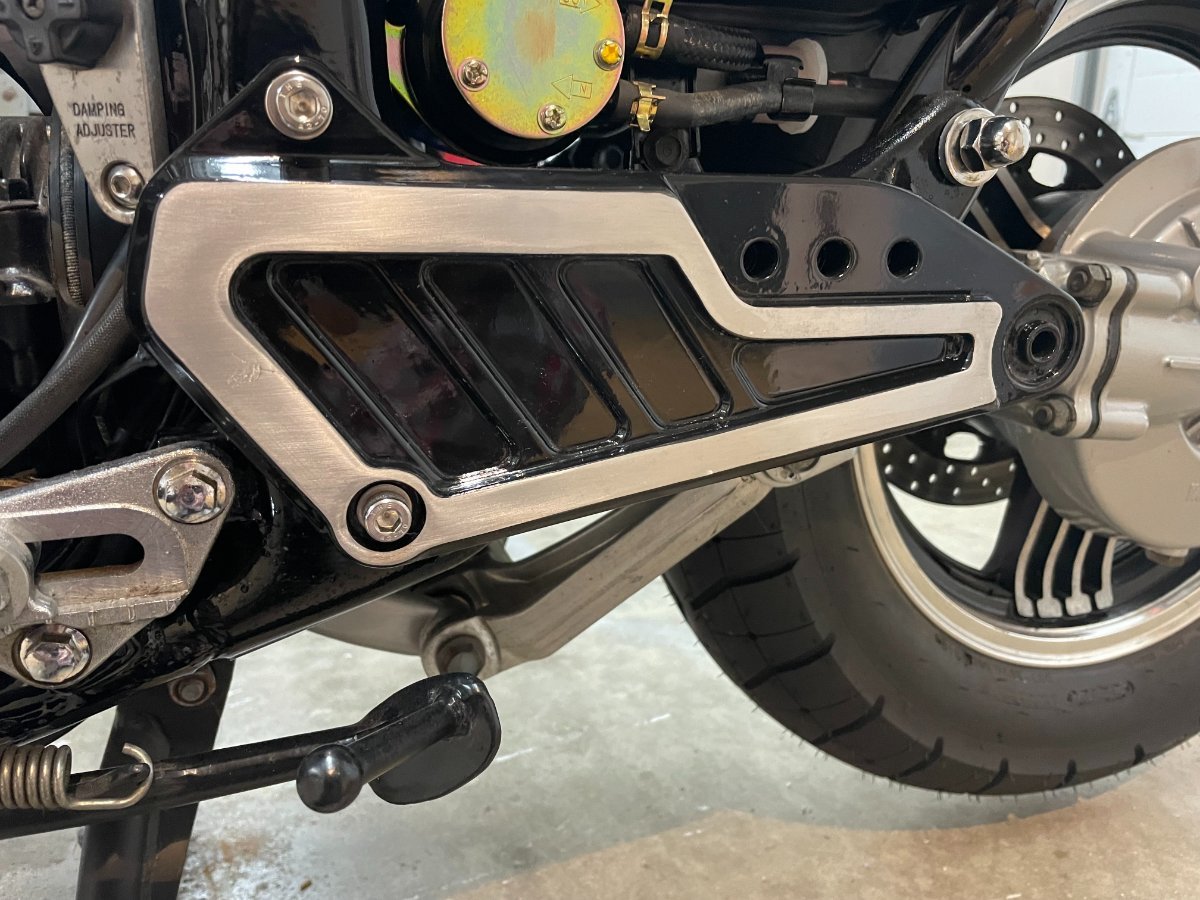
One of the small projects was the lower side plates. I sanded the clear off of the front and then painted them black. Once dried I sanded the paint off of the areas that were bare aluminum. I finished it up with a coat of clear. The interesting detail on the clear is I bought matte clear but because I forgot to stir the clear all of the matte was on the bottom. So when I mixed up a batch and sprayed these, the clear is actually glossy and not matte. Here's a before and after.
-
Time to play catch up on the progress. I have a few minutes this morning to share a pic and some details. Here is a short list of what has been done that isn't really picture worthy. Shifter linkage Battery box Positive and negative battery cables Fuel tank New speedometer cable Ignition switch Voltage regulator (eliminated connectors and soldered wires together) Clutch hard line I will be posting more yet this week as more has been done I just need to work on getting some pics.
-
Another good point, thanks!