Search the Community
Showing results for tags 'water pump'.
Found 5 results
-
 1983 Yamaha Venture – Water Pump Rebuild During the process of replacing all of the coolant hoses on the 83Venture, I noticed that I was getting a fairly consistent amount of coolant spurtingout of the weep hole in the water pump housing. It had been doing a littledripping the last couple of seasons, but not enough to prompt me to do anythingabout it. But after replacing all of the hoses and flushing the system a coupleof times with water, followed by a refill with fresh antifreeze, the minor dripturned into a steady pulsating leak. So that precipitated the decision torebuild the whole pump. I purchased a complete rebuild kit from Buckeye Performance(Cincinnati). This included a new impeller (mine still had the original plasticone), and I also requested that it include the L-Joint Tube (and o-rings) thatconnect to the thermostat housing, as mine had a ding right in the elbow and Ithought it best to just replace it now while it was easy. Those two parts werethe most expensive contributors to the over $200 price tag of the kit. If youonly need the seals, bearing, and gaskets/o-rings, you could probably get awaywith less than $100. After removing the pump from the bike, I cleaned off all the old gasketmaterial from both the pump and the bike. There was also some minor effects ofcorrosion in a few spots that I was able to minimize with some wadding polish.I then disassembled the pump, basically foyoutube link for videollowing the manual – though theinstructions for removing the mechanical seal was not detailed enough for theinexperienced (me). It has to be hammered out (the book say “tapping”, but Iwould define it as ‘hammering’) from the bearing side. Since I was replacingall of those parts, I pulled out the oil seal through the bearing first, makingsufficient room to hit the mechanical seal with a small drift pin and hammer itout. Then an easy matter to flip the assembly over and hammer out the bearing. Iam not sure how you would do it if you just wanted to replace the mechanicalseals. Having it apart, I began to understand how it all was designed to work,and in particular, why that weep hole is there. The weep hole is a channel thatruns through the outside of the housing to an inner air space that is inbetween the oil seal (on the oil-side of the pump) and the mechanical seal (onthe coolant side of the pump). This is a safety valve of sorts, so if any oilgets past the oil seal, or any coolant gets past the mechanical seal, itescapes out the weep hole, rather than potentially invading the opposite sideand contaminating the oil or coolant. The oil seal is a fairly traditionalrubber seal that sits next to the bearing and the impeller shaft just slipsthrough it. The mechanical seal, which is meant to prevent the coolant fromslipping past the shaft of the impeller, is actually two pieces – one thatinstalls over the impeller shaft and seats in the impeller body, and the otheris a spring-loaded piece that is pressed into the pump housing on the coolantside. Both pieces have a smooth surface that the book calls ‘ceramic’, andthese mate to each other once the impeller is installed back into the housing.The impeller obviously spins while the piece pressed into the housing remainsstationary. The smooth surfaces are meant to allow that motion to occur whilepreventing any coolant from leaking down the shaft toward the oil side of thepump. If any does, it hits the air space and exits via the weep hole mentionedabove. The spring in the mechanical seal is designed to continually applypressure so that the two smooth surfaces maintain constant contact. That mayhave something to do with the temperature variations, or just a way to ensurethat it maintains a tight fit after assembly. I am guessing that the reason wesee leakage in these old bikes is that the springs start losing some of theirtension, or the smooth surfaces just get worn and start allowing leakage, perhapsonly at certain temperatures. So much for the analytical stuff. The installation of the seals and bearing was no more detailed in themanual than the disassembly, other than it mentioned a ‘special tool’ forpressing in the mechanical seal. You could tell from the picture that this toolwas meant to apply pressure on the outer lip of the mechanical seal (to avoidputting any pressure on the spring loaded ceramic surface in the inner portionof the seal). I had read in one of the forums that someone had used a largesocket that sat on the lip of the seal and allowed the inner portion to pass upinto the body of the socket. That forum entry did not provide any details onhow to utilize that tool to then press the seal into the housing, and therewere a couple of entries in other posts of folks damaging the seal in theprocess of trying to hammer it in place (it is light aluminum and will distorteasily, rendering it useless). I investigated the possibility of using a smallarbor press, and after exhausting my list of contacts and neighbors, I actuallybought a cheap one from Harbor Freight. But in the process of borrowing anappropriate socket from my neighbor (a 1&1/16 impact driver socket fitperfectly), he sized it up for about 10 seconds and then said ‘you could run abolt up through the housing and probably just draw it down with a socket andwrench – just need a bolt, a couple of big washers, and a nut”.Simple and brilliant (I returned the arborpress at that point).I mounted the pumphousing on a board, after drilling a couple of holes to match the housing boltpattern, and one that lined up with the opening for the seals. I purchased a 6inch hex-head bolt (5/16th inch diameter I think) and some washersand corresponding nut. The book also calls for using Yamabond #4 as anadditional sealant on the inner surface of the housing, so I did pick up a tubeof that from the local bike shop. This is applied on the inner surface of thehousing just prior to installation of the seal. It says to use a small amount,and you also want to be careful not to plug the weep hole. It also says toapply a small amount of grease to the lip of the seal – not sure what purposethis serves, but I did as instructed.Ithen ran the bolt up through the board and the center of the pump assembly,then thought better of having threads that close to the inner wall of thehousing where the oil seal sits, so I pulled it out and put some electricaltape on that part of the threads just to make sure I did not inadvertentlyscratch the housing there. I then sat the seal in place on the housing, thesocket on top of the seal, a couple of washers and the nut and snugged it up,trying to keep the seal as straight as possible on the housing. You can’t seemuch of it at this point, but enough to make sure it is straight on. Then justa matter of slowly tightening it up – watching as it goes – but once it startsyou are pretty much committed. You will know when it is fully seated and can’tbe tightened any more. I did discover after removing the bolt and socket, thatone side had just a slight gap (enough to feel with a finger nail), so Ireinstalled the apparatus and retightened, then loosened and rotated the socketa bit and retightened, repeating this procedure until I had rotated the socketa full 360 degrees.This took care ofthe gap. At this point, visually verify that the weep hole is still clear –clean it out with a pick or maybe a pipe cleaner if necessary. The second piece of the mechanical seal is the rubber/ceramic seal thatgoes in the body of the impeller. If you are reusing the impeller, you need to removethe old seal and replace it with the new one – simply apply a little coolant tothe new seal to help lubricate it and slide it down the shaft into the body ofthe impeller. The manual says to measure that the seal fits squarely inrelation to the shaft (no tilt) – I just slipped it into place and pressed itin with my fingers - it seemed flat and flush, so hoping there is nothing moreto it than that. The next step is to install the oil seal and then the bearing. The oilseal just slips in (printed side down). The bearing needs pressed in next. Iconsidered using a narrower gauge bolt and repeating the above procedure fromthe opposite side to press in the bearing, but I was worried about the boltdamaging the inner surface of the oil seal, which the spinning shaft of theimpeller runs against. If you used a partially threaded bolt, the press methodwould probably be fine. But the bearing, being made of high quality steel, canwithstand some light hammering, so I went that route – putting a little oil onthe new bearing as a lubricant, then using the old bearing on top of the newone, with a large washer over the old bearing, and the impact socket on top ofthe washer as my hammering point. Tapping in a circular pattern around thesocket until it began to go in and just continuing until it felt seated. Itdoes not go in completely flush with the housing, but sticks out just a bit.You will know when you insert the impeller through from the other side – if theindentation for the circlip is not exposed, then the bearing is not fullyseated. At this point it is a simple matter to lube the shaft of the impellerand insert it thru the seals, install the circlip, install the dowel pin,install the gear, and the final circlip. You are now ready to install the pump back on the bike.I was replacing the L-Joint tube thatconnects to the thermostat housing, so I had a new one of those and newo-rings. If you are using the old tube, you probably at least want to replacethose o-rings. Then mount the housing back on the bike with the new gasket,then the outer housing with the new o-ring, tightening everything to spec (7.2ft/lb). Don’t forget to fill it with antifreeze before starting the bike! I have included attachments - a word doc that includes the above, and a diagram/parts list. The video that shows the assembly of the seals and bearing can be found on YouTube at this link: Hope this is some help to anyone still working on these bikes. Water-Pump-83-Venture-rebuild-narrative.docx Water-Pump-diagram-83-Venture-with-notes.pdf
 -
After much searching I have been unable to locate anything on what might be causing my 2005 midnight to run hot today. Went for a ride with two friends (on Harleys) today and got into stop and go traffic on a side trip to Ocala. The temp gage (Sunpro small triple set) started going up and up and up till it was pointed at the six o'clock position. Pulled off the road and let it cool down before continuing again. Again temp gage went waaaaaay up. Radiator is full with recommended coolant. Temp goes up at lower rpms at highway speeds though not that far. With higher revs in lower gear the temp is now staying around 210. I'm thinking the water pump is not working well. Any other suggestions from the great and knowledgable venture riders would be greatly appreciated. Doug
-
Purchased a water pump rebuild kit for my 83 a while back (from Rick at Buckeye Performance) and am now getting around to install. Got everything torn down (it did still have the plastic impeller – near 80k and it was not in bad shape, but good to have the new one in hand). I have cleaned up all the surfaces and am ready to assemble the new parts. Is there a recommended sequence for installing the seals and bearing? I am thinking it would be best to install the mechanical seal (the one with the spring, on the coolant side of the assembly) first, since it is supposed to have the Yamabond4 around the inner edge. The manual shows a ‘special tool’ for pressing that piece in place– any hints for a suitable substitute? After that, then install the oil seal and bearing? Or vice-versa? Or am I over-thinking this? Any advice would be appreciated. And... I did not purchase a new thermostat - seems to be working fine - is it any more difficult to do it later if it becomes a problem?
-
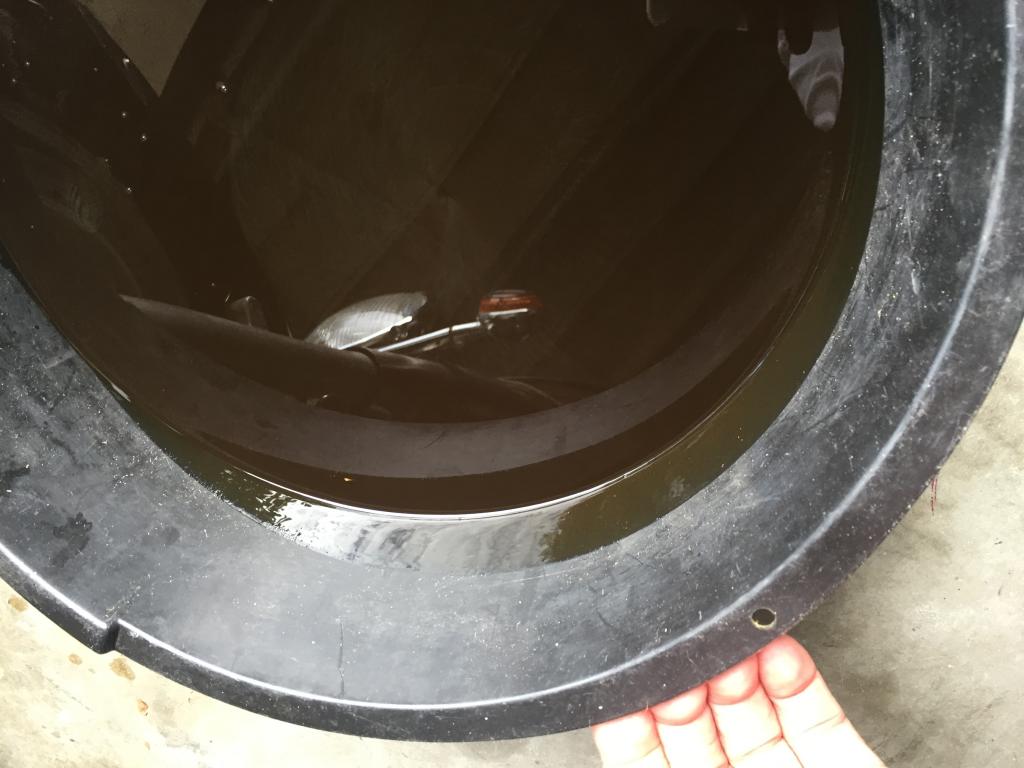
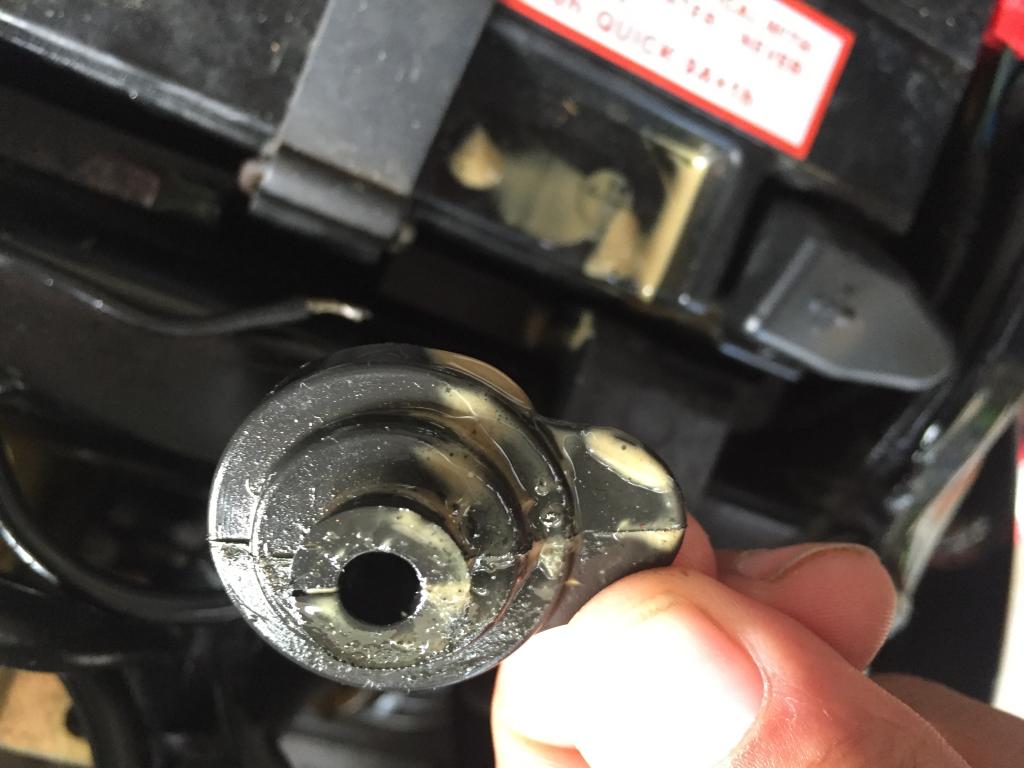
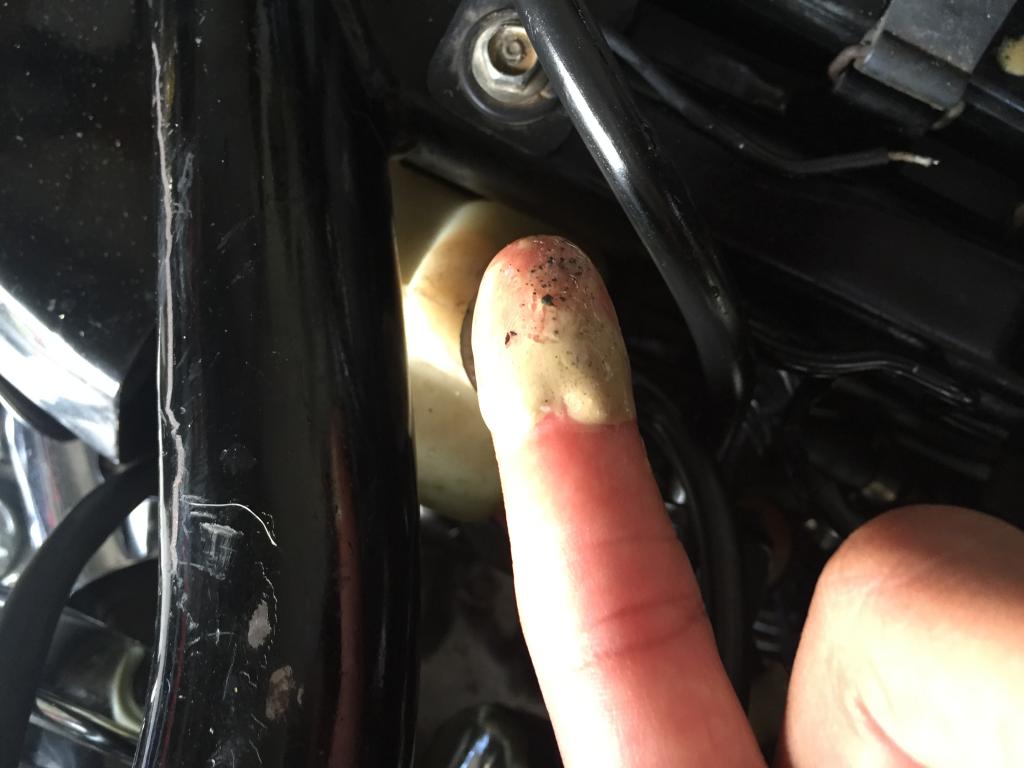
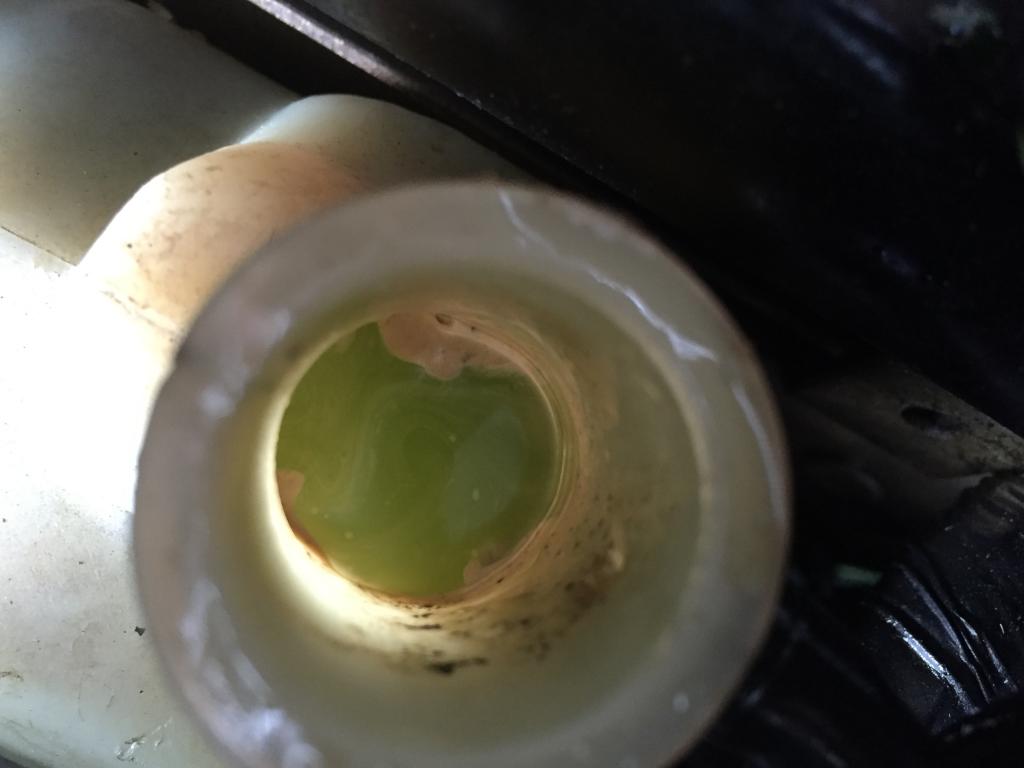
 ok so new to me bike 97 royal star ran fine during test ride no problems get it off the trailer and here we go clutch master cylinder goes out on me on my way to school make it back home somehow coolant spewing from under my seat soooooo here are the pics doesnt look like the oil so im ruling out head gasket correct? but look at my finger and the coolant tank and cap ..... is it the water pump? do replace the whole pump or just the seal? who will be the winner? thank you in advance for your help .
-
 I have read all the information on first generation water pumps. My 86 has a small amount of coolant that has dripped out the weep hole on the water pump. I assume it will get worse as time goes on. Bike has 84,000 or so on it. It left about a tablespoon of coolant on the floor since I rode it about a month or so ago. What are the chances of a catastrophic failure, that is similar to old automotive water pumps with graphite seals? If I do rebuild it, should I change both the mechanical seal and the oil seal while I have it apart? I think it is the mechanical seal that stops the impeller shaft from leaking. If I rebuild, I plan on new o rings on the elbow and thermostat housing.