


MoonShine
-
Posts
29 -
Joined
-
Last visited
Content Type
Profiles
Forums
Gallery
Events
Store
Posts posted by MoonShine
-
-
Good Lord…
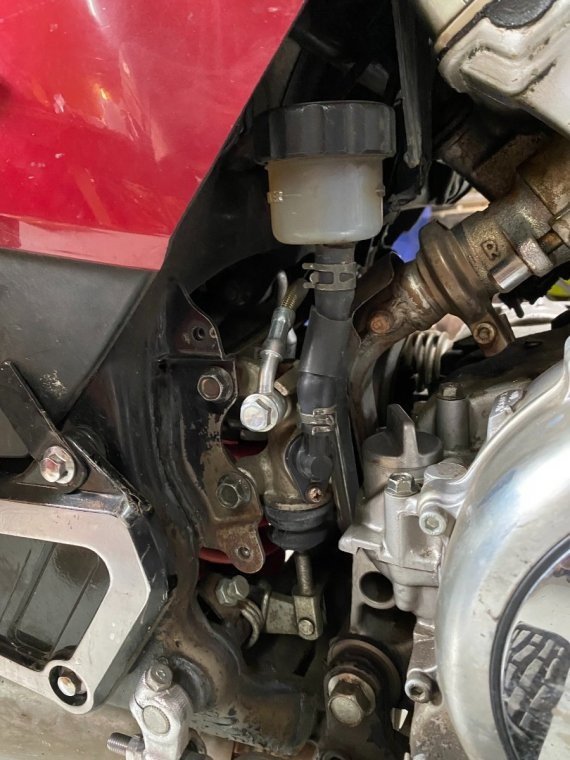
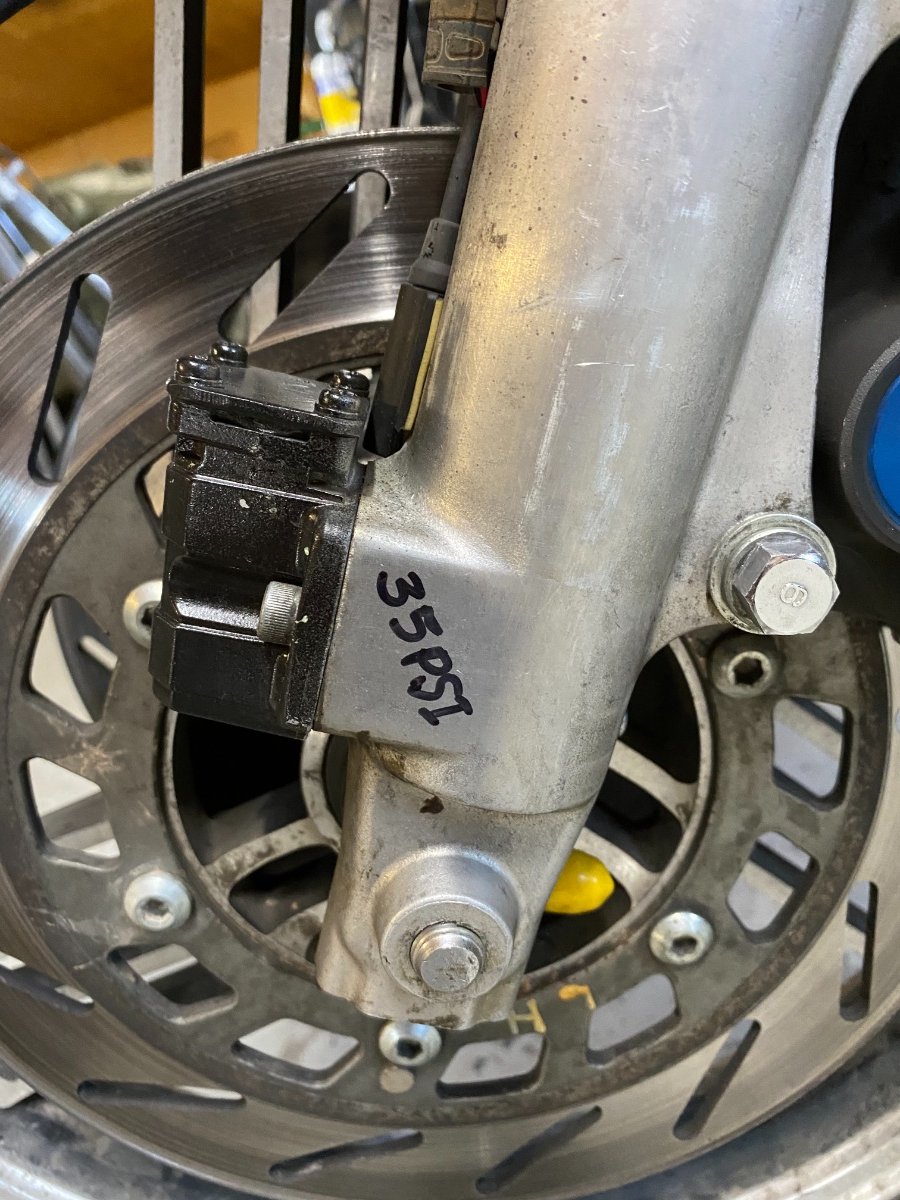
I think I remember what I did with this upgrade now. Rebuilt a MC from a Gen I MK II venture as the piston is 11/16. I took off the splitter that went to the front brake and plugged it off. Took the old reservoir off and replaced with one off a royal star venture.
It was a while ago and my brain finally woke up…
Hope this helps and that I didn’t misrepresent the project.
-
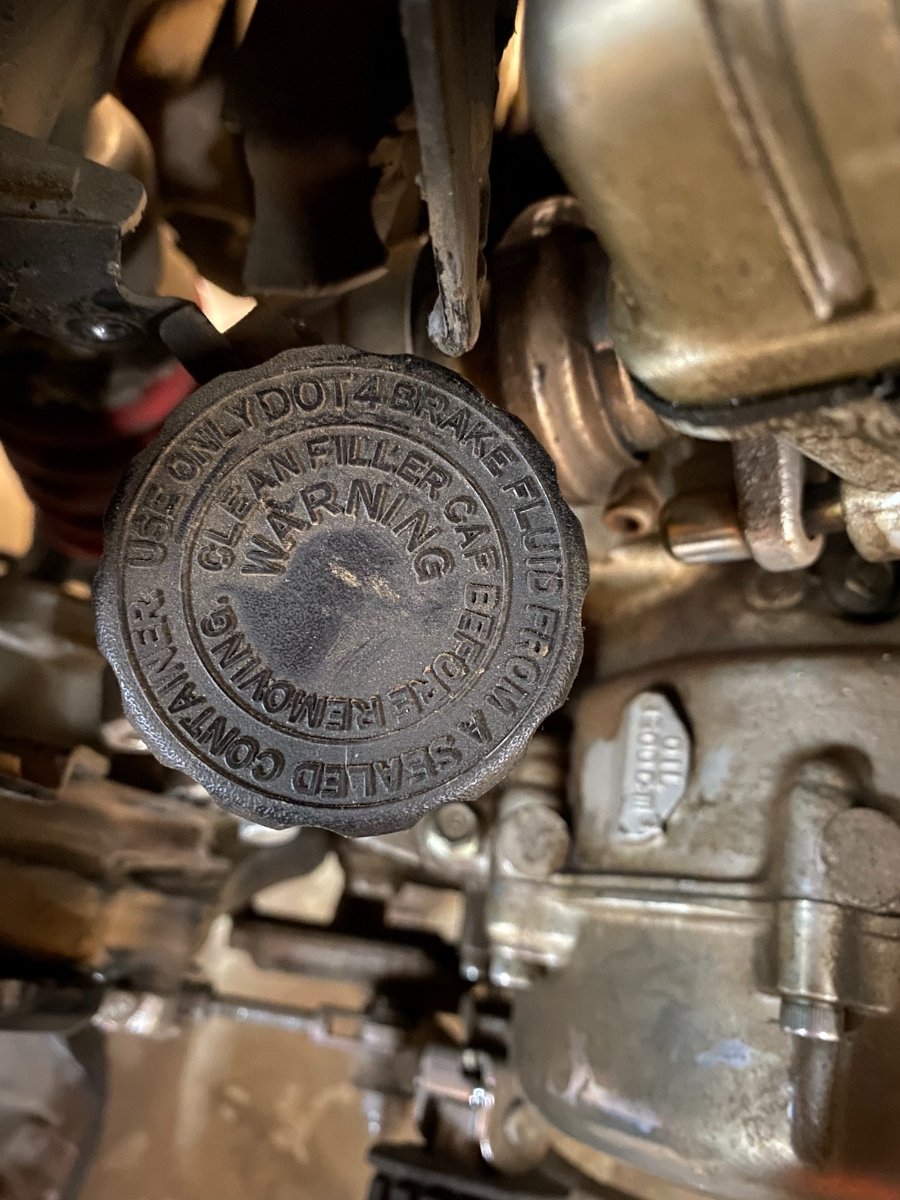
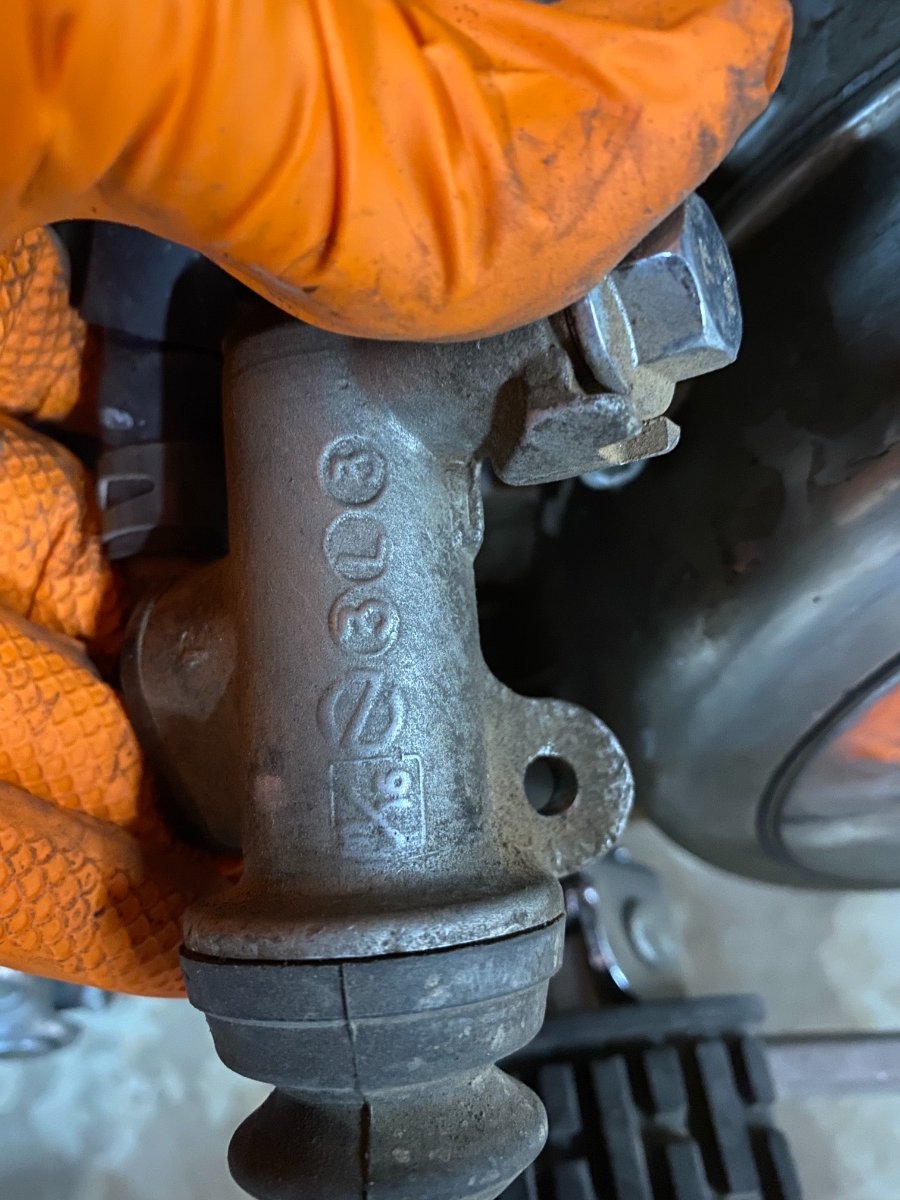
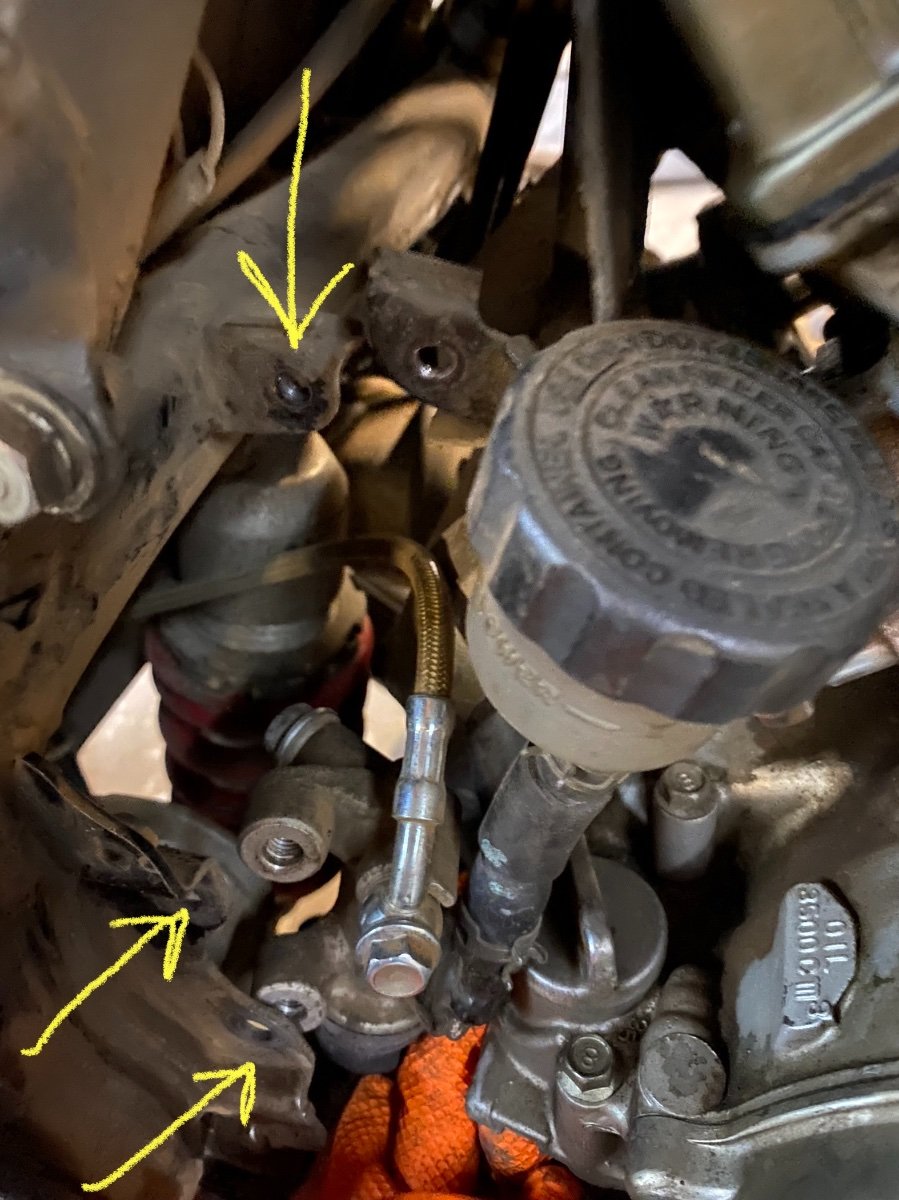
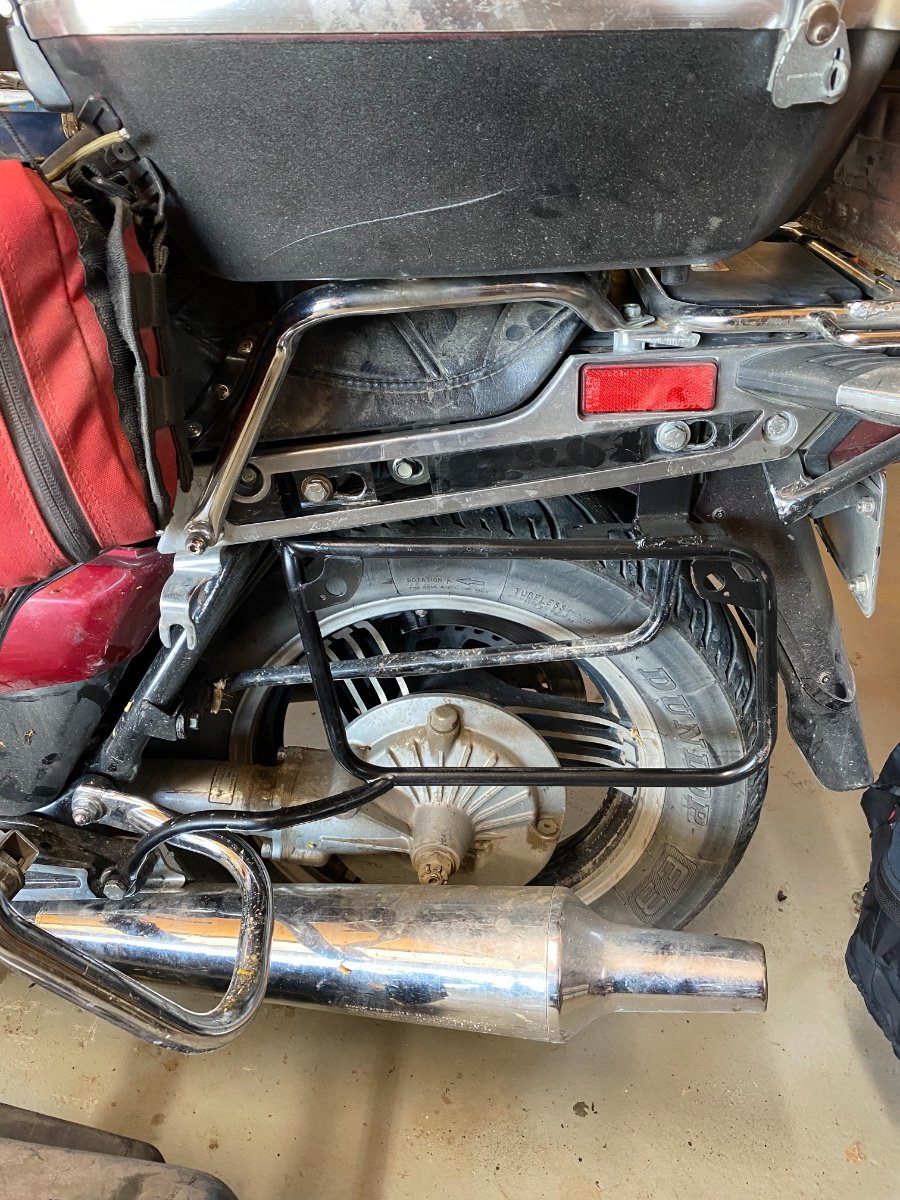
Ok. I have been going through my records and cannot find the make model of what bike this part came off of…. I’ve attached a few pictures after unbolting that might help. There are 2 bolts mounting the MC and 1 for the reservoir.
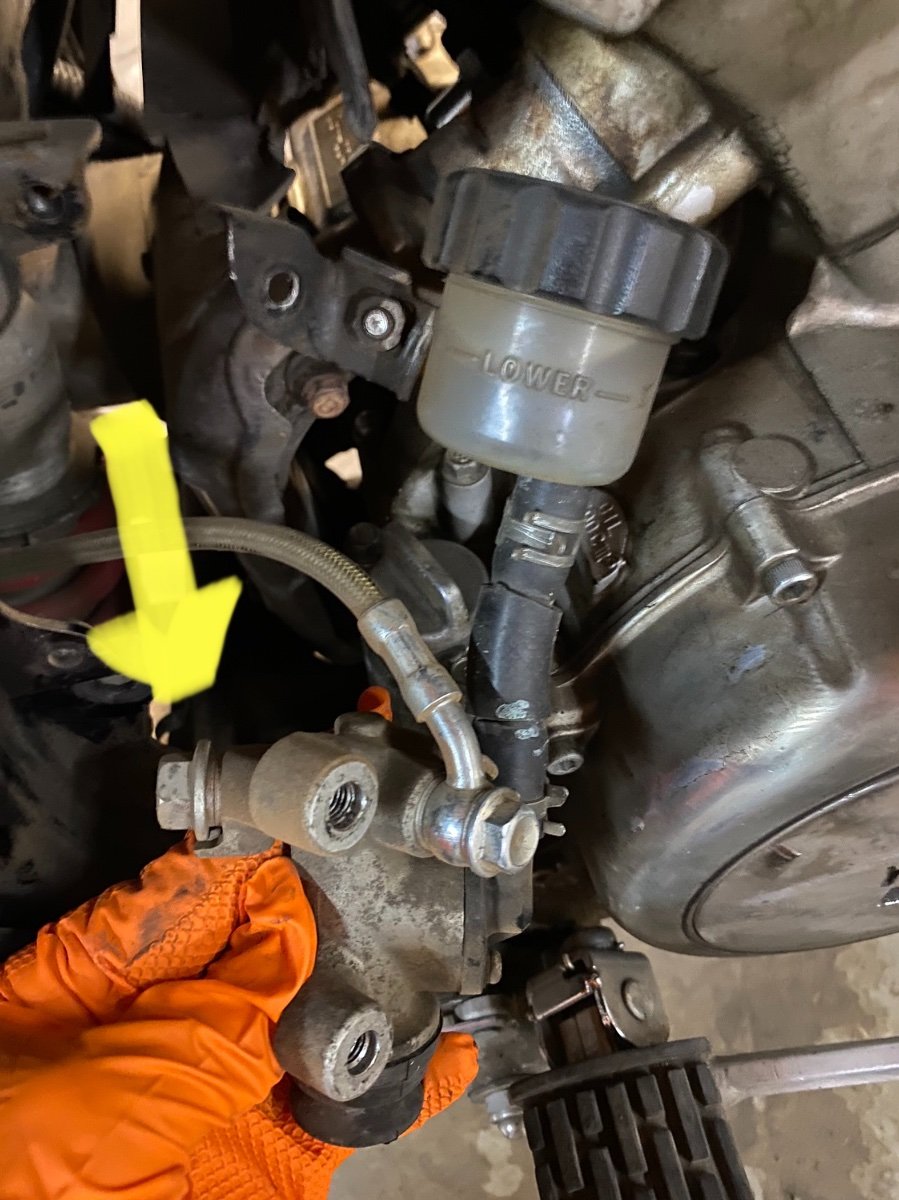
There is also another outlet that I capped off as my front and rear brakes are separated now.
By bolting up fairly easily, I mean that the brackets on the frame lined up pretty well with the new set up. I may have had to drill a hole? I believe I only had to adjust the slack after bolting in.
Apologies for any confusion. I will keep researching to find the bike model and year for you.

-
Great job on the repair and all the info!
I did the same repair with the help of the good folks on this forum.
I later switched to a 2000’s Royal Star Venture MC and reservoir for convenience. It pretty much bolted right in without too much trouble…
-
 1
1
-
-
-
Working great for around 2 years and thousands of miles. Thanks, and I will keep my eye on it.
-
Replaced the rear brake master cylinder and reservoir with a more modern set up. I think it came off a Royal Star Venture from the 2000’s?
-
I would loosen all 4 air filter box clamps and remove the airbox. Then loosen all 4 air intake clamps and pop the carbs out. Silicone grease the o- rings on the top and bottom of all 4 carbs. Maybe a light coating on the inside of the intakes. Try and seat the carbs back into the intakes with downward pressure in a cross pattern, like tightening lug nuts. Good luck!
-
1
-
-
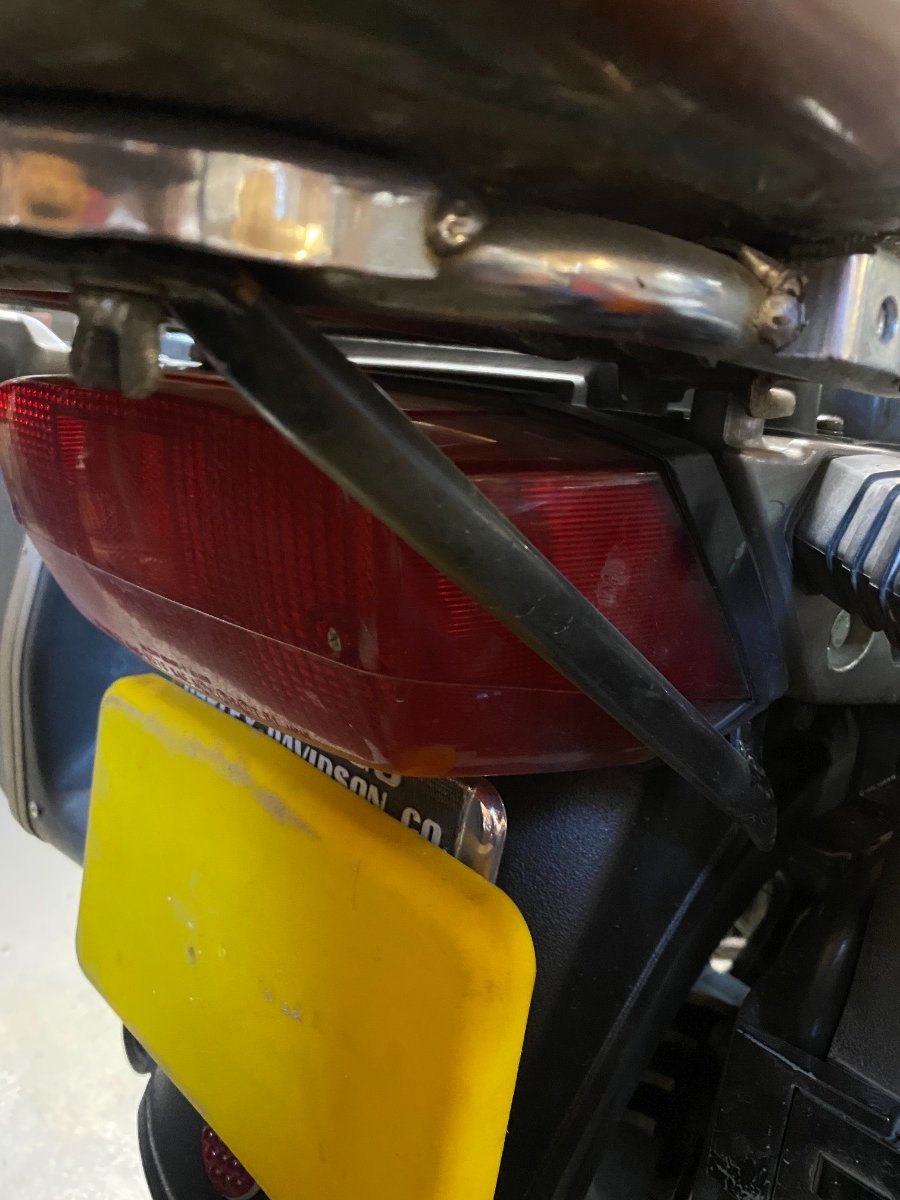
Added angle braces to package tray to support extra weight in mounted box.
-
Try cutting a slot in the center of the bolt with a hacksaw or cutting wheel on a die grinder. Get a flat tip bit on an impact drill in the slot and go easy on the trigger.
Good luck!
-
 1
1
-
-
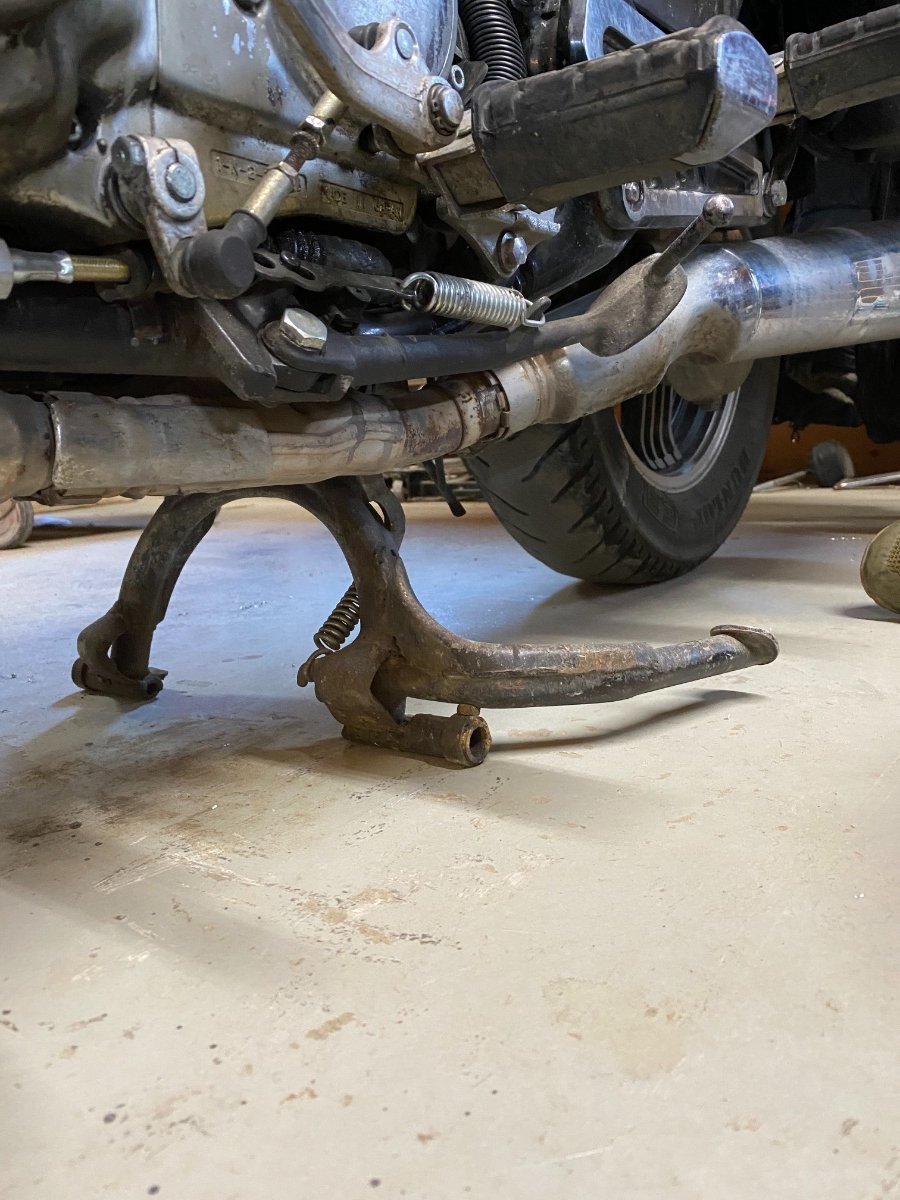
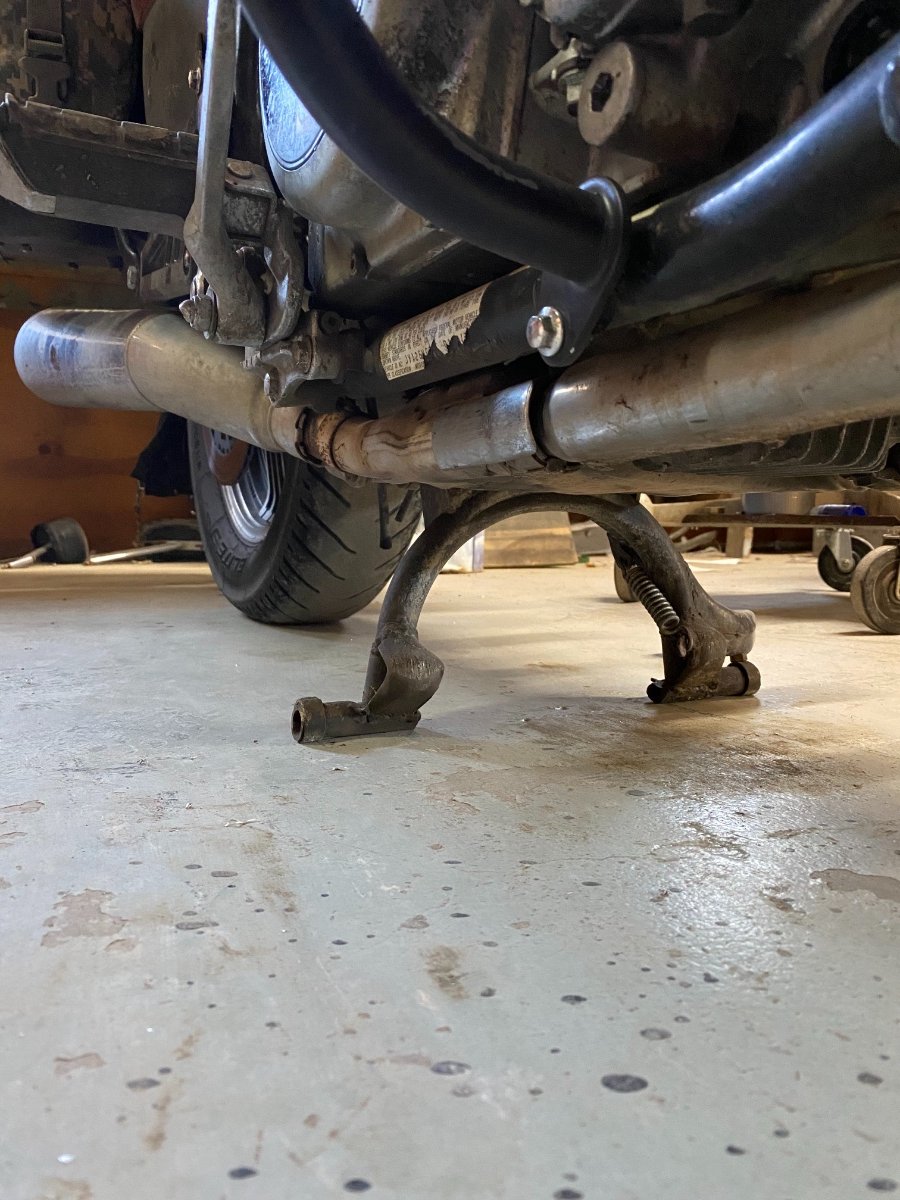
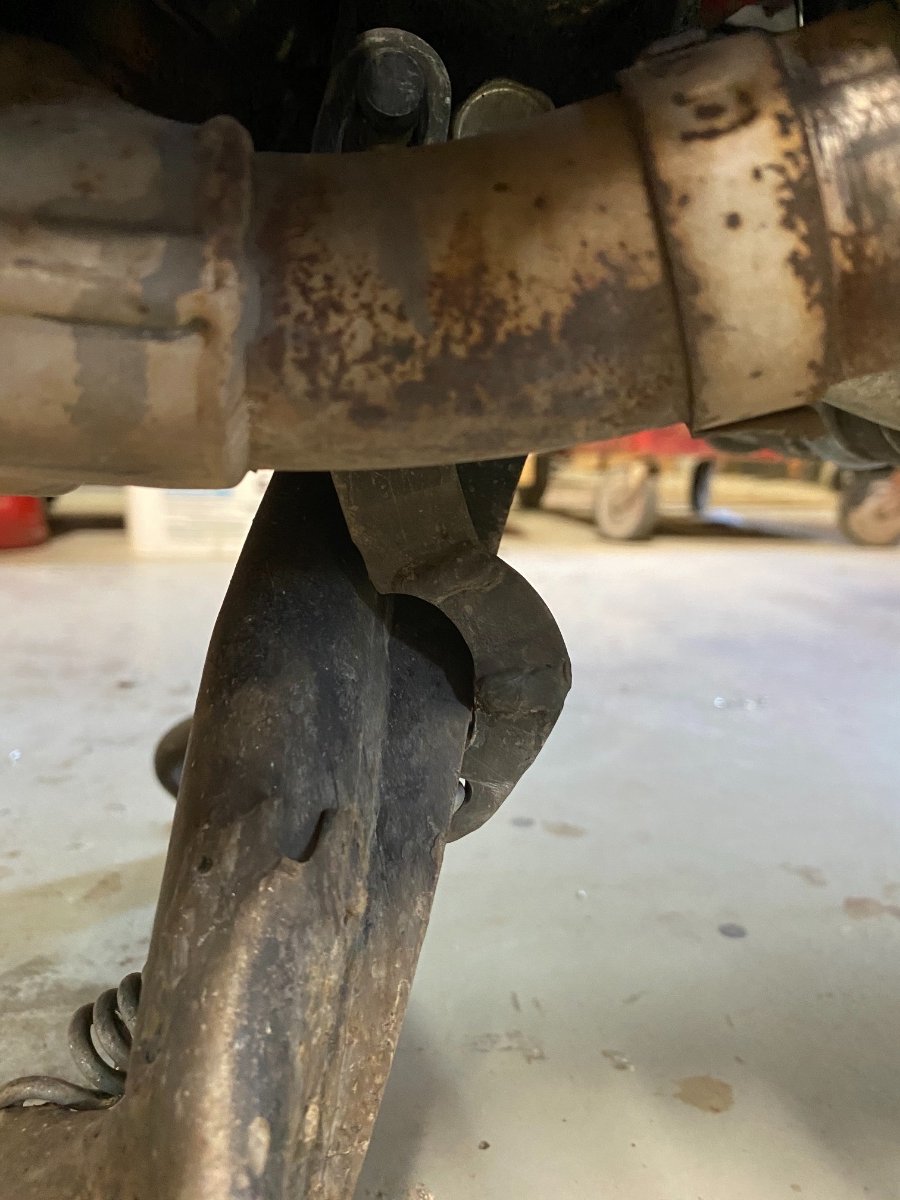
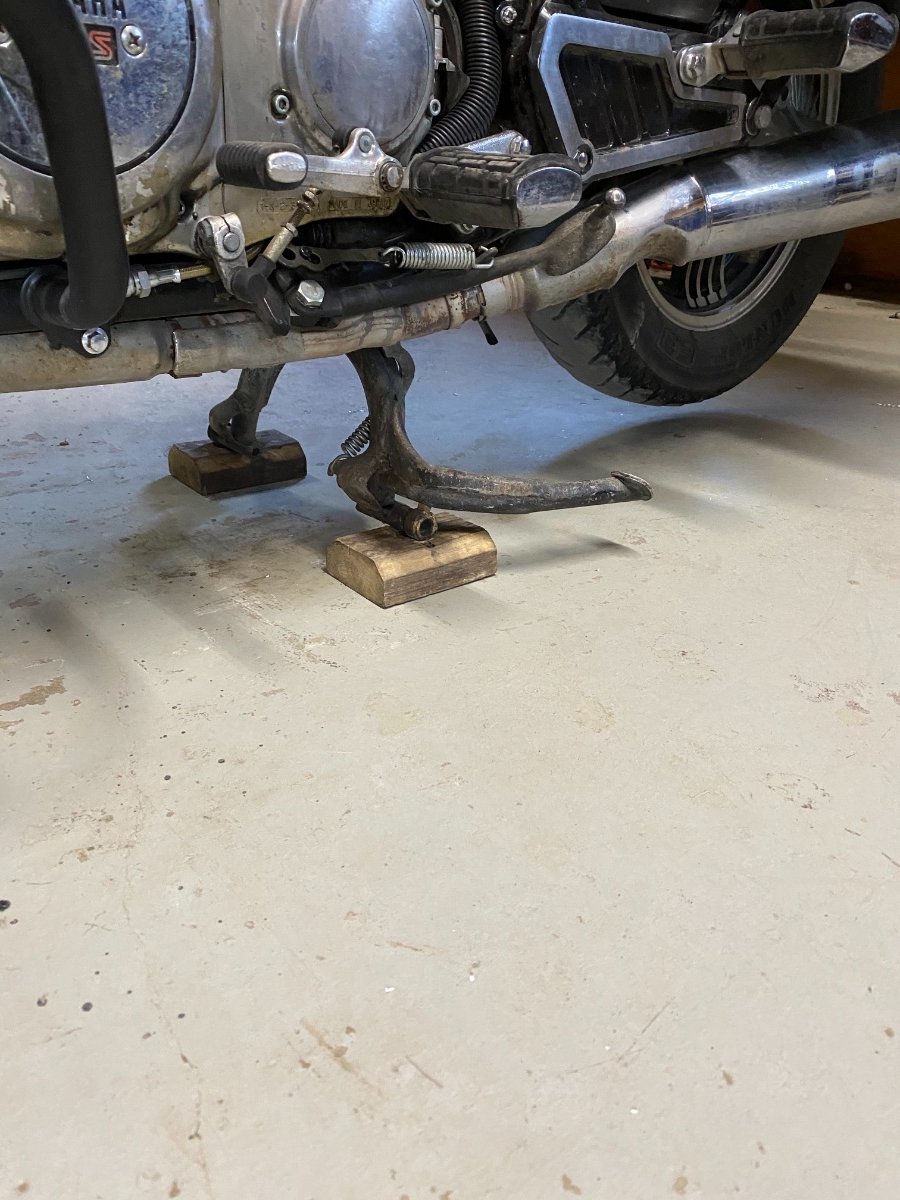
Center stand mod.
I cut around 2 inches off the bottom of the center stand and welded some cross tube on the feet to make a “ride off” stand. It is very easy to pop on the stand (even in flip- flops) and rear wheel is on the ground when on the stand. I carry 2 small chunks of 2x4 to tip the center stand on to lift the rear wheel off the ground or stabilize on soft ground.
-
1
-
-
I cut around 2 inches off the bottom of the center stand and welded some cross tube on the feet to make a “ride off” stand. It is very easy to pop on the stand (even in flip- flops) and rear wheel is on the ground when on the stand. I carry 2 small chunks of 2x4 to tip the center stand on to lift the rear wheel off the ground or stabilize on soft ground.
-
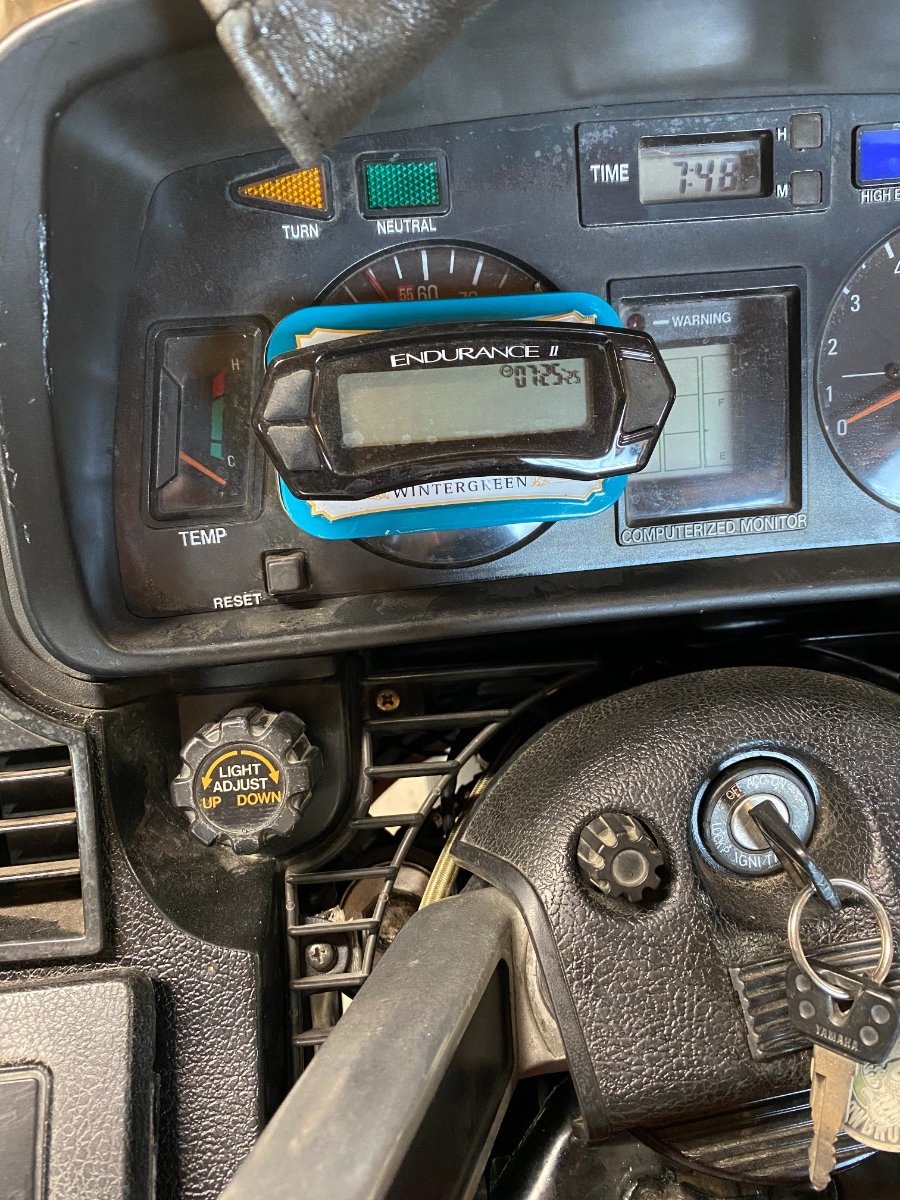
Replaced squeeling speedo with this Trailtech digital unit. Has a magnet gorilla glued to the rotor. Removed the old cable/ housing and capped off the drive at the wheel
-
-
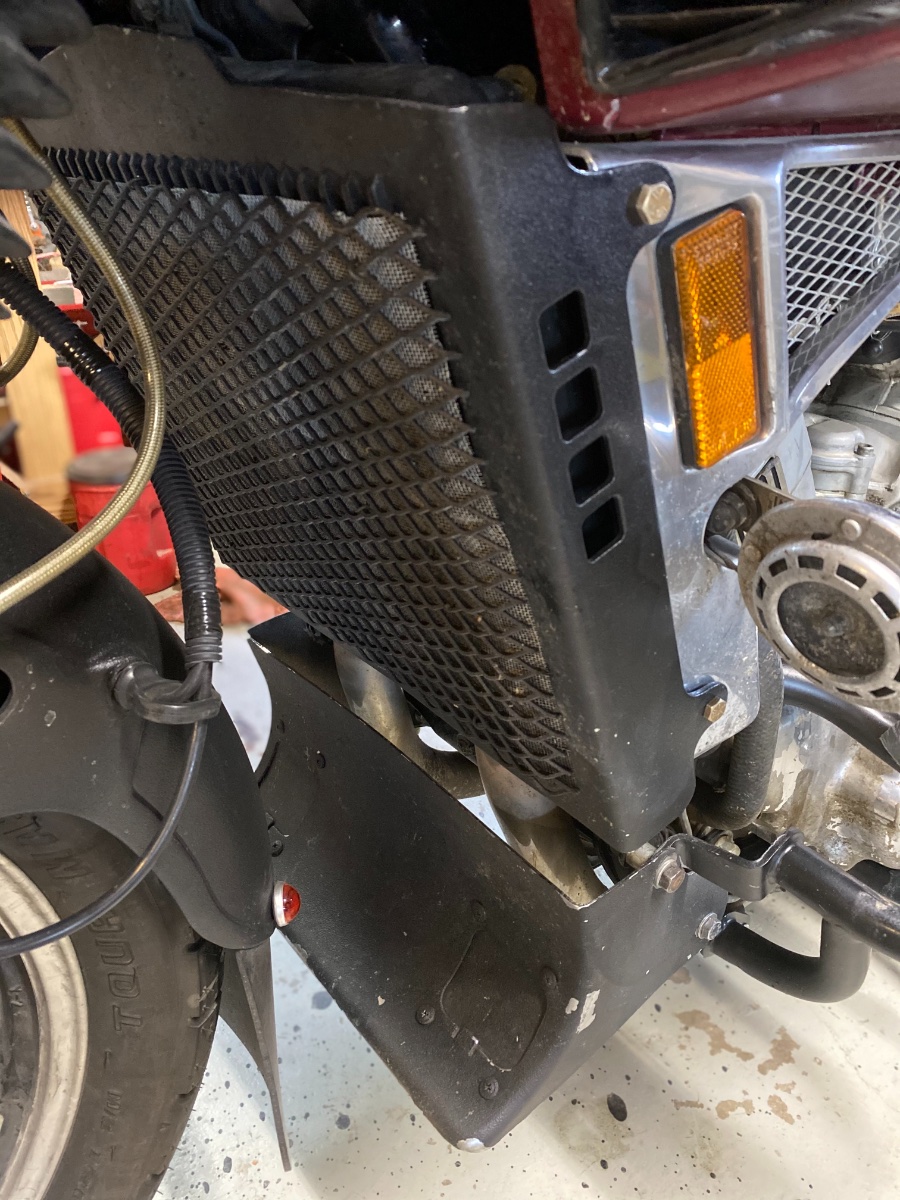
Spray on truck bed liner for top case, fenders, radiator guard and wind scoop.
-
1
-
-
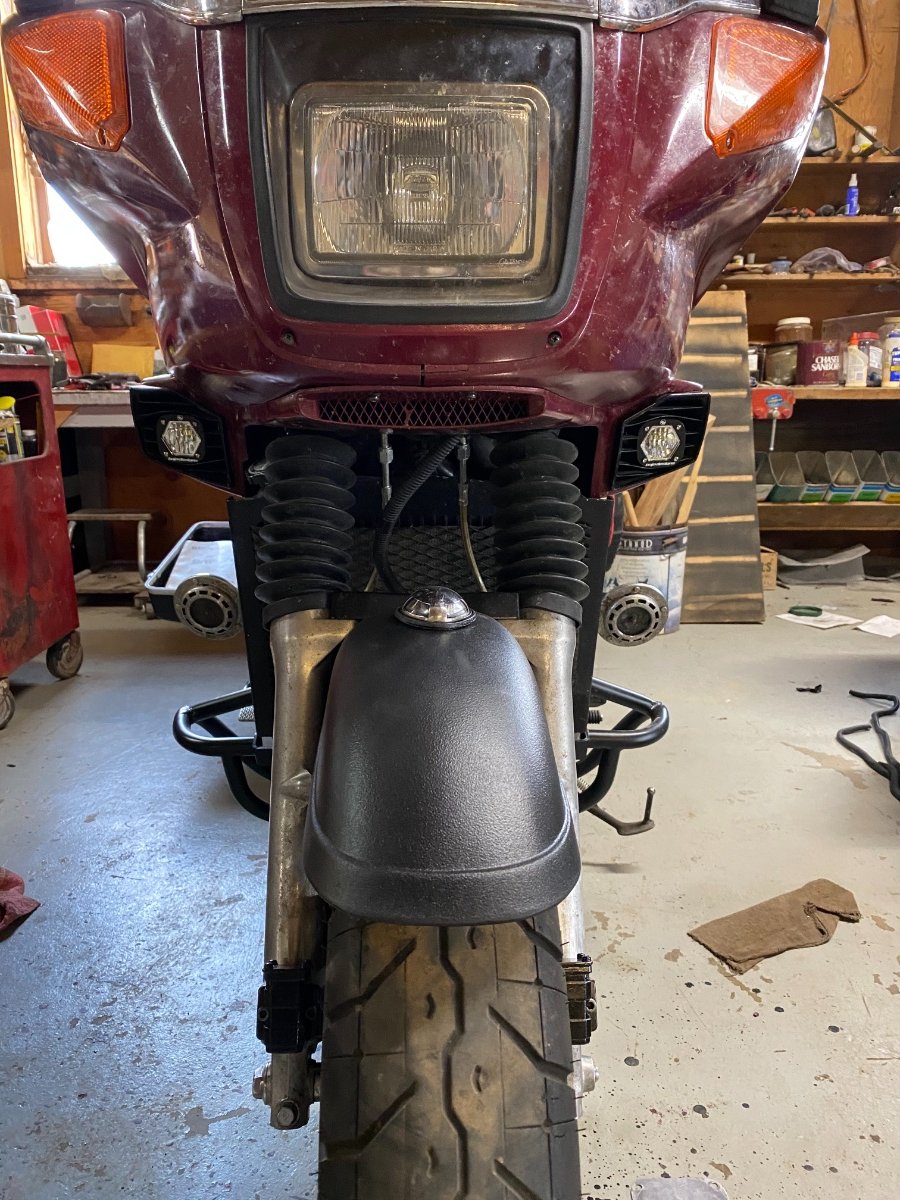
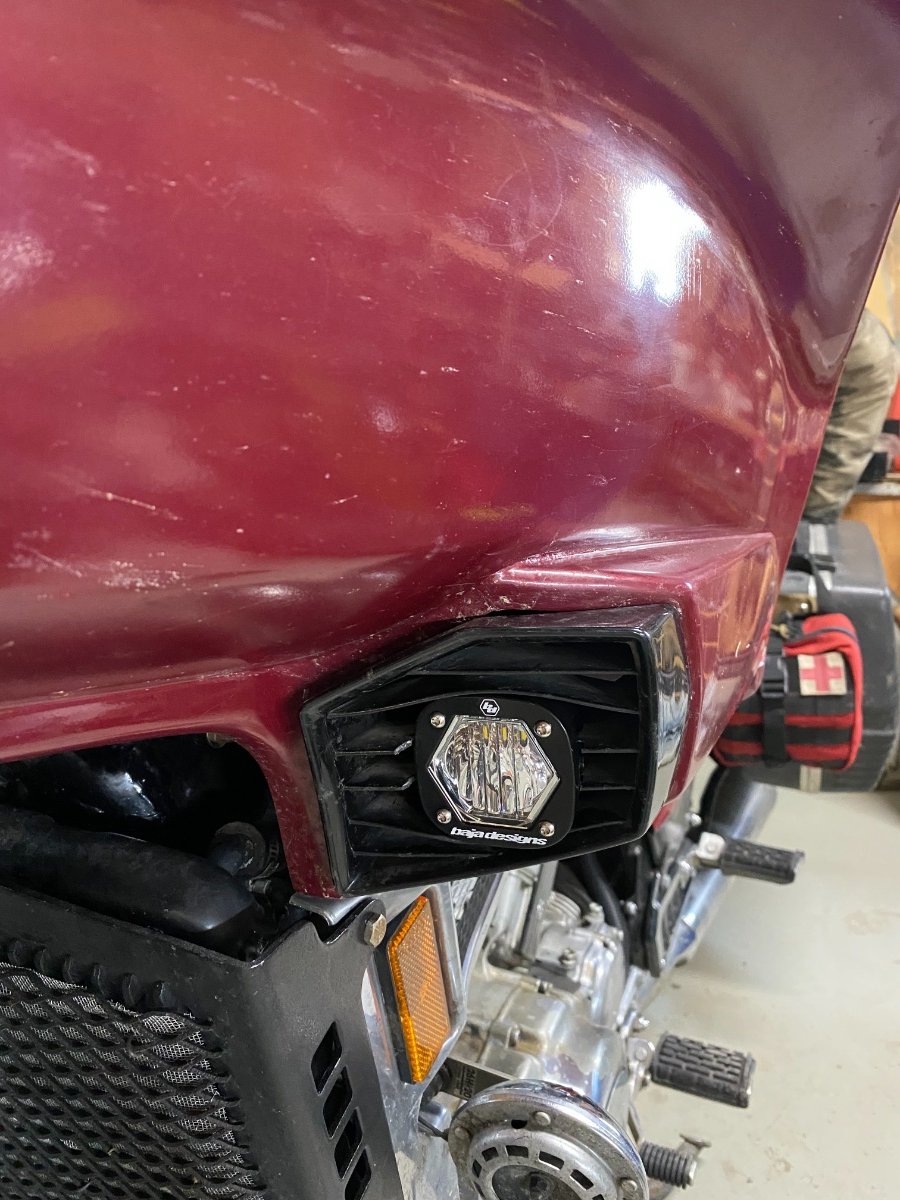
These are the baja designs ‘wide cornering’ driving lights. Tons of light!
-
1
-
-
-
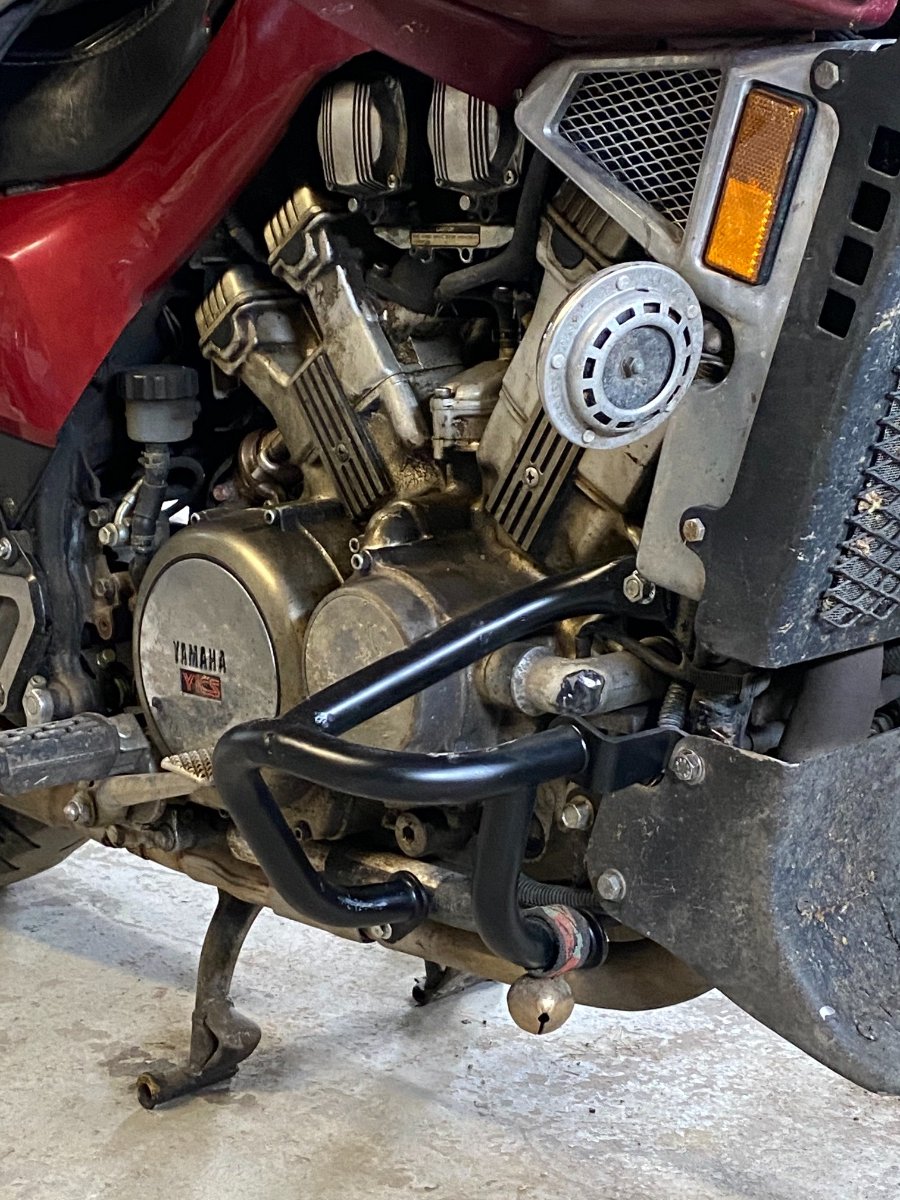
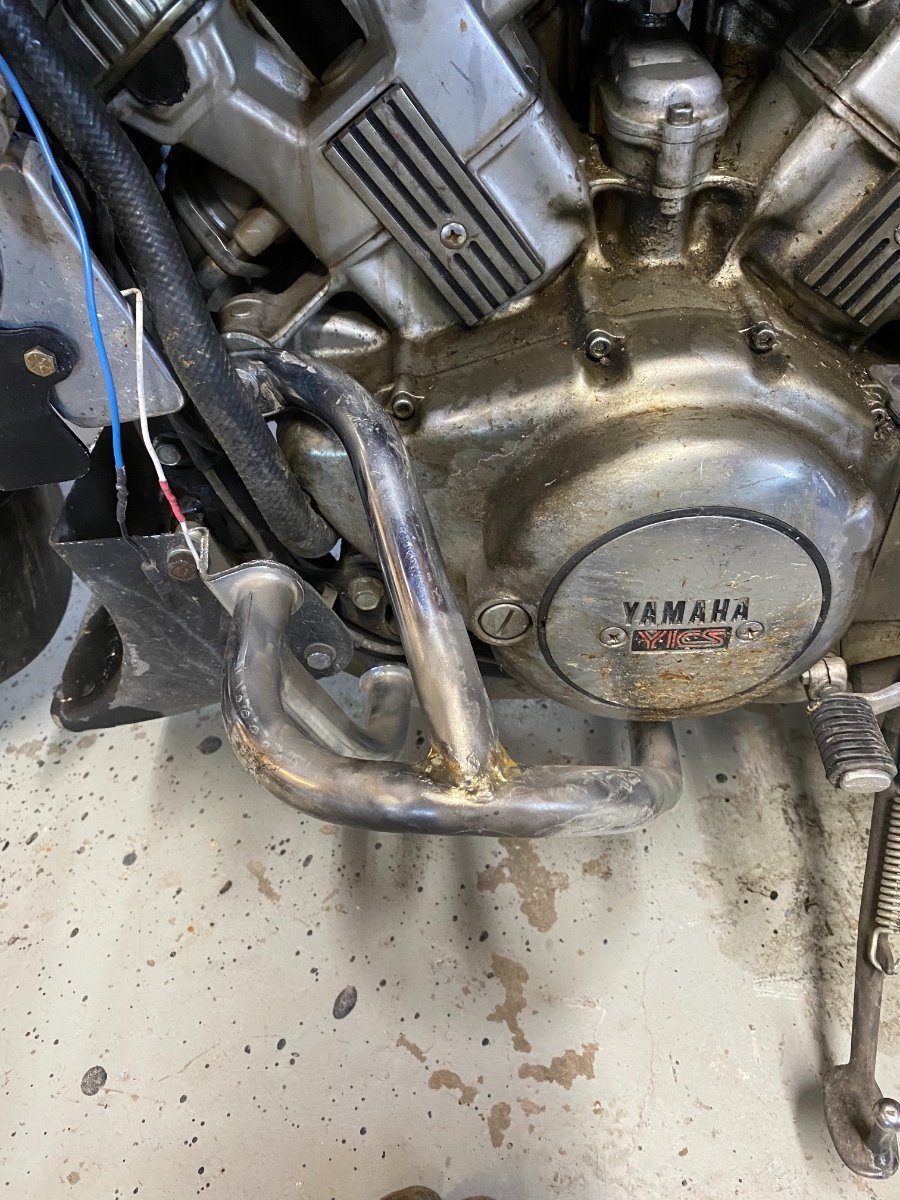
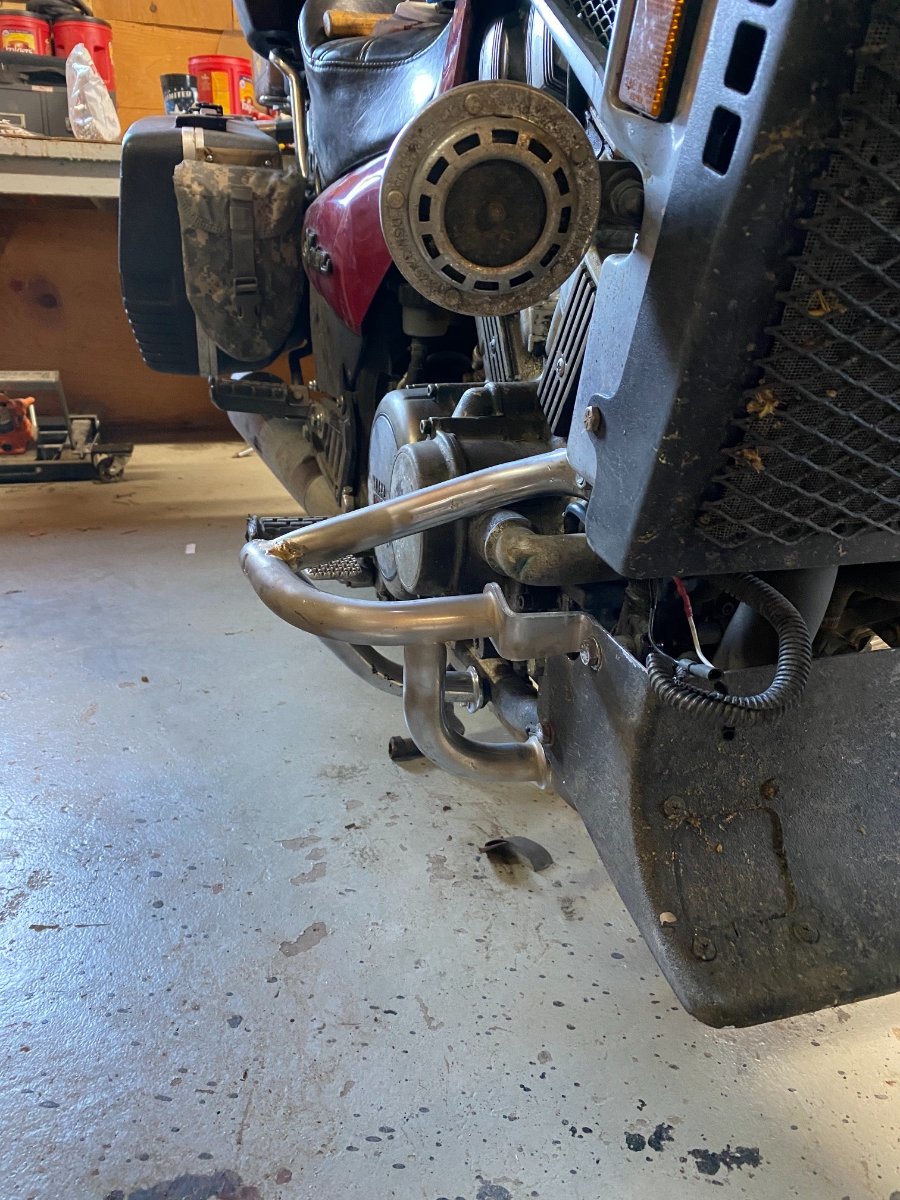
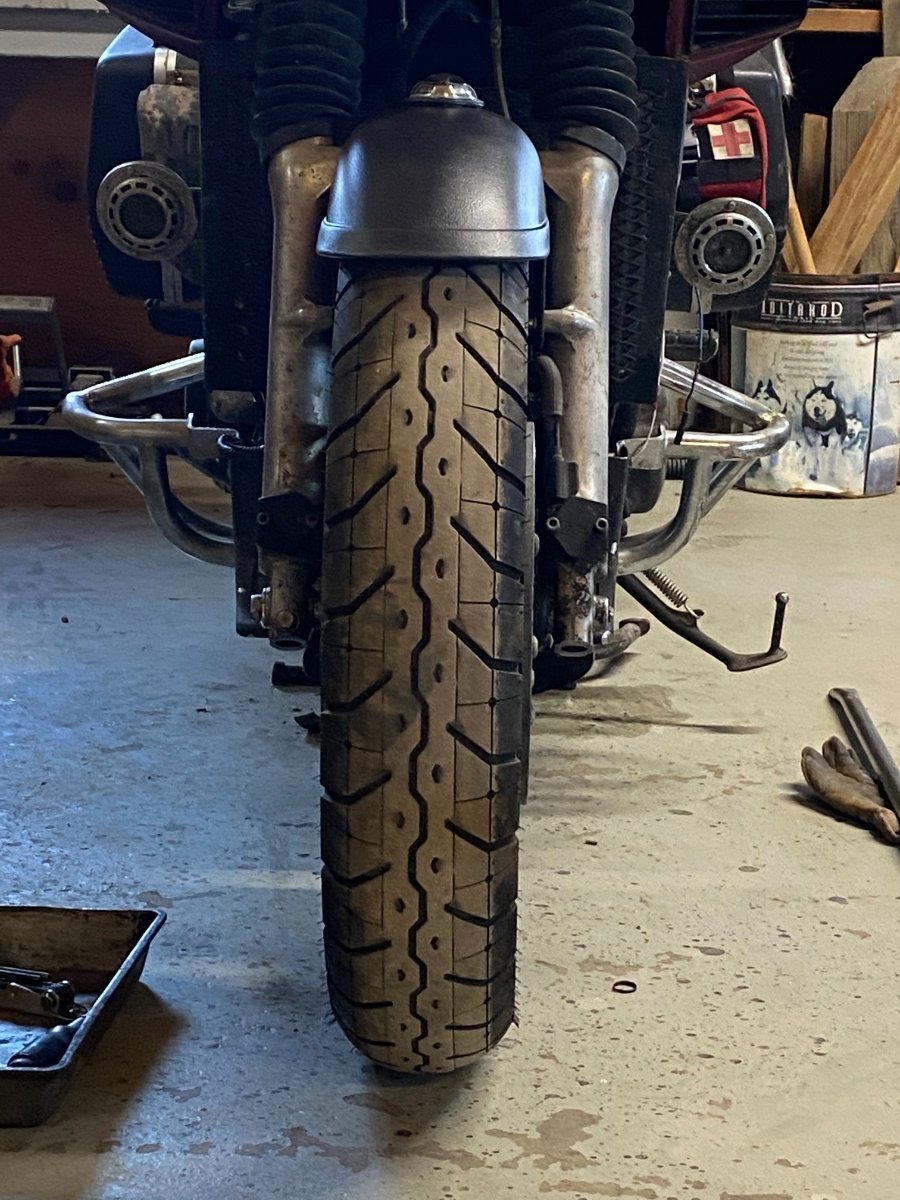
Added a brace on each side of the front crash bars. Braces cut from the rear crash bars I took off awhile ago. I have dropped the bike a few times, and the stock bars fold right up. They are very strong now, as I can stand on them with no movement. Hope this helps!
-
-
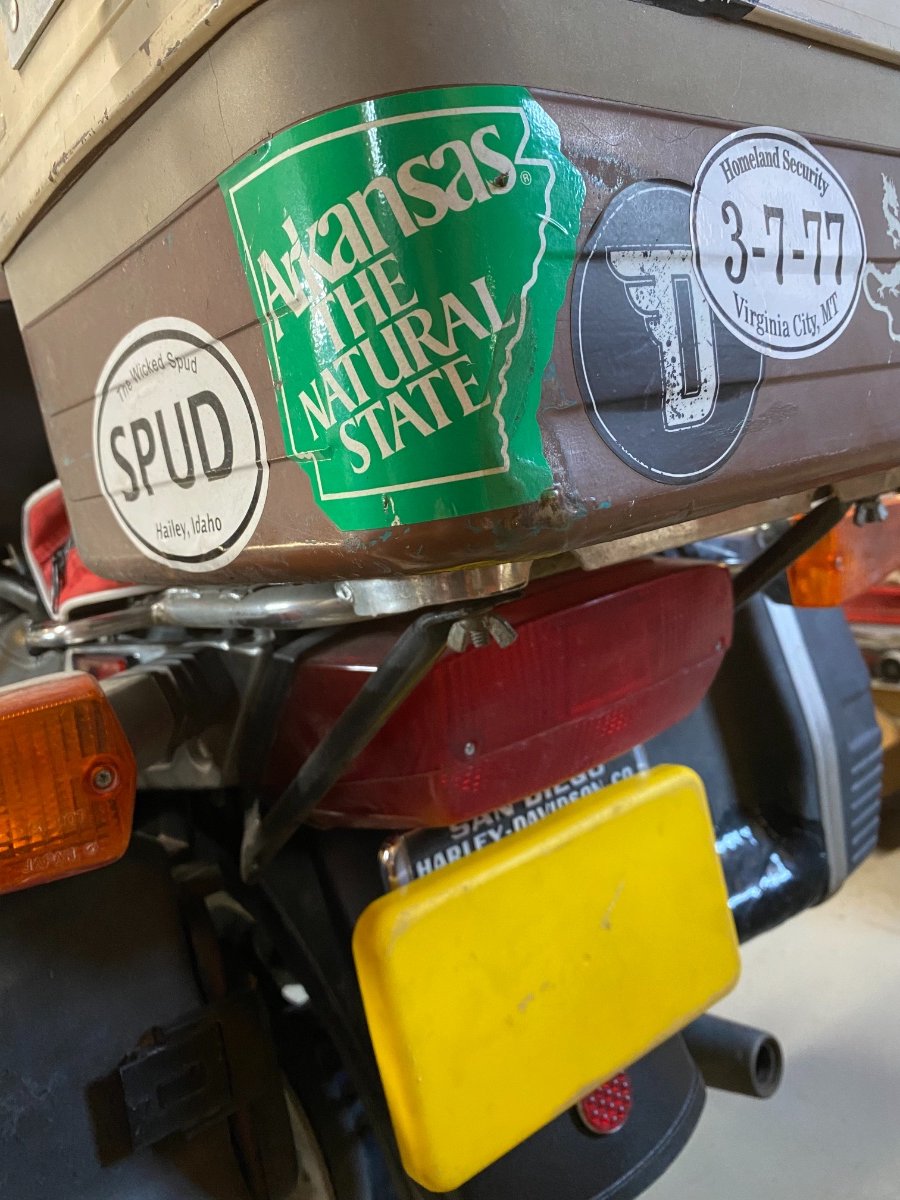
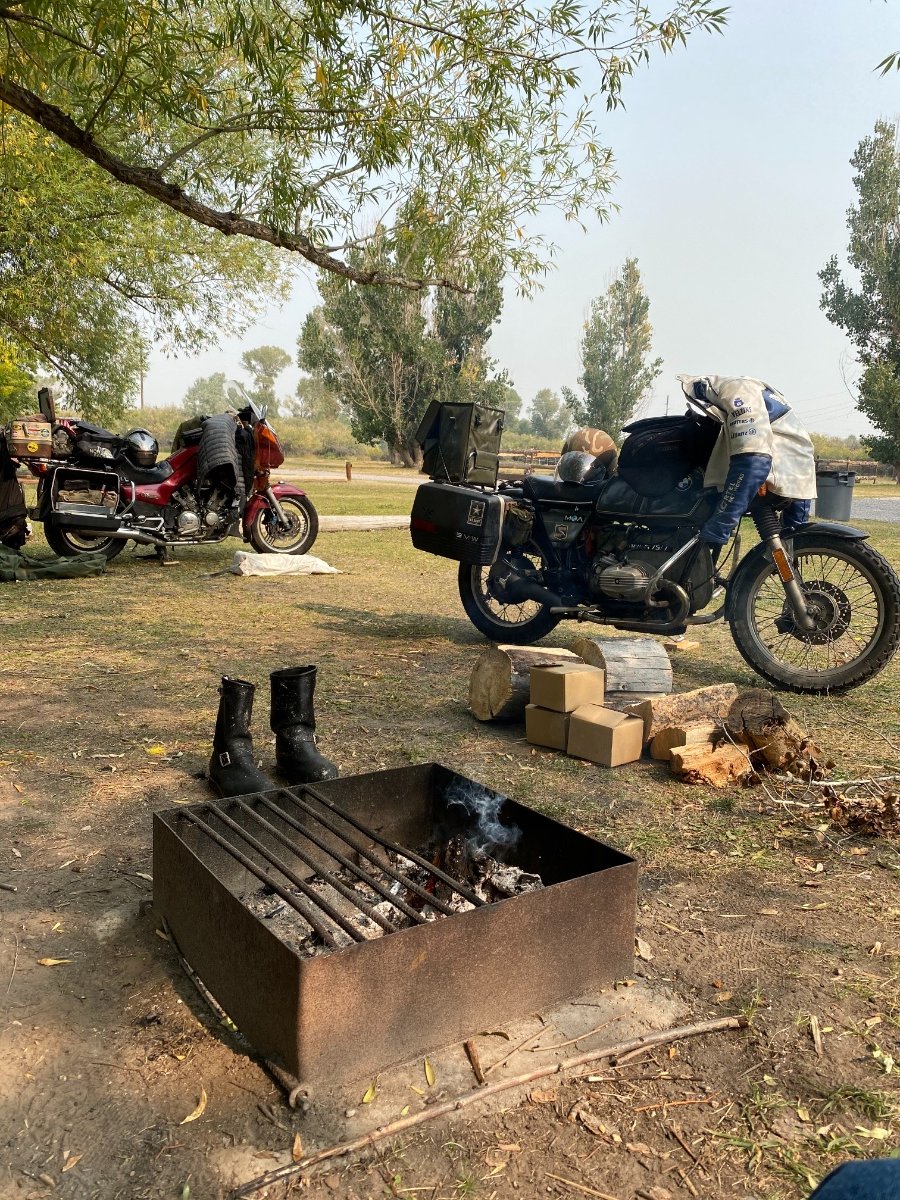
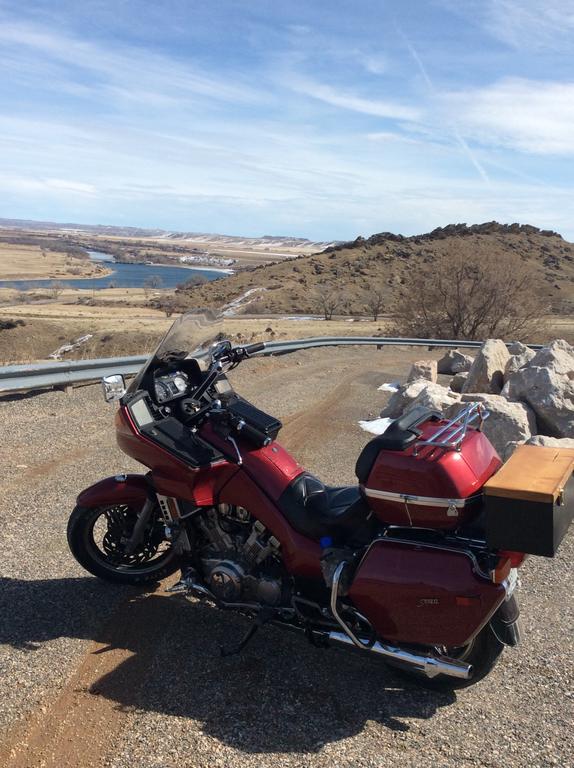
After much riding and camping on the old venture, I decided to put some BMW luggage on for better storage. BMW mounting hardware modified to fit the Venture
-
What's your favorite method for getting the 1st Gen off the center stand?
I sit on the bike, put up the side stand, grab the handlebars, rock the bike backward on its back tire, and then push hard forward on the handlebars & with my feet. I can usually get it down with one bounce. Sometimes it takes two cycles.
It's there a more graceful way to get the bike off the center stand? I can't imagine getting it down by standing beside the bike.
I ended up taking about 2 inches off the legs of the CS and welded pipe at 90 degrees facing outward. Both tires are on the ground while on the stand now and I have no problem riding off fully loaded. Light foot pressure pops it right back up on the stand.
-
Hey Puc
Thanks for your help on the bushing dimensions and awesome video! I believe the one We both have had a part number of 465-1114, which became 420-1014. Both are no longer produced.
Ray
Here ya go Ray ( MoonShine ), hope this helps in some small way brother!!Text from Youtube post:
A good friend of mine is working on replacing the rear mono shock on his early model Venture with an aftermarket Progressive Rear Shock. His question to me was whether or not the Progressive mono was suppose to have bushings to fill the gap between the top shock body mount and the mount on the frame. He also mentioned that the I.D. of the upper mount on the shock (its a bearing journal) seemed larger than the OEM mono and that the OEM mounting bolt was to small. He was wondering if I had any experience with the Progressive and would happen to know if he was missing a set of bushings. My initial reply to him was one of that I thought the Progressive did indeed come with bushings that would tighten the gap and also allow for stock mounting bolt usage. Hey Ray, I did find my old Progressive shock and, as shown in the video, got some measurements that you may find useful brother. I also thought this video may or may not be of assistance to anyone else out there in YouTube land and/or one of our other club members at VentureRider.org. Hope this helps someone in some small way! Puc
-
I like the way you relocated the touring box for a backrest but the Bootlegger plywood box needs to go. That's just my opinion or butt hole everyone got one .
Nope, the box stays. Got my coffee making gear in there. I will adopt your verbiage and combine with SkyDoc’s description. The box will now and forever be known as the “Bootlegger Locker”!
Thanks WB
-
1
-
-
Looks like you'd have very little room to get your key in your Yamaha trunk to open it. Do you have a solution or is it not a problem?
I like what you'd done. I'm sure it's functional and works for you. You're making it yours, man and that's cool.
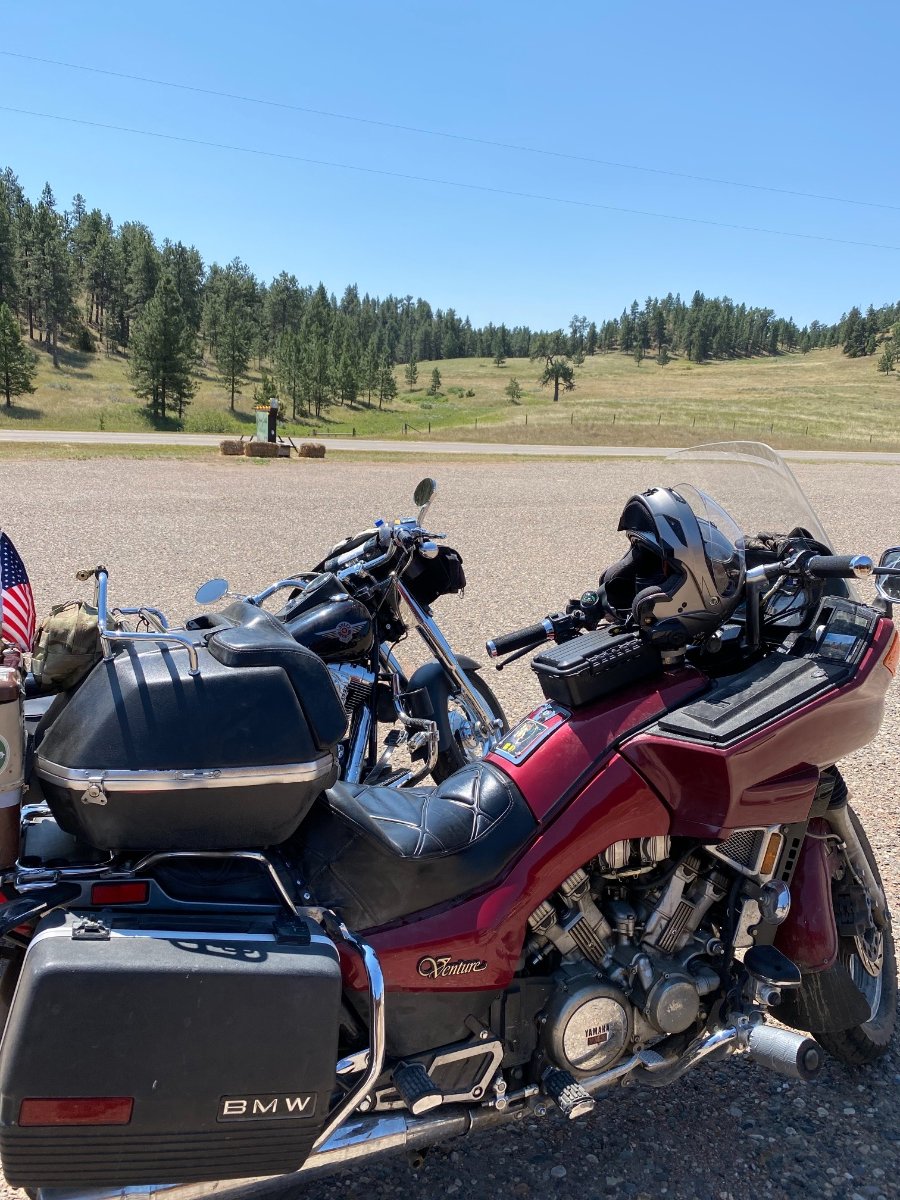
Had to abandon the trunk lock. Replaced with twist locking latches on each side. Works good and one will accept a padlock if needed.
-
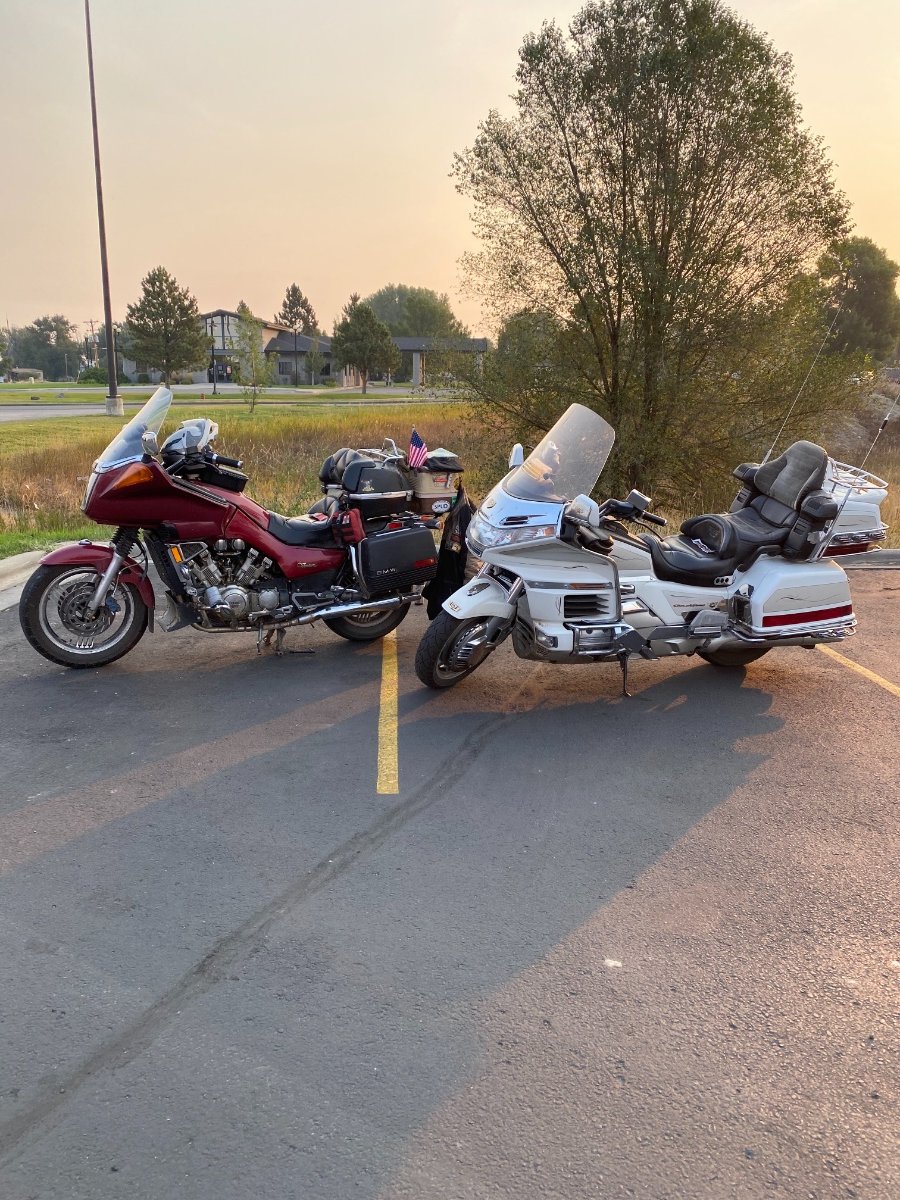
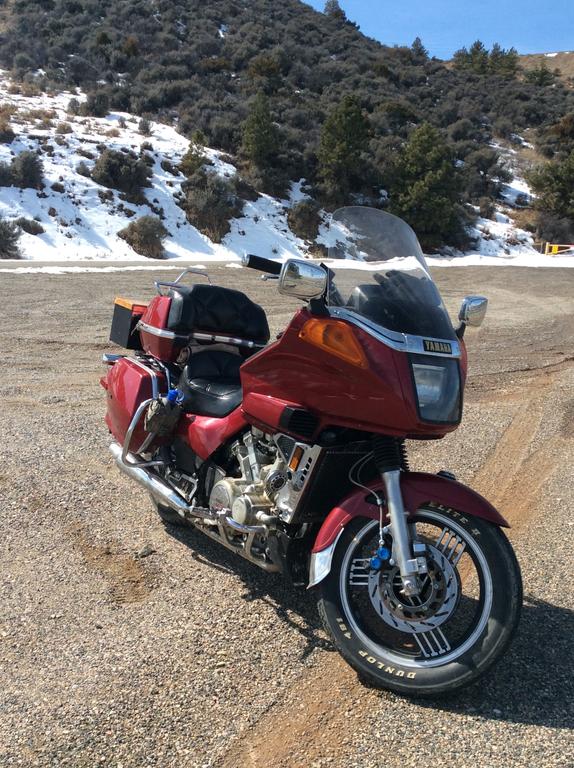
First ride with the new set up. Nice cruising position for me with the top case to lean against.


Just Bought a Non-Running 1983 Venture XVZ1200 (Need some advice)
in Venture and Venture Royale Tech Talk ('83 - '93)
Posted · Edited by MoonShine
Do it!
Bring this motorcycle back to life and ride the wheels off! You will spend time and money, but if you want a solid, affordable, comfortable road bike that will eat the miles in sun, wind, rain? This is it!
Rebuild the brakes/clutch master cylinders, new braided lines, rebuild and sync carbs, check fuel tank and replace filter and lines, new tires, rebuild forks, change all fluids, go through all electrical connections and look for corrosion. About a grand (2 plus if you hire the work out) and a few months later you will have a superb road bike that can roll with anything out there.