Packing Swing Arm Bearings
1.
Remove the rear wheel as you
normally do and your halfway there.
2. Drain the final drive and remove the speed sensor wire and four acorn nuts and simply pull out final drive and drive shaft. This is a great time to catch up on a lot of those little maintenance items.
.
3.
Un clip the speed sensor wire from
the swing arm and remove the clamps from the brake line. So you don’t have to
hunt for them later re insert the clamp bolts back into the swing arm finger
tight. Just allow the caliper to hang over out of the way. Be sure and check
pads for even wear.
4. Now its time to remove the shock and the dog bones or leveling links. Before removing top bolt from shock remove seat and right side cover.
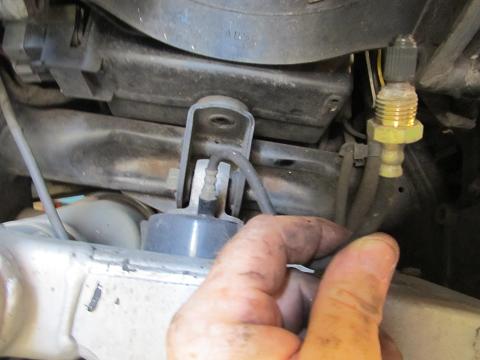
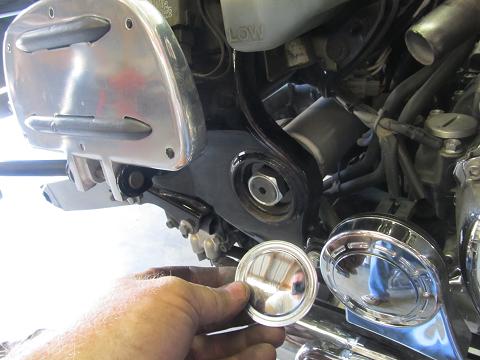
5. Un clip the shocks vent line located beside battery on right side. Then remove round black plastic cover where you add air to rear shock ( it just pops out )
6. Remove the nut from the valve stem.
7. Now just work the vent line and air line down from top and pull out top bolt from shock.
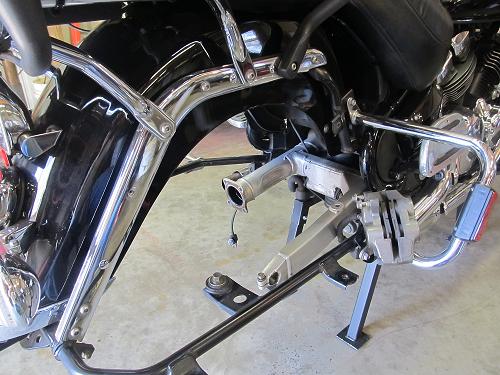
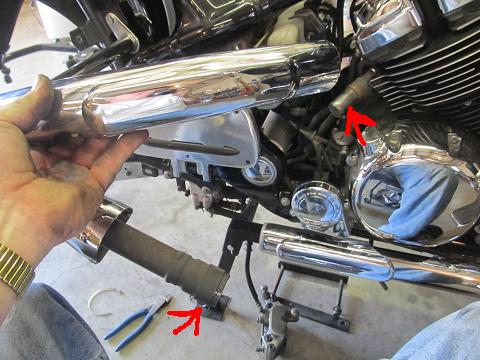
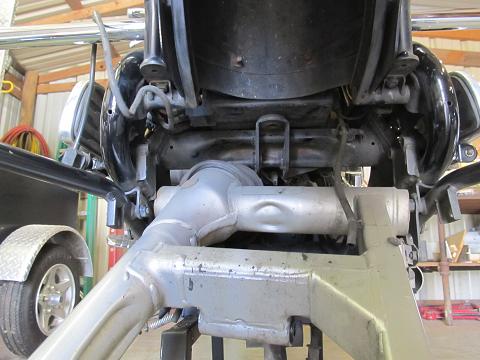
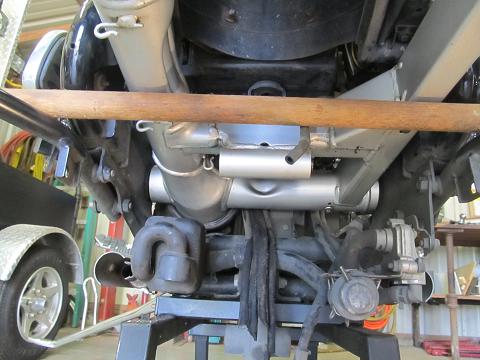
8. To remove Y pipes you will need to remove left side cover also. Under the lower section of the Y pipe loosen clamp closest to the rear.
For the section attached to rear cylinders you can loosen that clamp as well or remove the two nuts on the flange going into head
.
Remove the bolt where the mufflers slide on
.
9. Now you can just work the Y pipe out and to the rear.
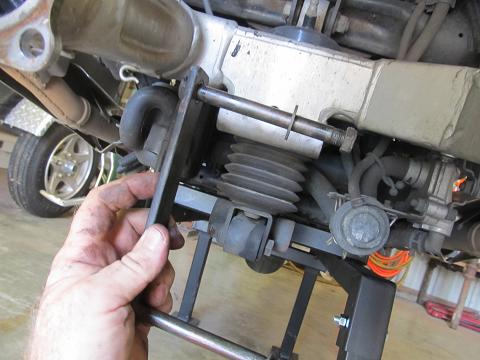
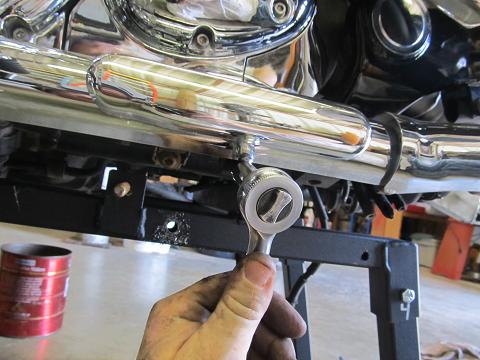
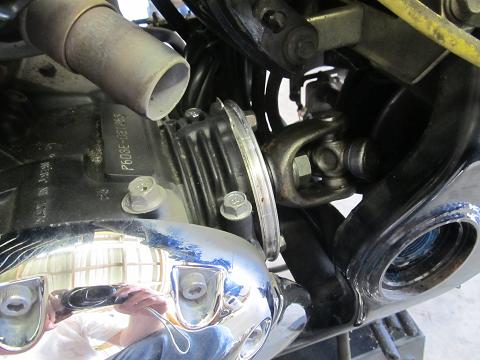
10. Next pop off the chrome covers on both sides.
you will notice a bolt head on the left side. 30mm I think remove this bolt from the left side
.
This
bolt requires 72 ft/lbs on re installation.
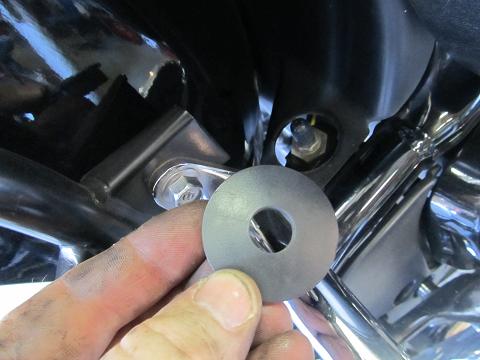
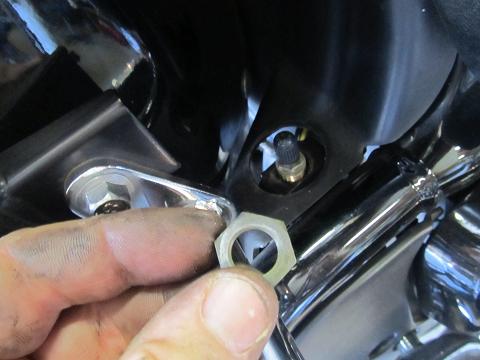
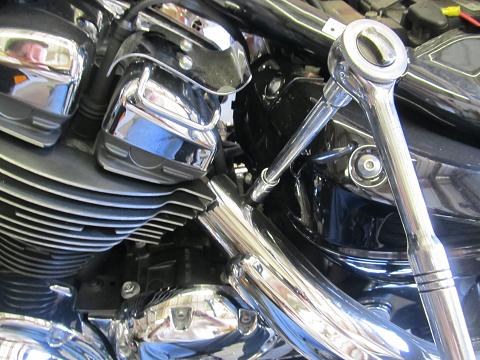
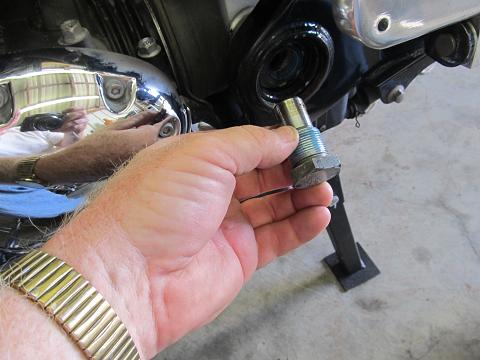
11. On the right side you will notice a Allen head bolt with locknut loosen or remove nut then remove bolt
.
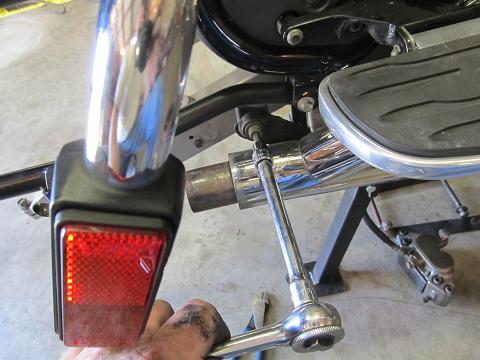
This bolt only needs 5.1 FT/lbs of torque. Locknut requires the 72 ft/lbs. Don’t worry about the swing arm falling out when you remove the bolts. Now you can work the swing arm out from under the bike with just a wiggle.
The rubber boot protecting U joint should come out with it
.
12.
Place
the swing arm in a vice with drive shaft side down. Pull of the rubber boot so
you can see the back side of the right side bearing. Insert the left side bolt
from the inside.
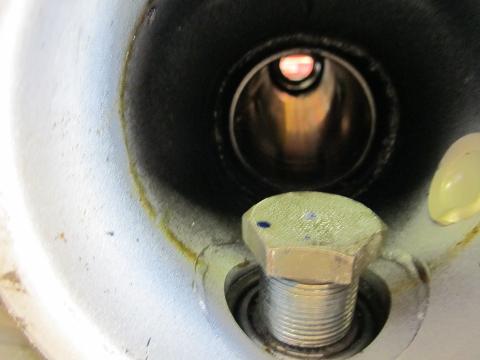
Using a wooden dowel rod tap out the bearing and seal. This will allow minimum distortion to seal so you can re use it
.

13.
I
used a seal puller on the right side seal because I had one but working
carefully with a screw driver or very small pry-bar you can get that seal out
with out much distortion.
14.
Inspect
bearings and races for pitting or wear marks I doubt you will find any unless
this has been neglected for a very long time. My bike was @ 30k and had some
grease still on bearings Probably just what the factory put on them.
15.
Re-pack
your bearings with a good quality grease. Insert the right bearing and reinstall
seal flip over the swing arm and repeat for left side.
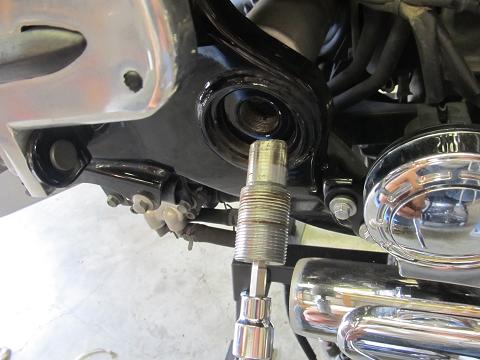
16. Reattach the rubber boot and work the swing arm back up into the bike. Don’t worry about the trying to get the boot back on just yet. Just get it in there where the swing arm bolts will be close to lining up. Lift the swing arm up and slide something under it to support it.
.
17.
Reinstall
both bolts just enough to get the threads started good and then work the rubber
boot back over the U joint. Long handle needle nose pliers and a monkey hook are
real handy here.
18.
Tighten both swing arm bolts
remember right side is only 5.1 ft/lbs and locknut is 72 ft/lbs.
19.
Everything
else goes back in reverse order. Don’t forget to lube those pivot points on
the shock while your there.
Something that works well
for me when it comes to reinstalling final drive and drive shaft is that I pull
the driveshaft off the final drive, put the bike in gear, I then insert a large
Allen wrench into the hole of the driveshaft where the spring fits for a handle
and install the driveshaft into the U joint. You can turn the gear on the end of
shaft to determine that your in the U joint and not beside it.
Hope this helps because it
is not the dreaded job I thought it would be. Could have done it in a afternoon
but it was a 100 degree day and trying to take pics on all the steps took some
time.